I love that my youngest is working on matching, counting, and pen control all at the same time! And she loves that she is able to do it with a “special marker”! 😁
Matching games are wonderful for kiddos. They help pass the time when summer boredom sets in AND there are so many developmental benefits to these simple games.
Matching and Memory Games:
Train visual memory
Improve concentration
Increase a child’s attention to detail
Exercise and increase short term memory
Improve a child’s ability to find similarities and differences between objects
Help little ones classify objects and group by similar traits
Improve vocabulary
Since it is Under the Sea Week here at our house, I created this fun themed matching game. We are getting to talk about all the creatures we have been learning about throughout the week while we play. It is fascinating to hear how much these kiddos have retained from the books we have been reading!
BONUS – my kids thought it was so fun that I am including a FREE printable in this post so you can have fun with it at your home too! You can download it HERE!
I recommend printing these cards on heavy card stock or other thick paper so no cheater can peak through the paper to see what is on the other side! Not that that has ever happened in our house… 🤪 Did I mention that this is the second set of cards I printed out? 🤣
After you print the sheets, I recommend laminating and then cutting out the cards. Yes, I know there is a great debate about laminate first and then cut OR cut first and the laminate… It is totally up to you! For the sake of time, we laminated first and then cut for this game. 😁
Obviously, laminating is optional, but it will help the cards hold up to repeated use.
With small kiddos you can have them match with all the cards face up. Then, as they become more confident, try turning just half of the sets face down for them to practice matching. With older kiddos, use all the cards face down from the start. There are endless ways to play – and learn – through this matching game!
Ready to play? Download your FREE Printable, HERE! I cannot wait to hear what memories you made while playing!
We have done a lot of “stained glass” projects in the last couple years, but the finished product of this one might be my absolute favorite (so far 😉). The colors are vibrant, translucent, and it seems to glow as the sunlight streams through! I am already thinking of ways to change the color palette and incorporate different scenes in the future…
To be fair this activity takes a bit more prep than I usually go for. If you have older kiddos who are good with scissors they can totally help with the prep. My younger kiddos waited until I had everything prepped and then jumped in to create the “stained glass” effect.
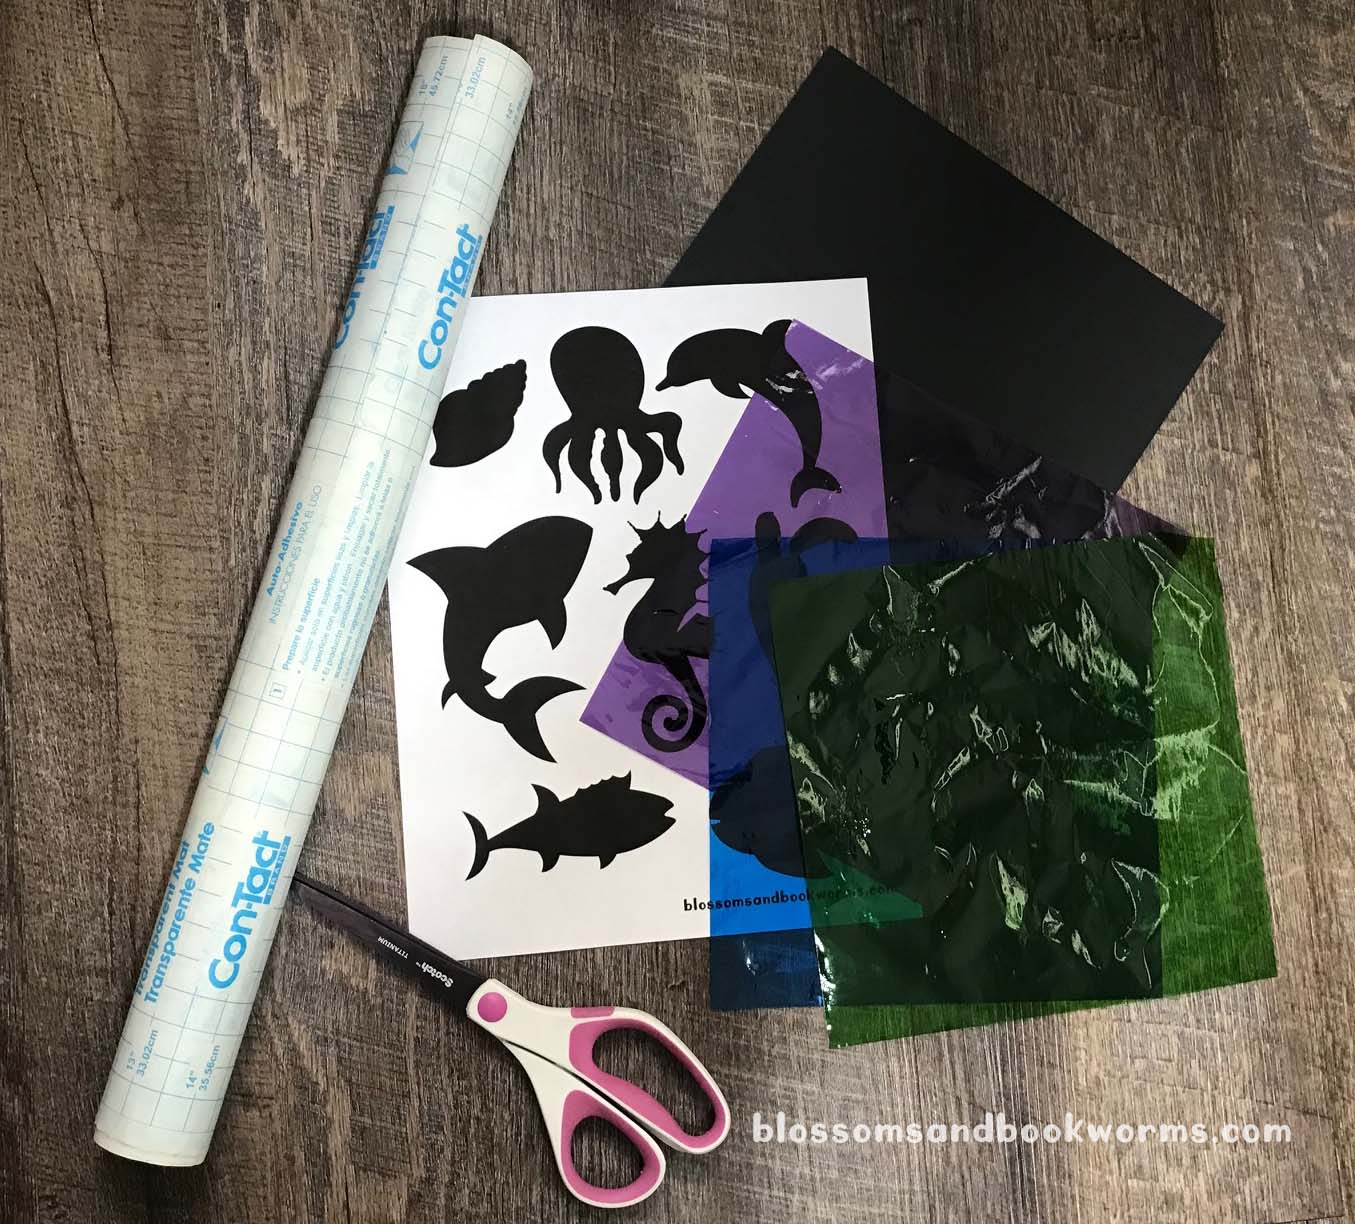
Materials:
Black Cardstock
Colored Cellophane – I love the look the cellophane gave, but you can totally do this with tissue paper too!
Glue Stick or Scotch Tape to affix the sea creatures at the end.
Start by grabbing the free printable with the ocean creatures. Print the sheet and cut out the creatures you want to use.
Next, cut cellophane into small squares. We used mostly 1 inch squares but random shapes and sizes makes it even more interesting!
Precision is not required in this step. However, if small children are going to arrange the stained glass color part then make sure your pieces of cellophane are big enough for them to grab.
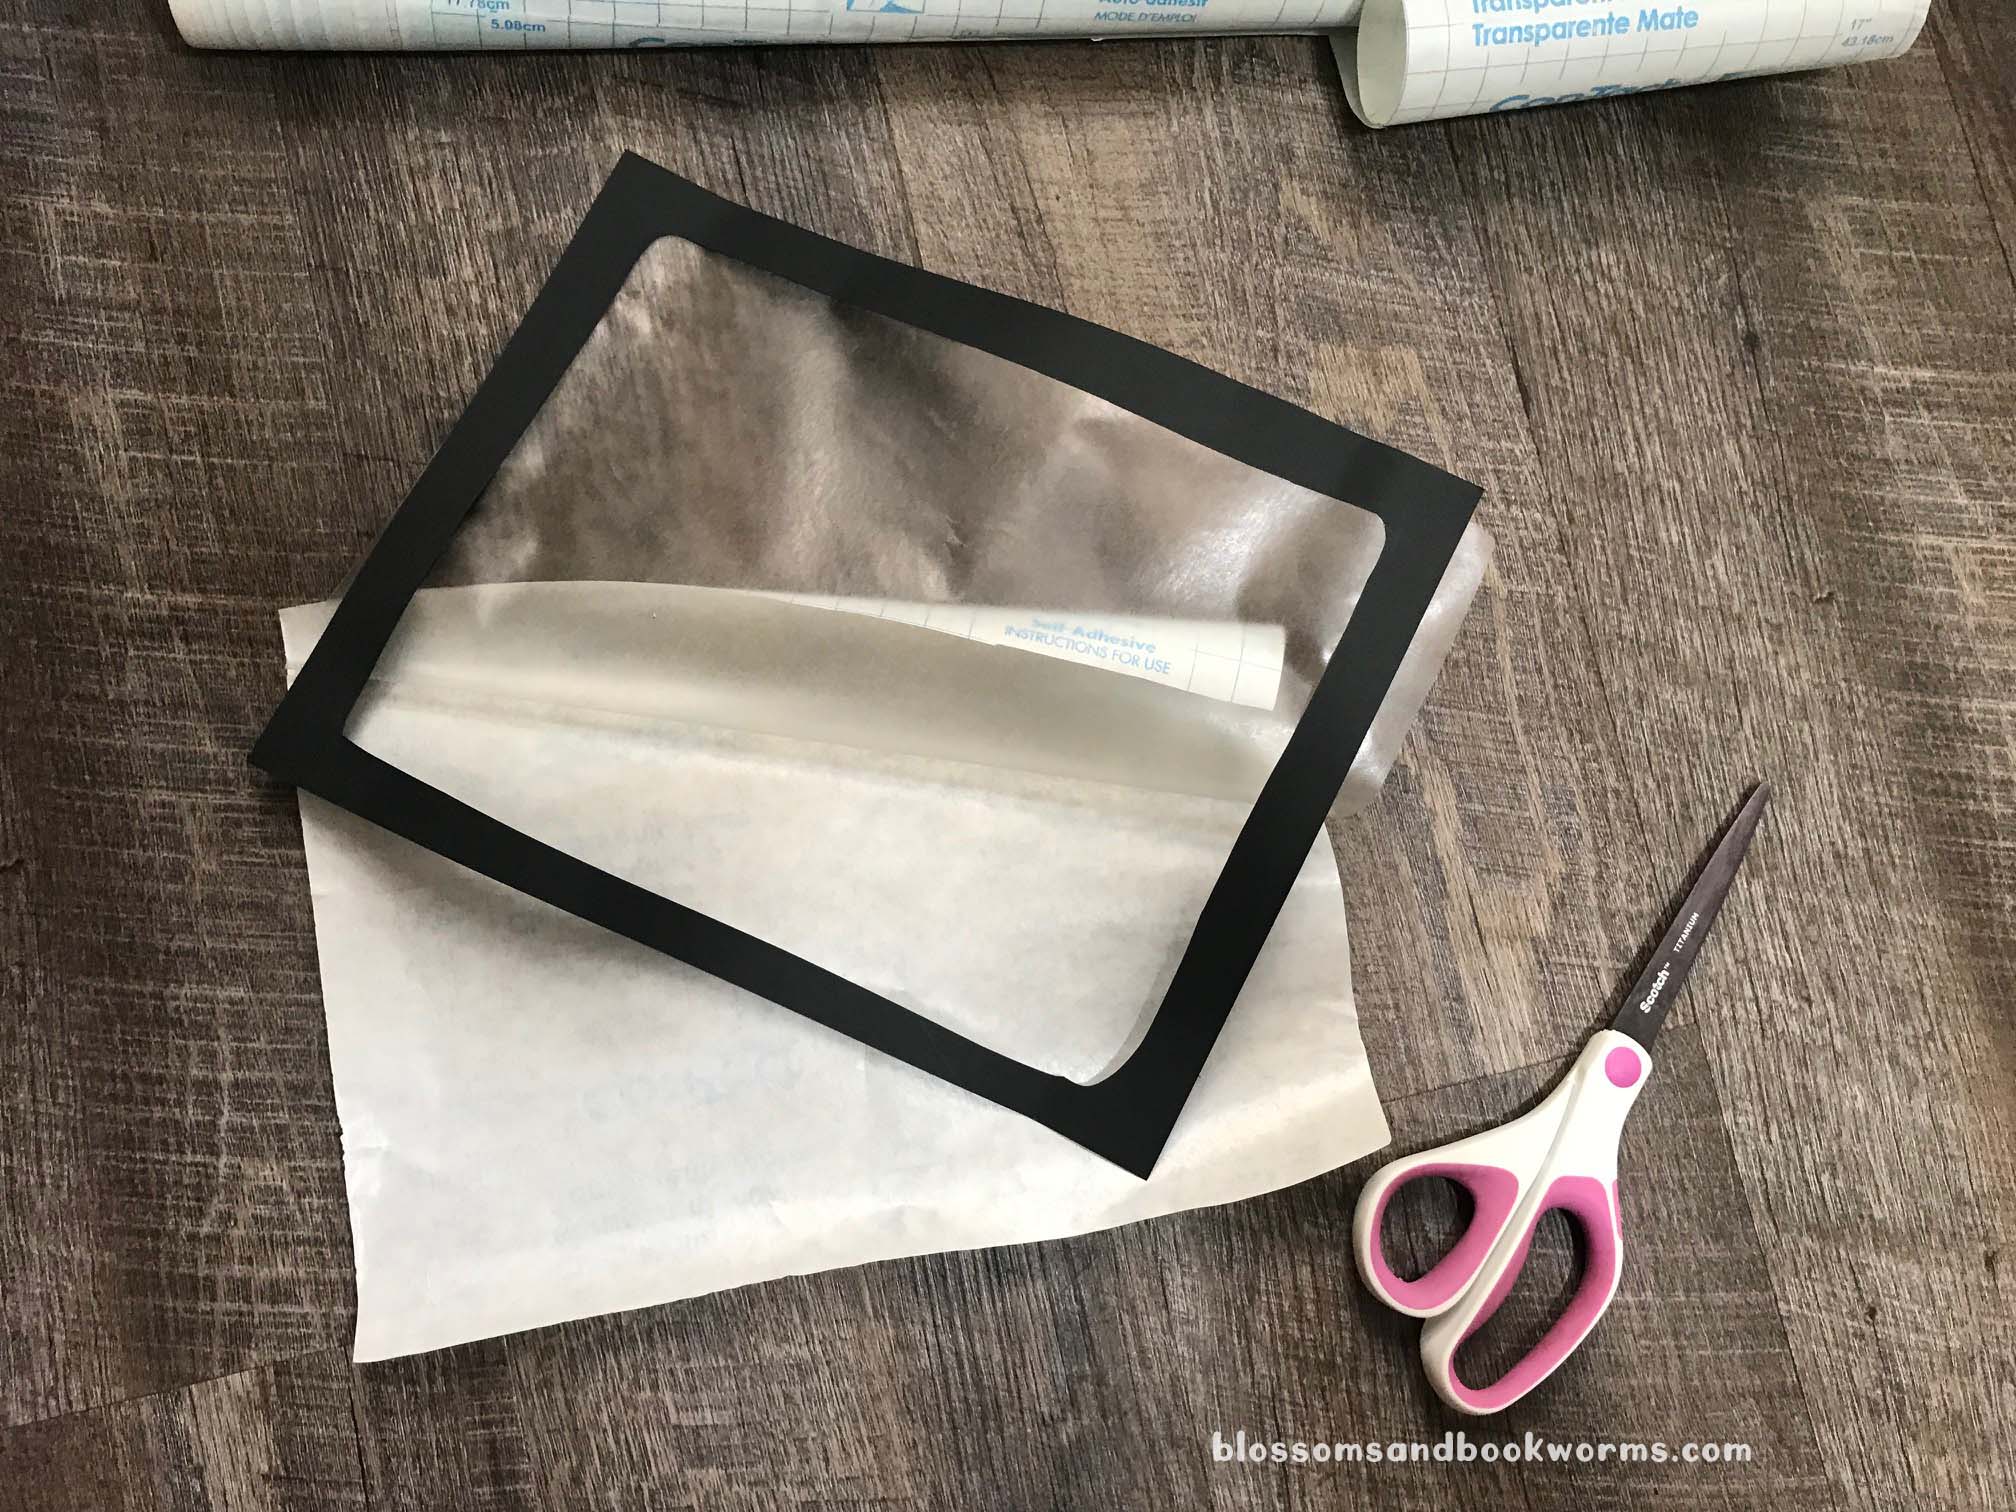
Next prep step – cut a frame out of the black card stock. The card stock is more durable than regular paper and it will give your final piece some stability.
Then cut a square of contact paper to the same size as the frame. Pull off the backing and adhere the contact paper to the back of the frame. Don’t worry if it wasn’t a perfect match. You can trim off any excess!
Lay the frame with the sticky part of the contact paper up!
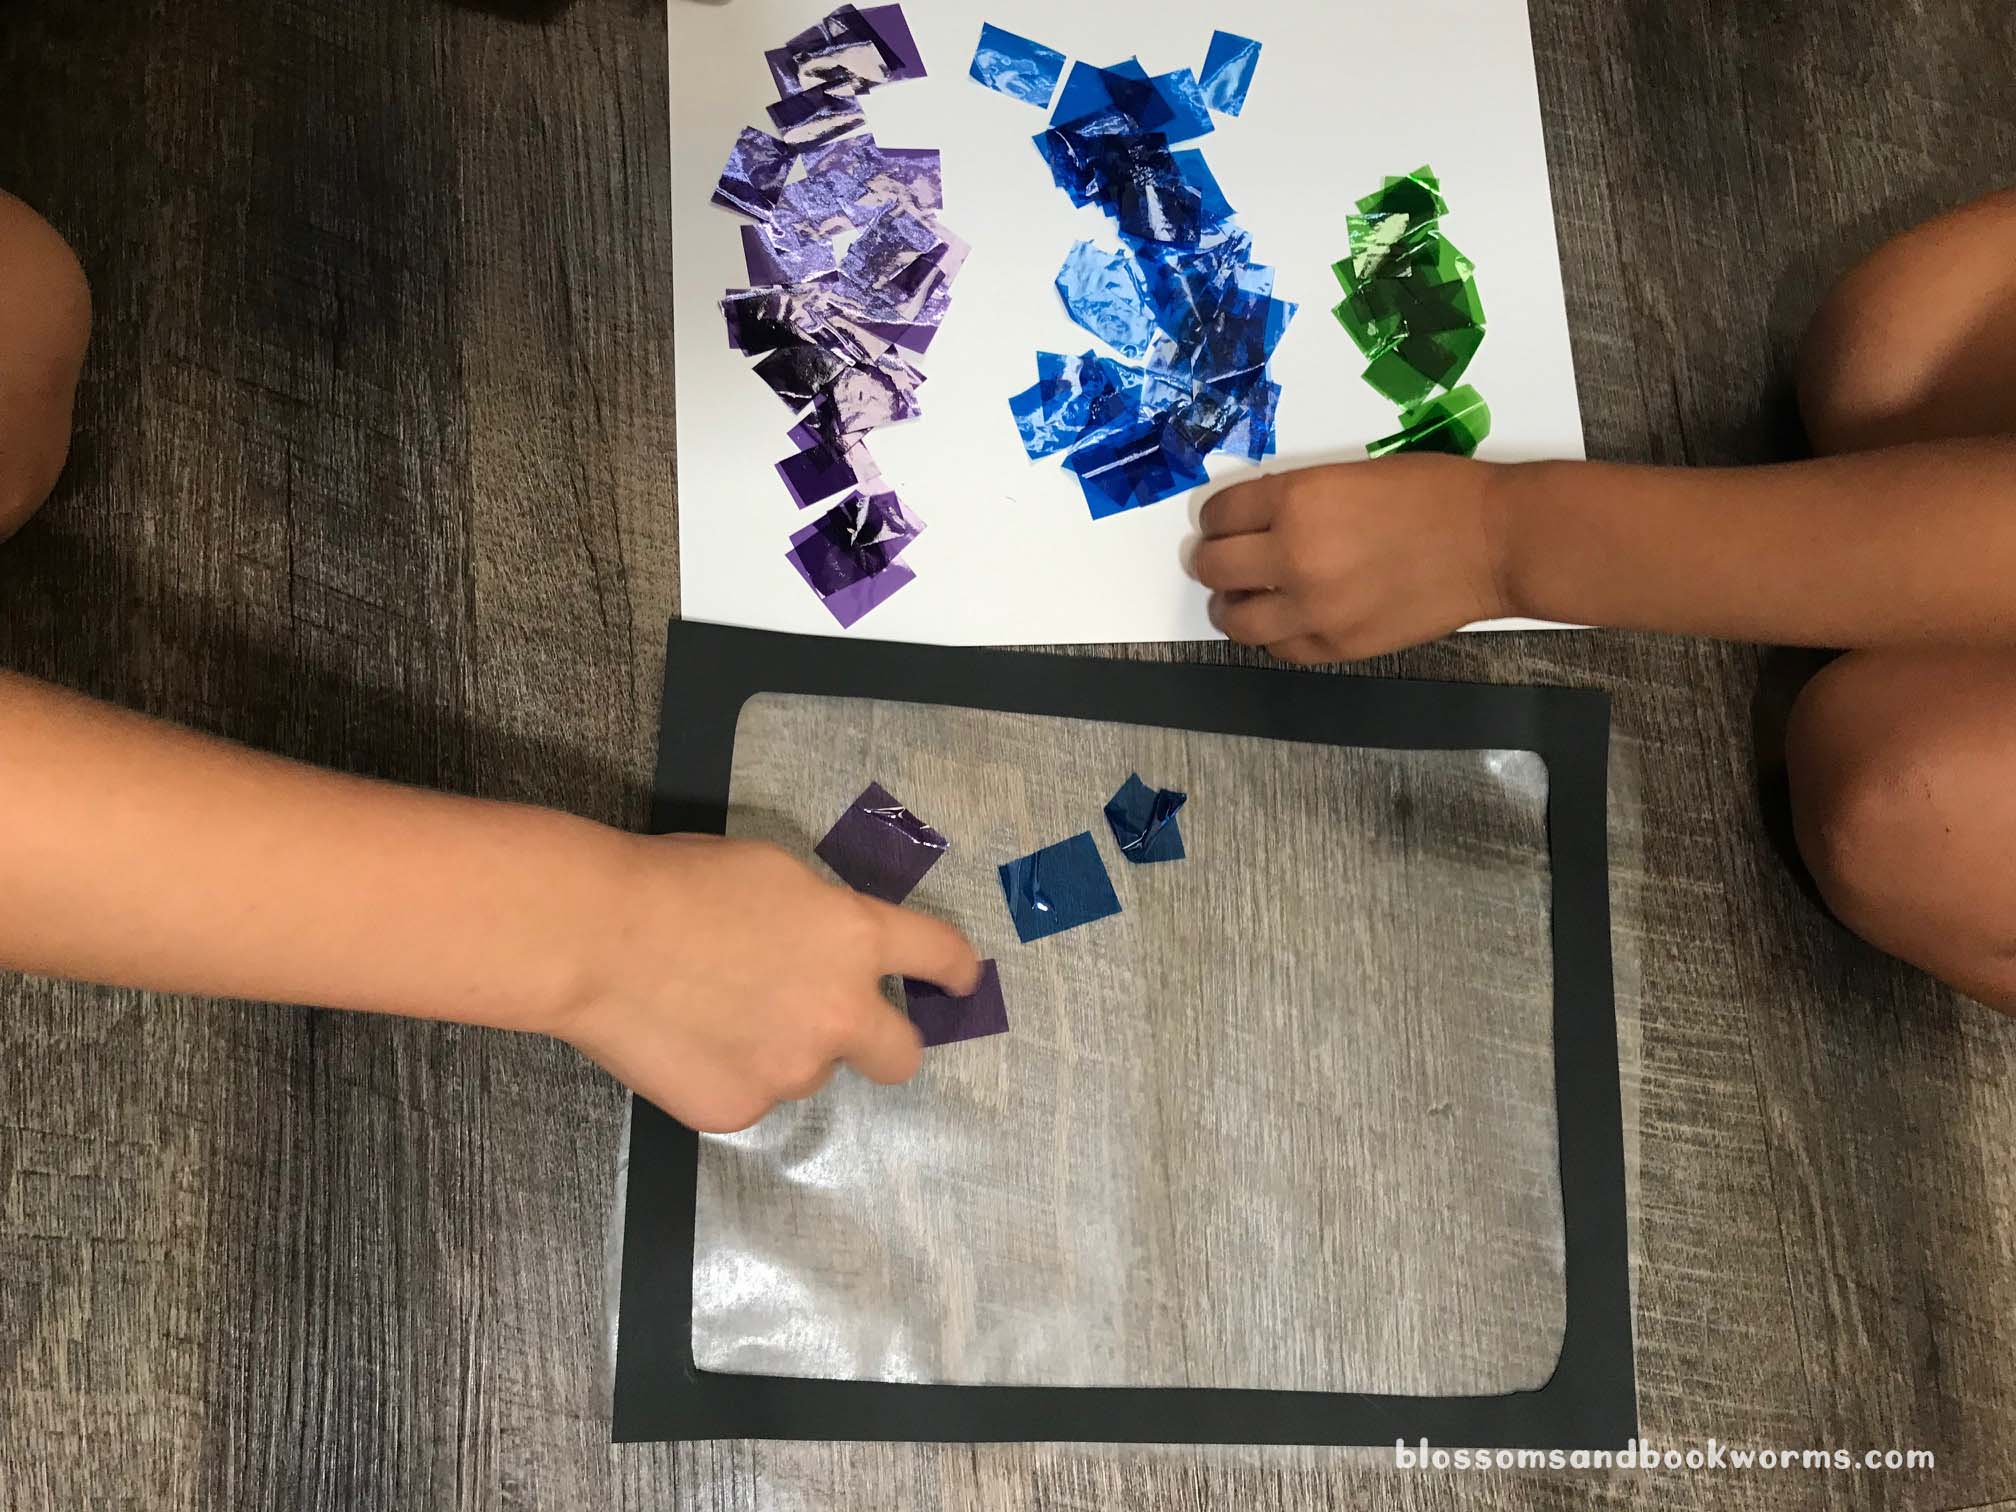
Now let those little kiddos jump in to help!
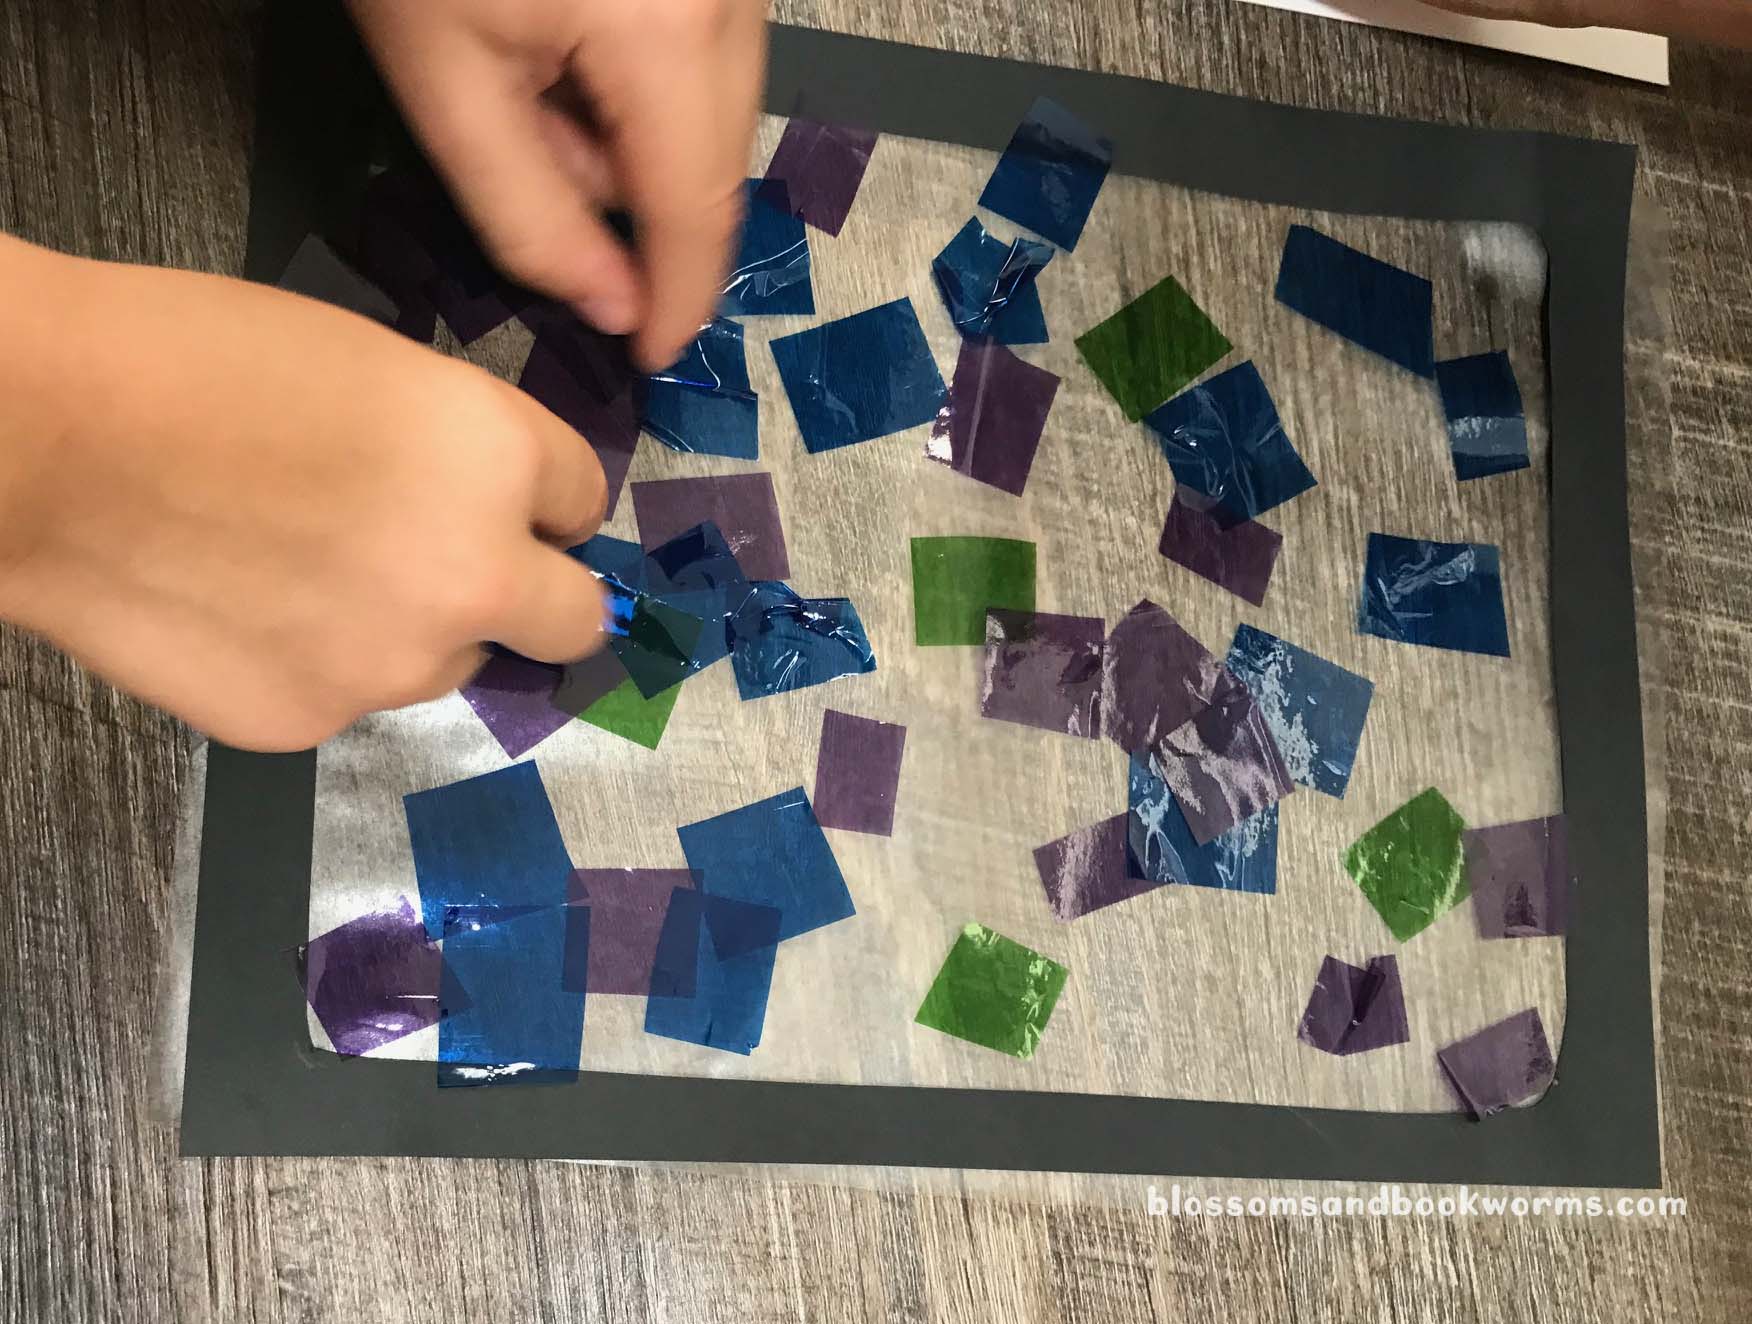
I let them arrange the cellophane as they chose. The goal is to cover all the sticky space inside the frame. There will be pieces that overlap and touch – that is totally okay! In fact, it is desired! This will give your final design depth of color and variation, making it a truly unique masterpiece.
Now grab a cup of coffee because they are going to be sticking for quite a while… 😂
You could absolutely have each kiddo make their own stained glass panel but my kids would have given up before it was finished. Working together on one beautiful stained glass piece was quite enough for us! 😁
Once all the sticky contact paper is covered – you may need to go back and make sure they got all the little bits – you will adhere your under the sea creatures. You can do this step with a glue stick or with Scotch tape. I found rolling tape and letting my little ones stick the pieces down was the best approach for us.
We didn’t put quite all the creatures on our final design, but we did end up hanging the rest on the window around the piece.
I love how vibrant the colors are!
As the sun and light changed throughout the day, the stained glass seemed to glow! I absolutely love the final effect and I cannot wait to see how yours turns out!
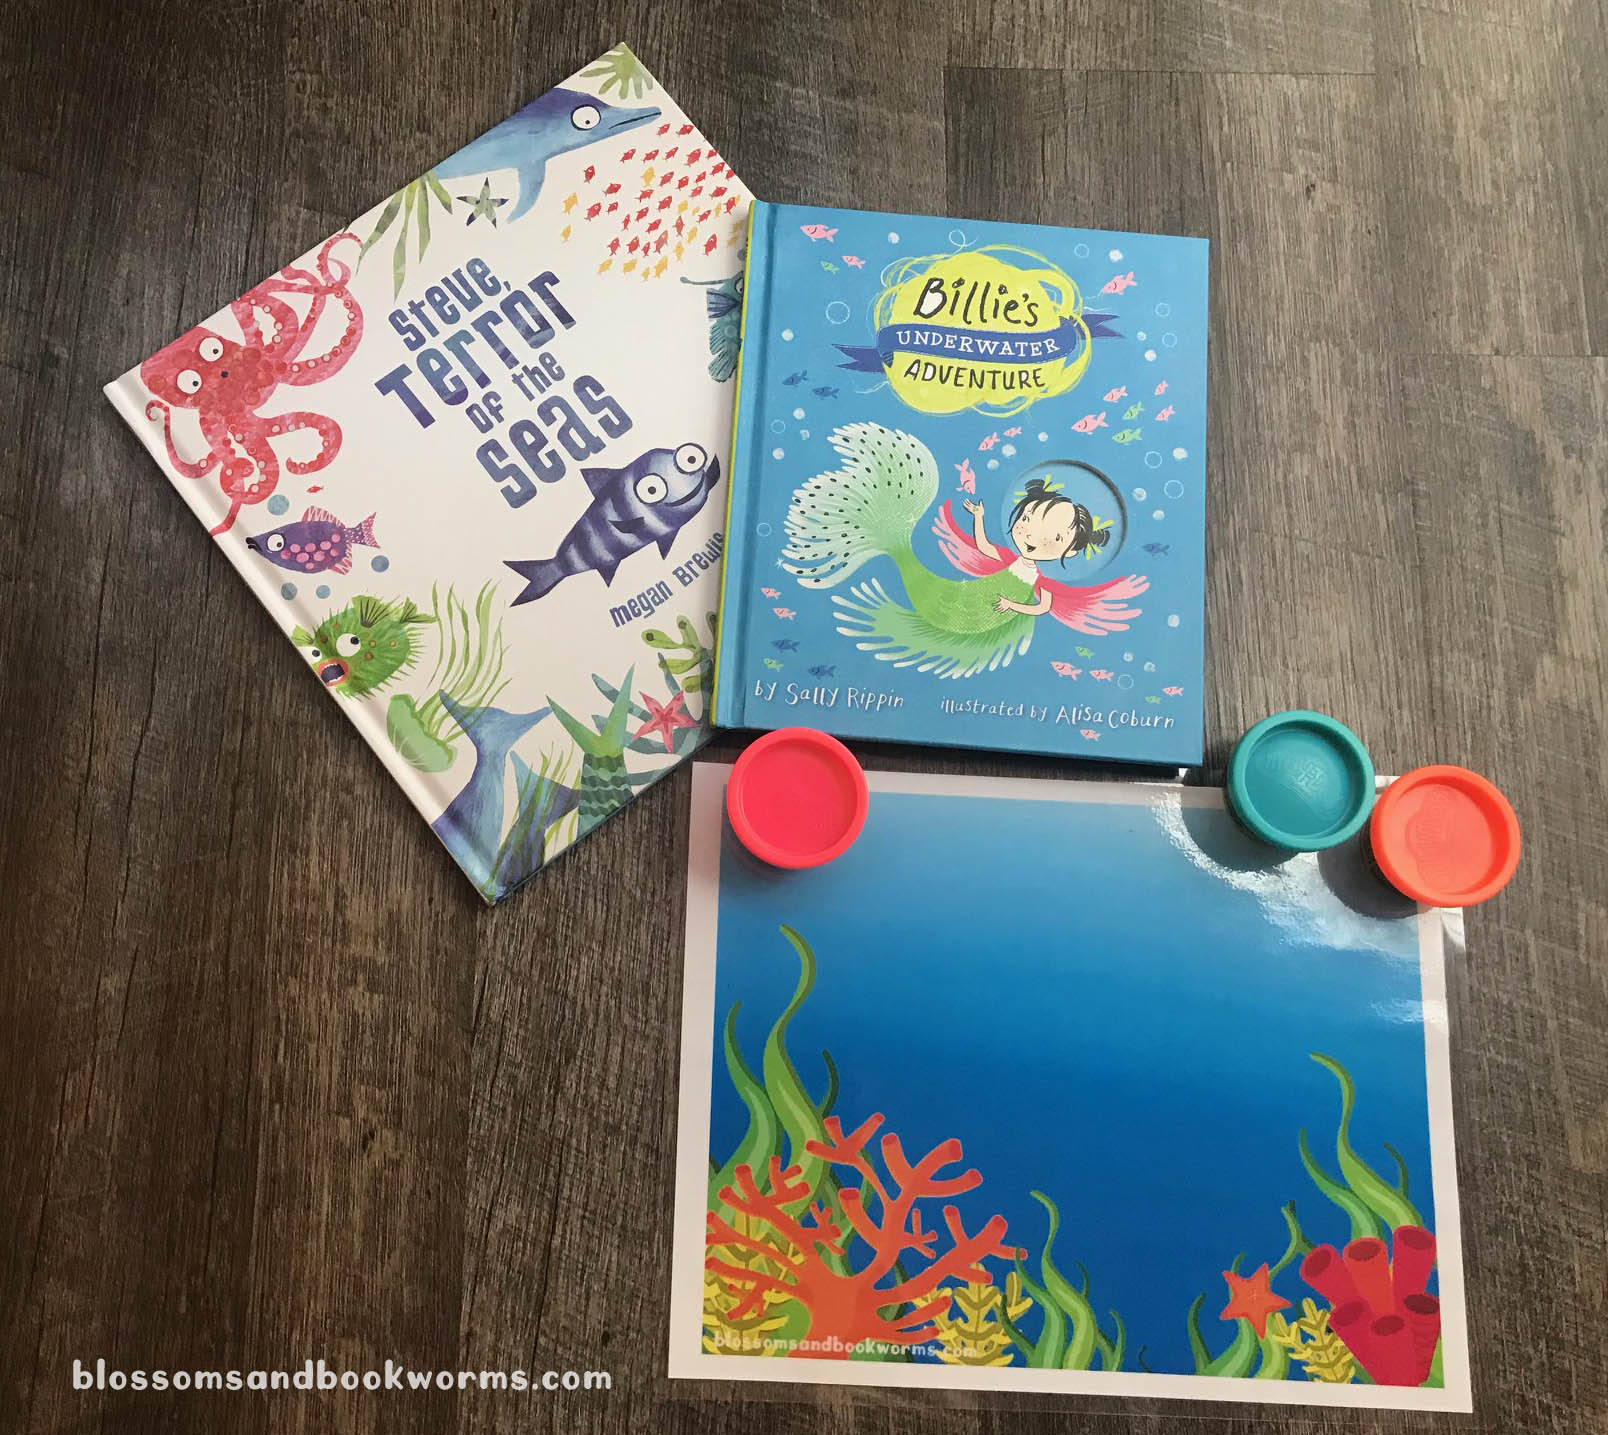
It is fitting that we are “under the sea” in our theme this week since we have been getting rain for the first time in well over a month. We desperately needed the rain but the storms have been keeping us out of the pool and inside for much of the day. Thankfully, I have some tricks up my sleeve for just such an occasion.
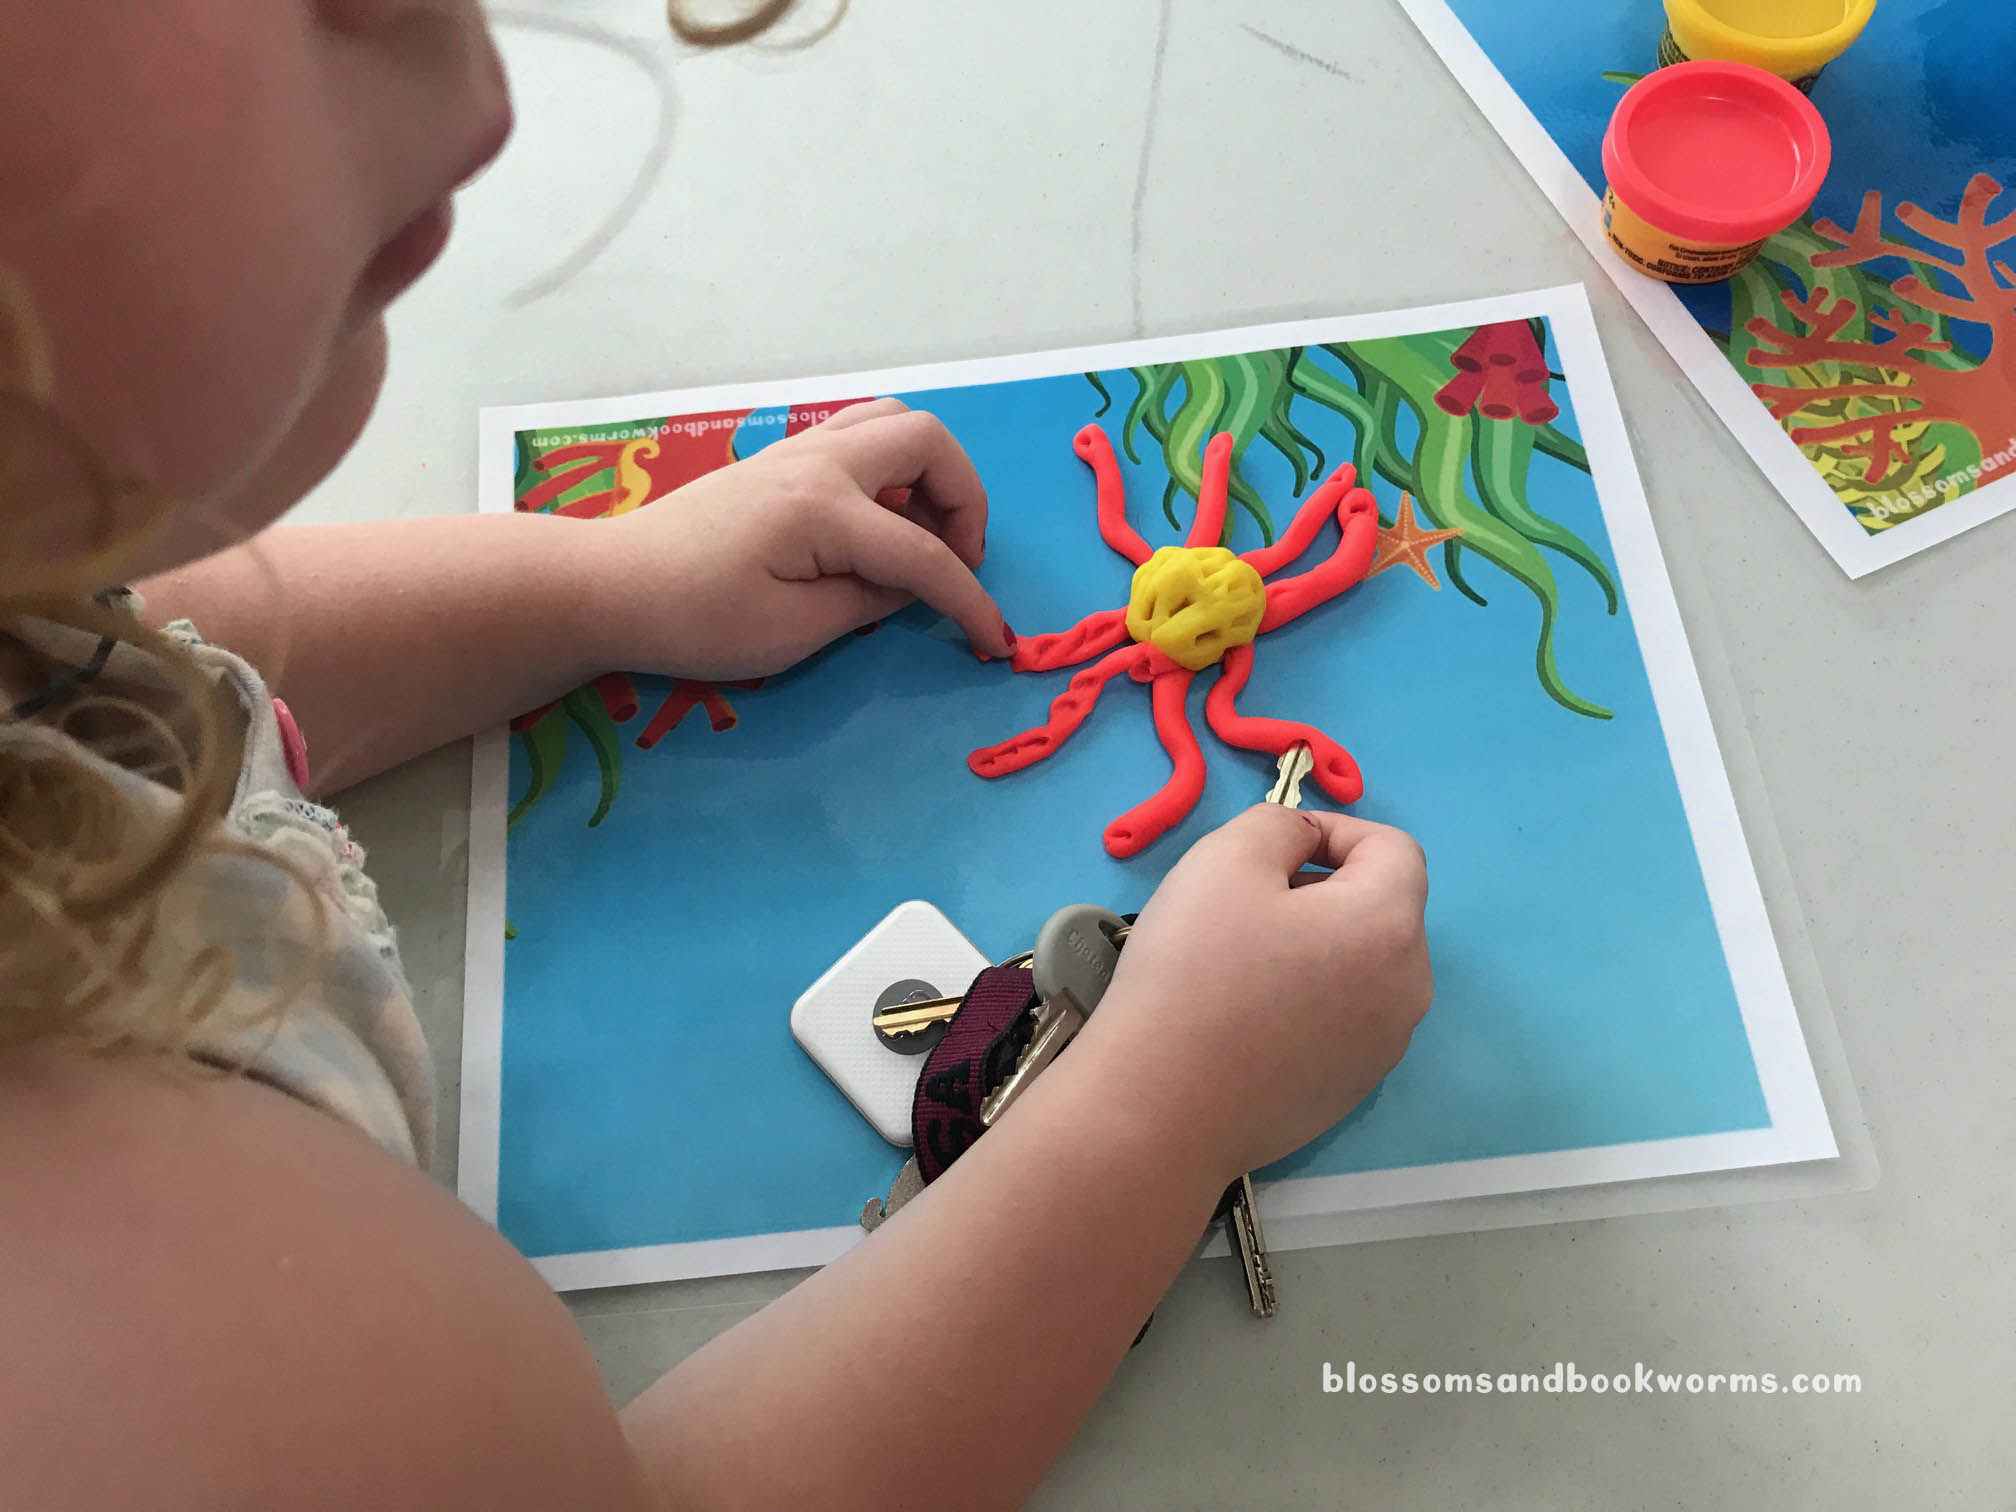
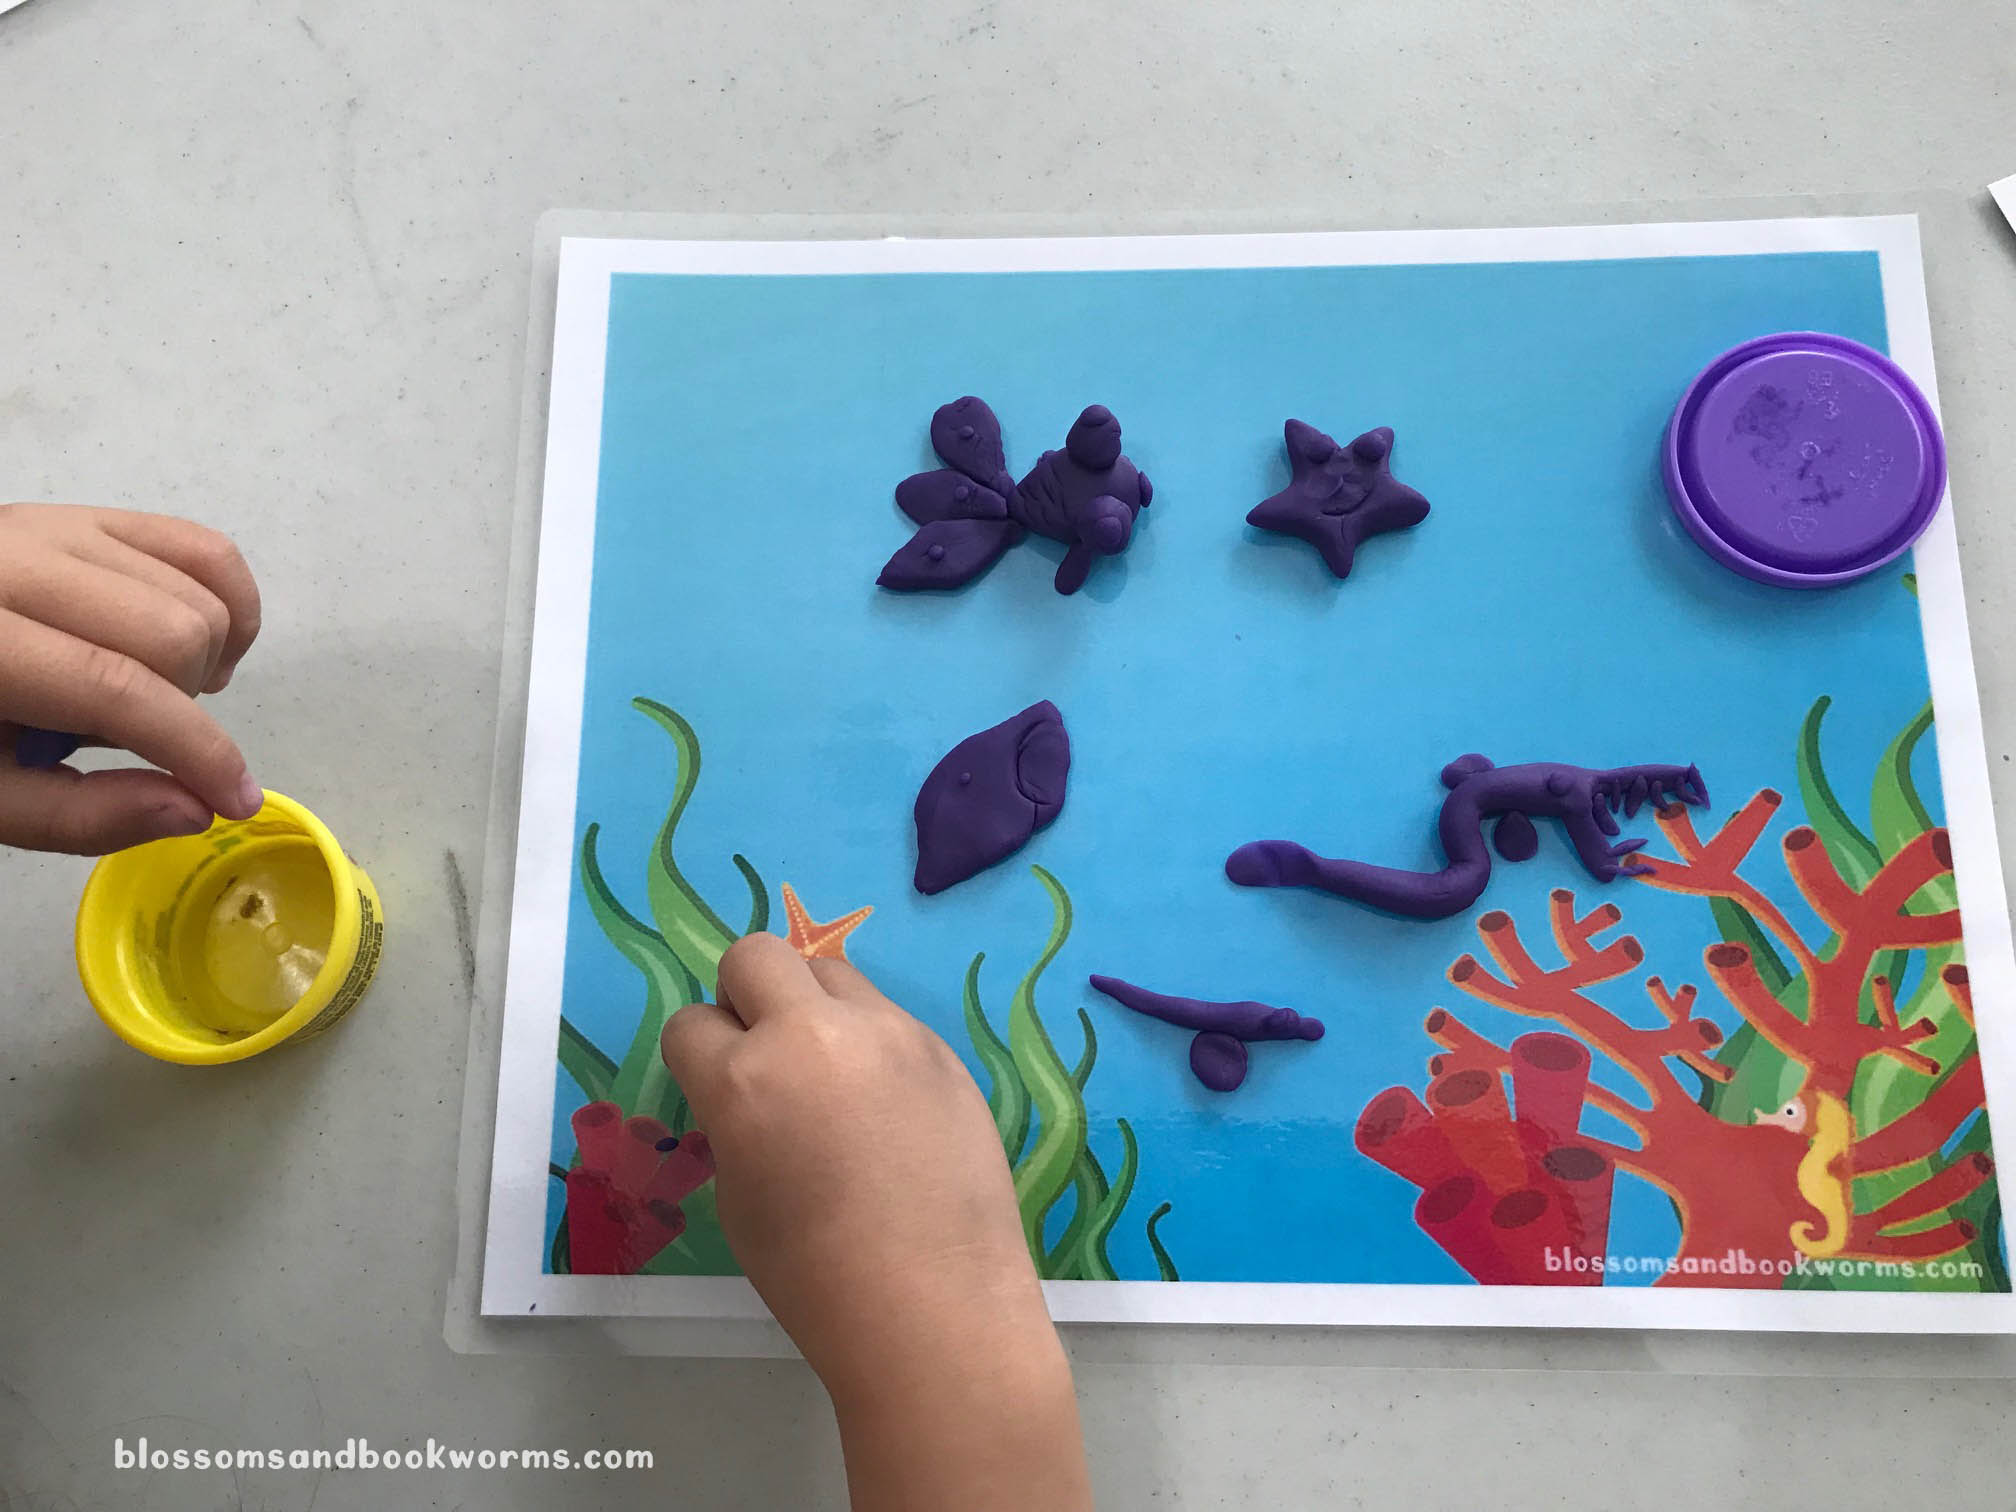
One of the greatest ways to pass the time inside, in my humble opinion 😉, is with play doh! I love the fine motor skills that are developed and the creativity that is applied with a kiddo digs into a container of play doh…. and the SMELL! Seriously, what is it about smells that have the power to bring us right back to our own childhood??
There is so much you can do with play doh – from free play to letters, shapes, colors, building, and more! The possibilities truly are endless. One of my kiddos’ favorite things to do is to make fossils or imprints with their toys in the dough….. hmmmm now that I think about it dinosaur fossils just might need to make an appearance during dinosaur week…. 😁
Today we used the mats while we read fun picture books. We tried to recreate all the characters that we read about. It was so much fun to see their creativity!
This play doh mat inspires with its bright colors but leaves plenty of space for you to design your own scene. You can add sharks, octopi, starfish, clownfish, manatees, whales, dolphins, sea turtles, coral…. whatever you can imagine, it can find a place under the sea!
We printed the mat on paper and then laminated it so that we can use it over and over again. I love having a laminator handy – they are so useful!
My son even got out his favorite reference book for animals – 1,000 Animals – to inspire his creations. I love all the vibrant colors, variety of textures, and strange and unusual things that are under the sea!
Then, I took this activity to story time this week! We read some fun books and then the kiddos made their own creations. Check out these adorable masterpieces! They were so determined and focused. Each child has his or her own style for approaching play doh and it is so amazing to see their imagination come to life!
Would you like to try this activity yourself? I have made not just one, but two!, play doh mats for you!
Click HERE to download the light blue sea play doh mat.
Click HERE to download the bright blue sea play doh mat.