DIY Rock Candy

We were reading fun fiction book one day and in the book the child planted candy and it grew into more candy. Then I had this little conversation with my son:
👦🏻 “Mama, you can’t GROW candy!”
👩🏼 “Oh really?? Let’s find out”
Some of my most favorite activities from out of my kiddo’s saying, “you can’t ….” you can fill in the blank. Then we try to look at it from another direction and see if you really can or cannot do it. Growing candy has to be the most 🍬SWEET 🍬 experiment yet!
The recipe is very simple. The hardest part is waiting 2-3 days while the crystals grow in size!
‼️ This activity uses very hot liquids and requires full parental supervision.

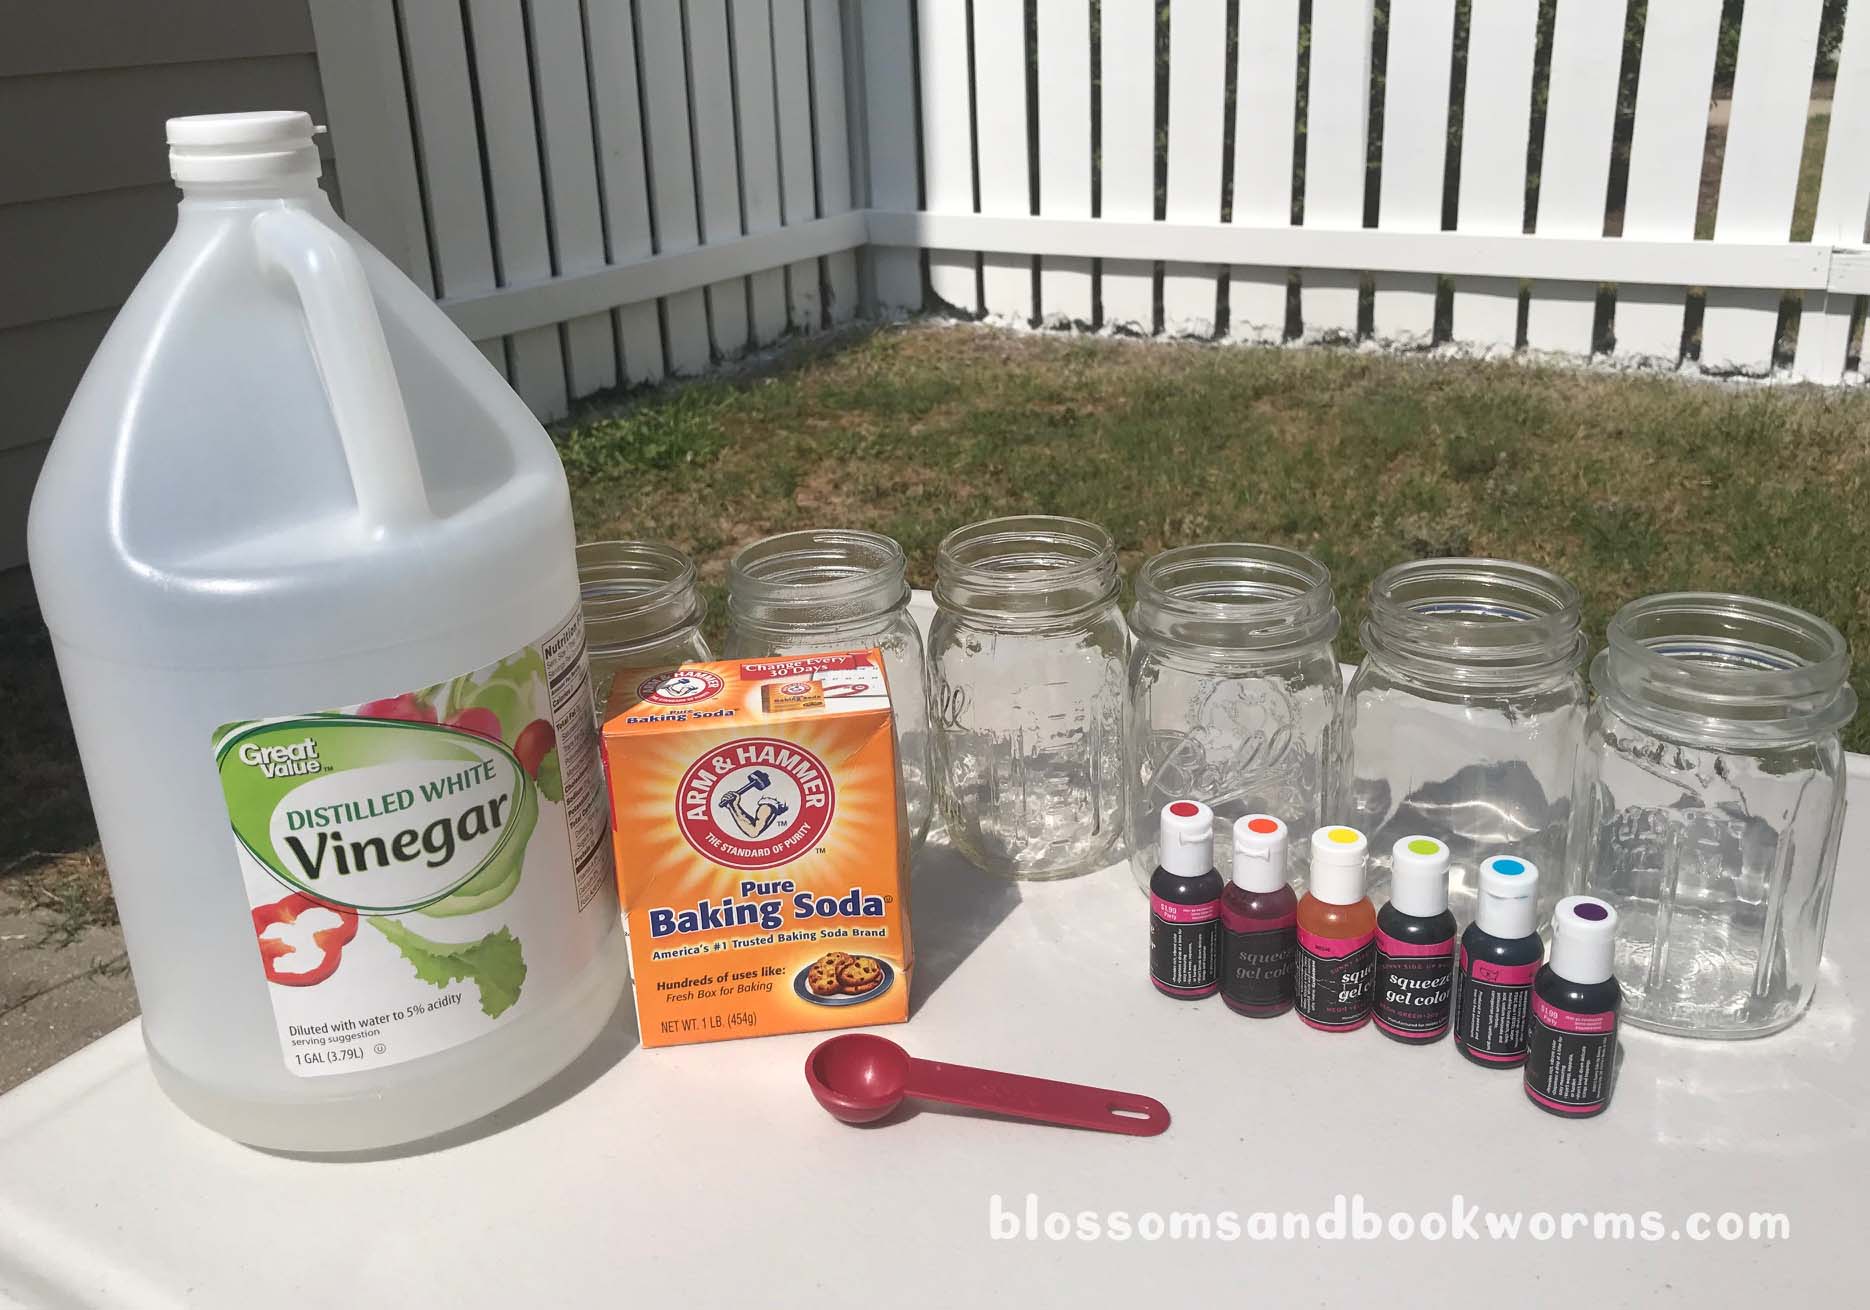
Ingredients:
- 1 Cup of Water
- 3 Cups of White Sugar + extra 1/4 cup white sugar
- Food Coloring – I used gel color that I had on hand
- Optional – Candy flavoring to make your rock candy extra special!
You will also need a sauce pan, measuring cups, glasses (or jars) for growing the crystals in, and lollipop sticks.
Note: This recipe was perfect for my containers, but you could easily double it to make more candy or to fill bigger containers!

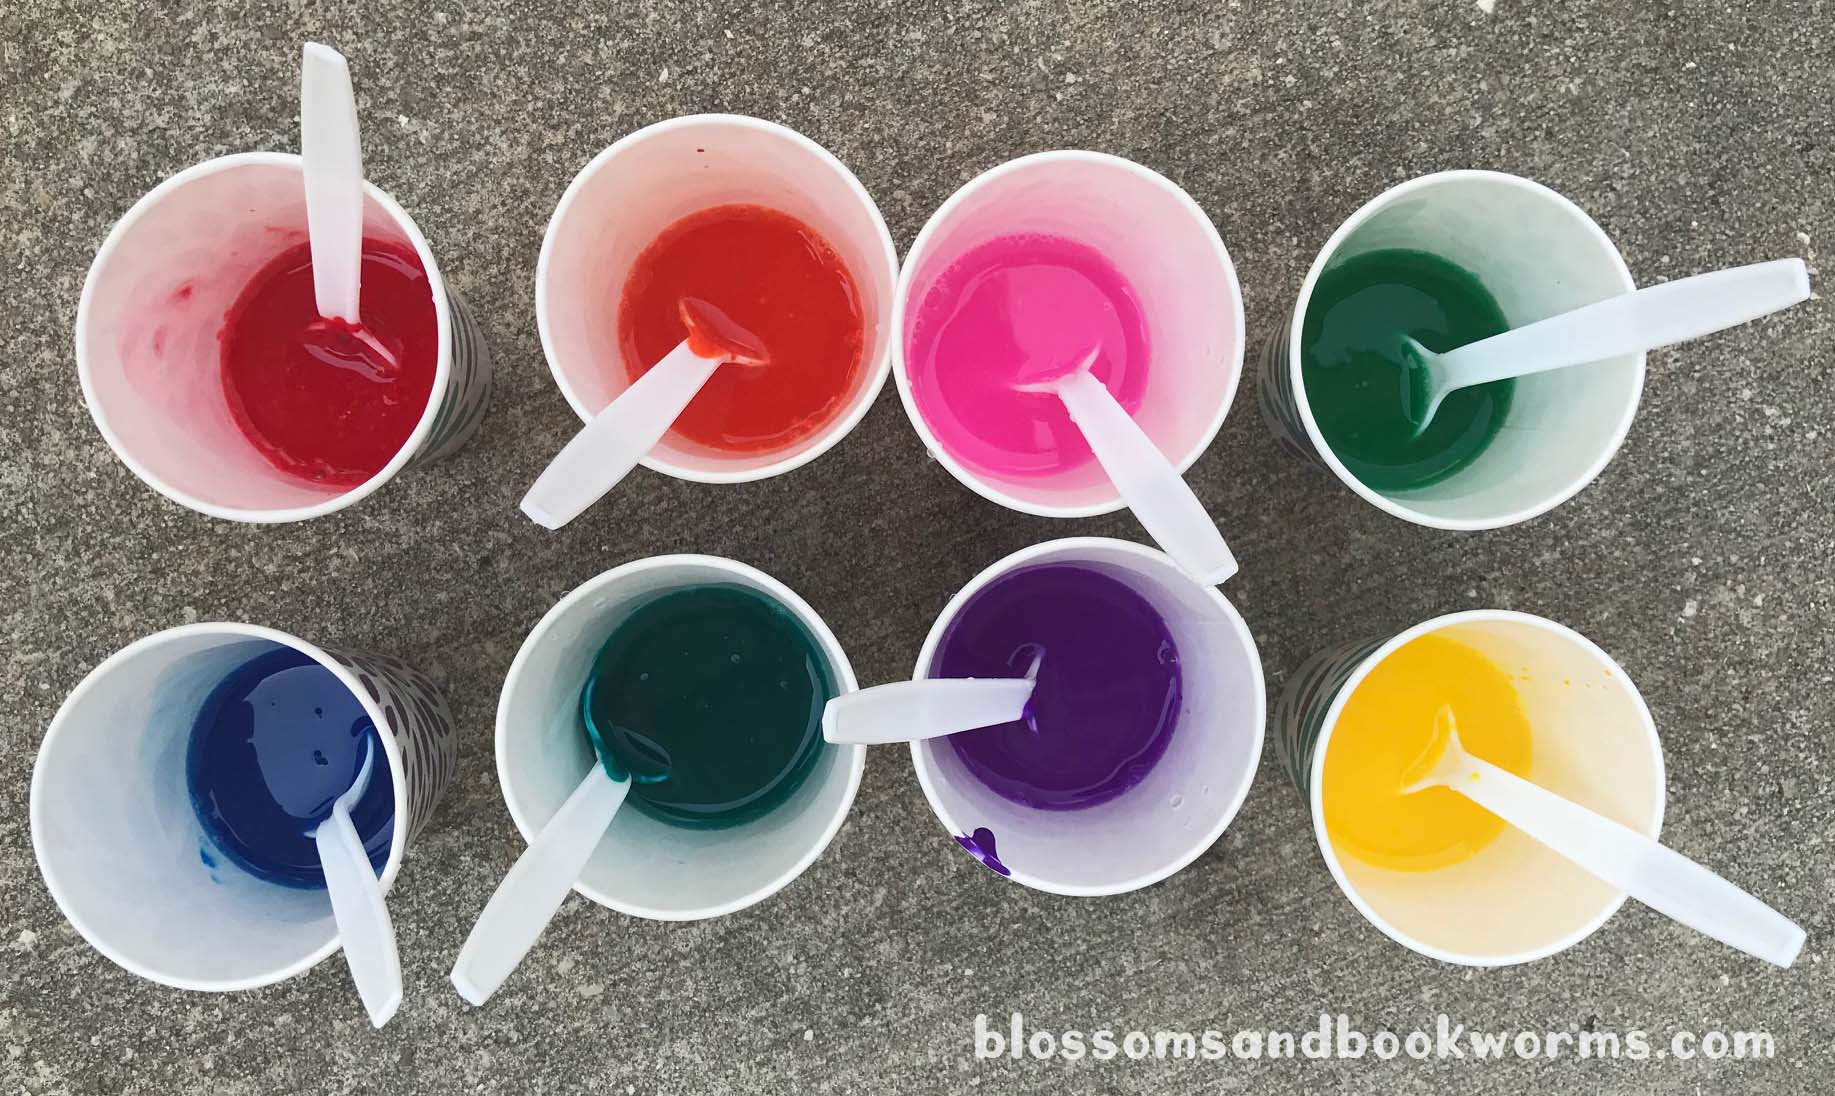
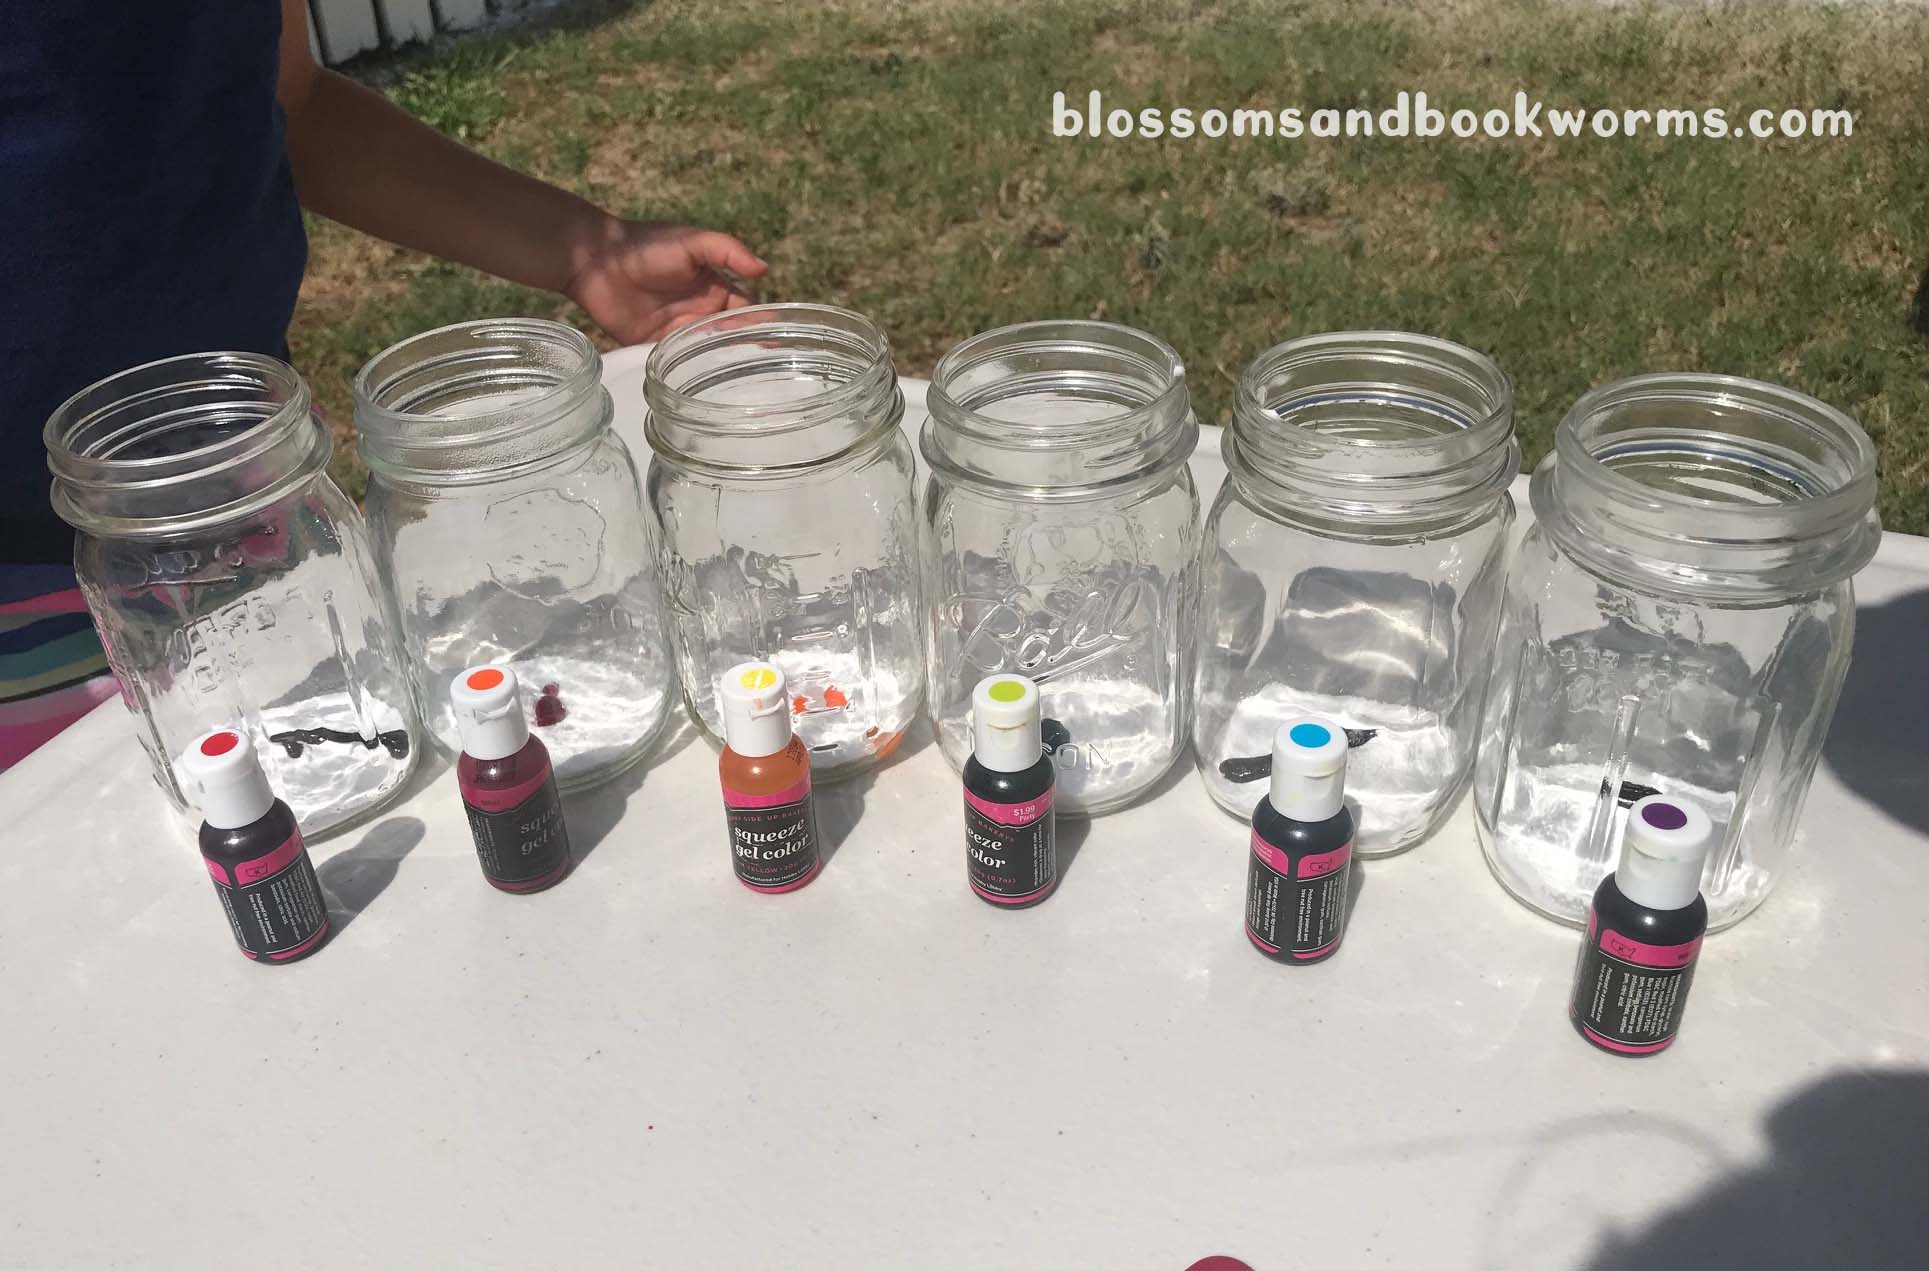
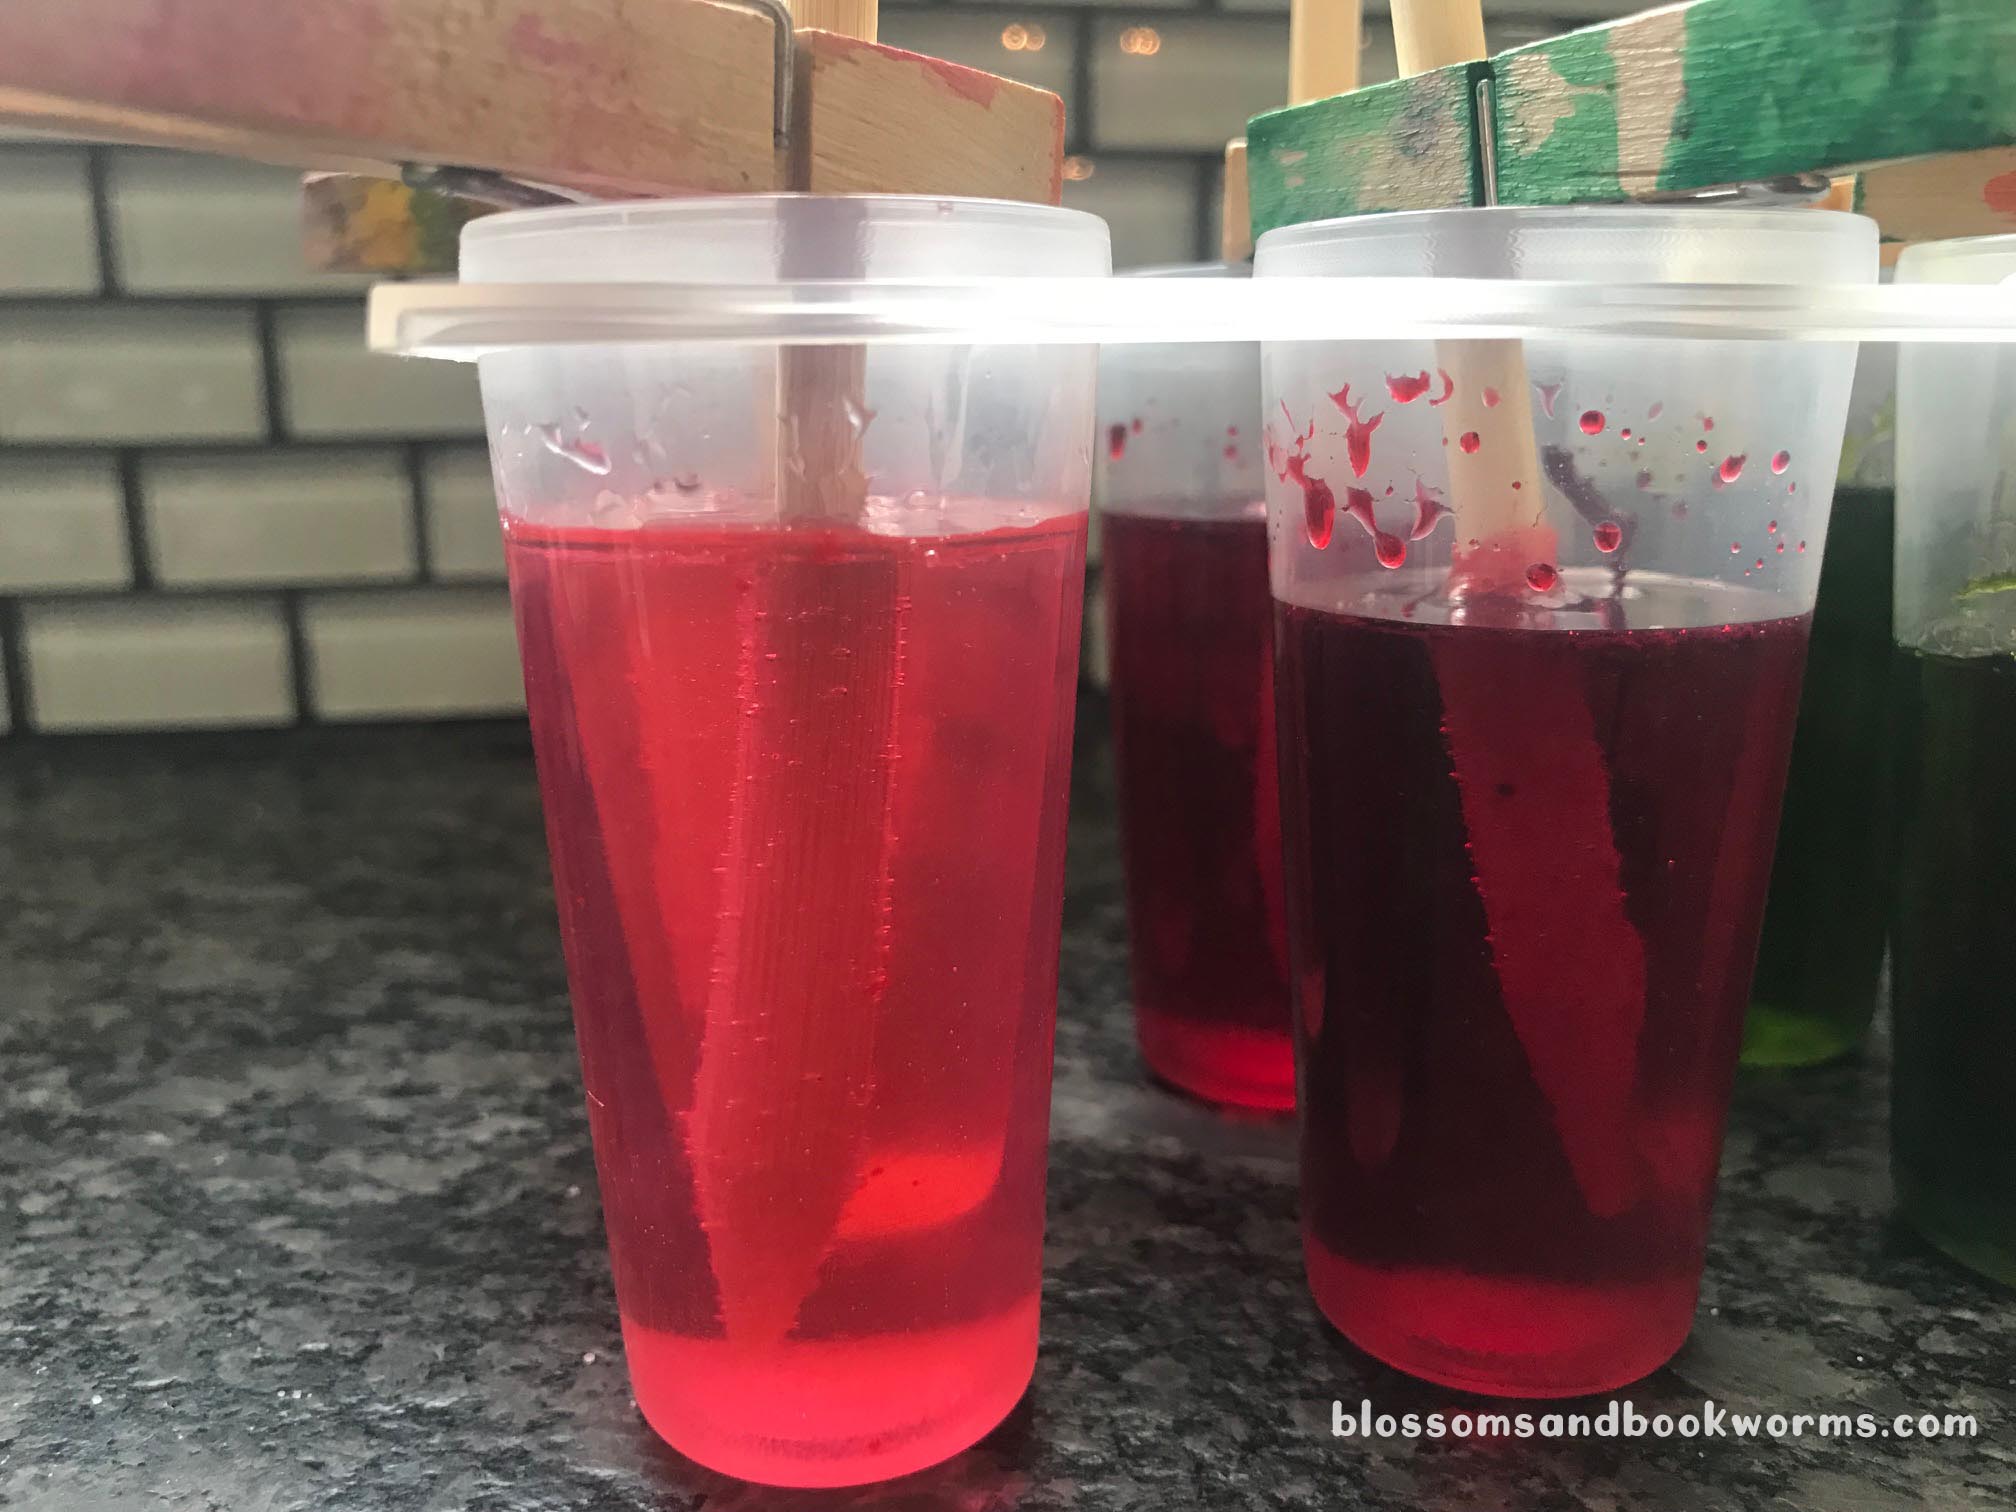
We grew 4 different flavors and colors of rock candy. For each color, you will need a glass or jar. First, I placed the stick in the middle of the glass and used clothes pins to hold it in the center. You do not want the stick to touch the bottom or the sides of the glass.
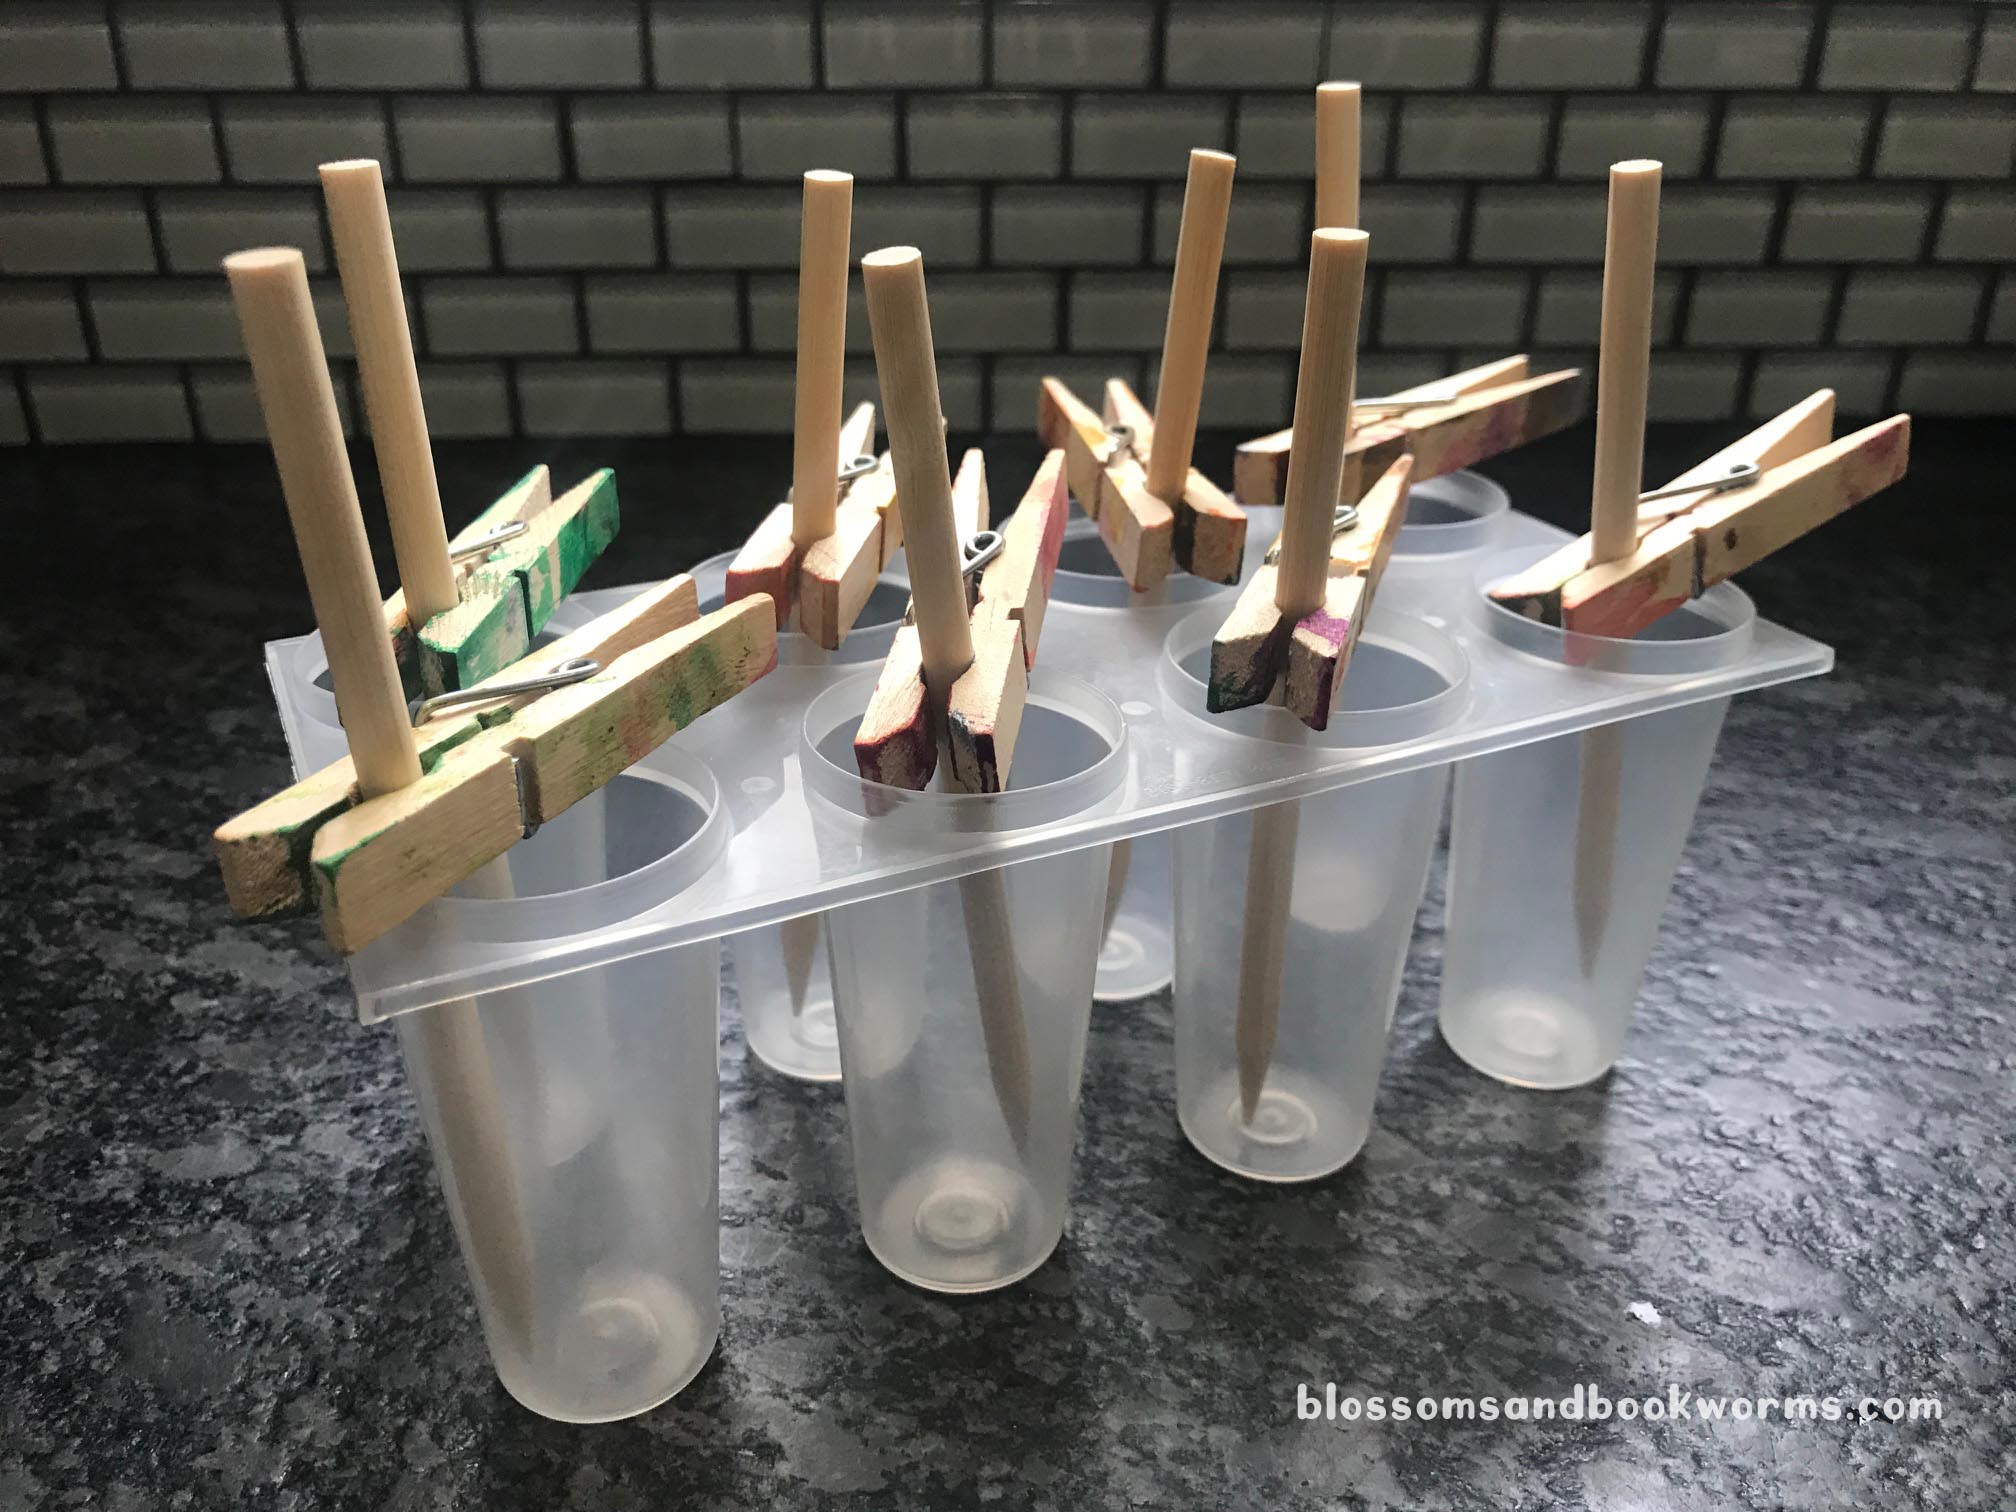
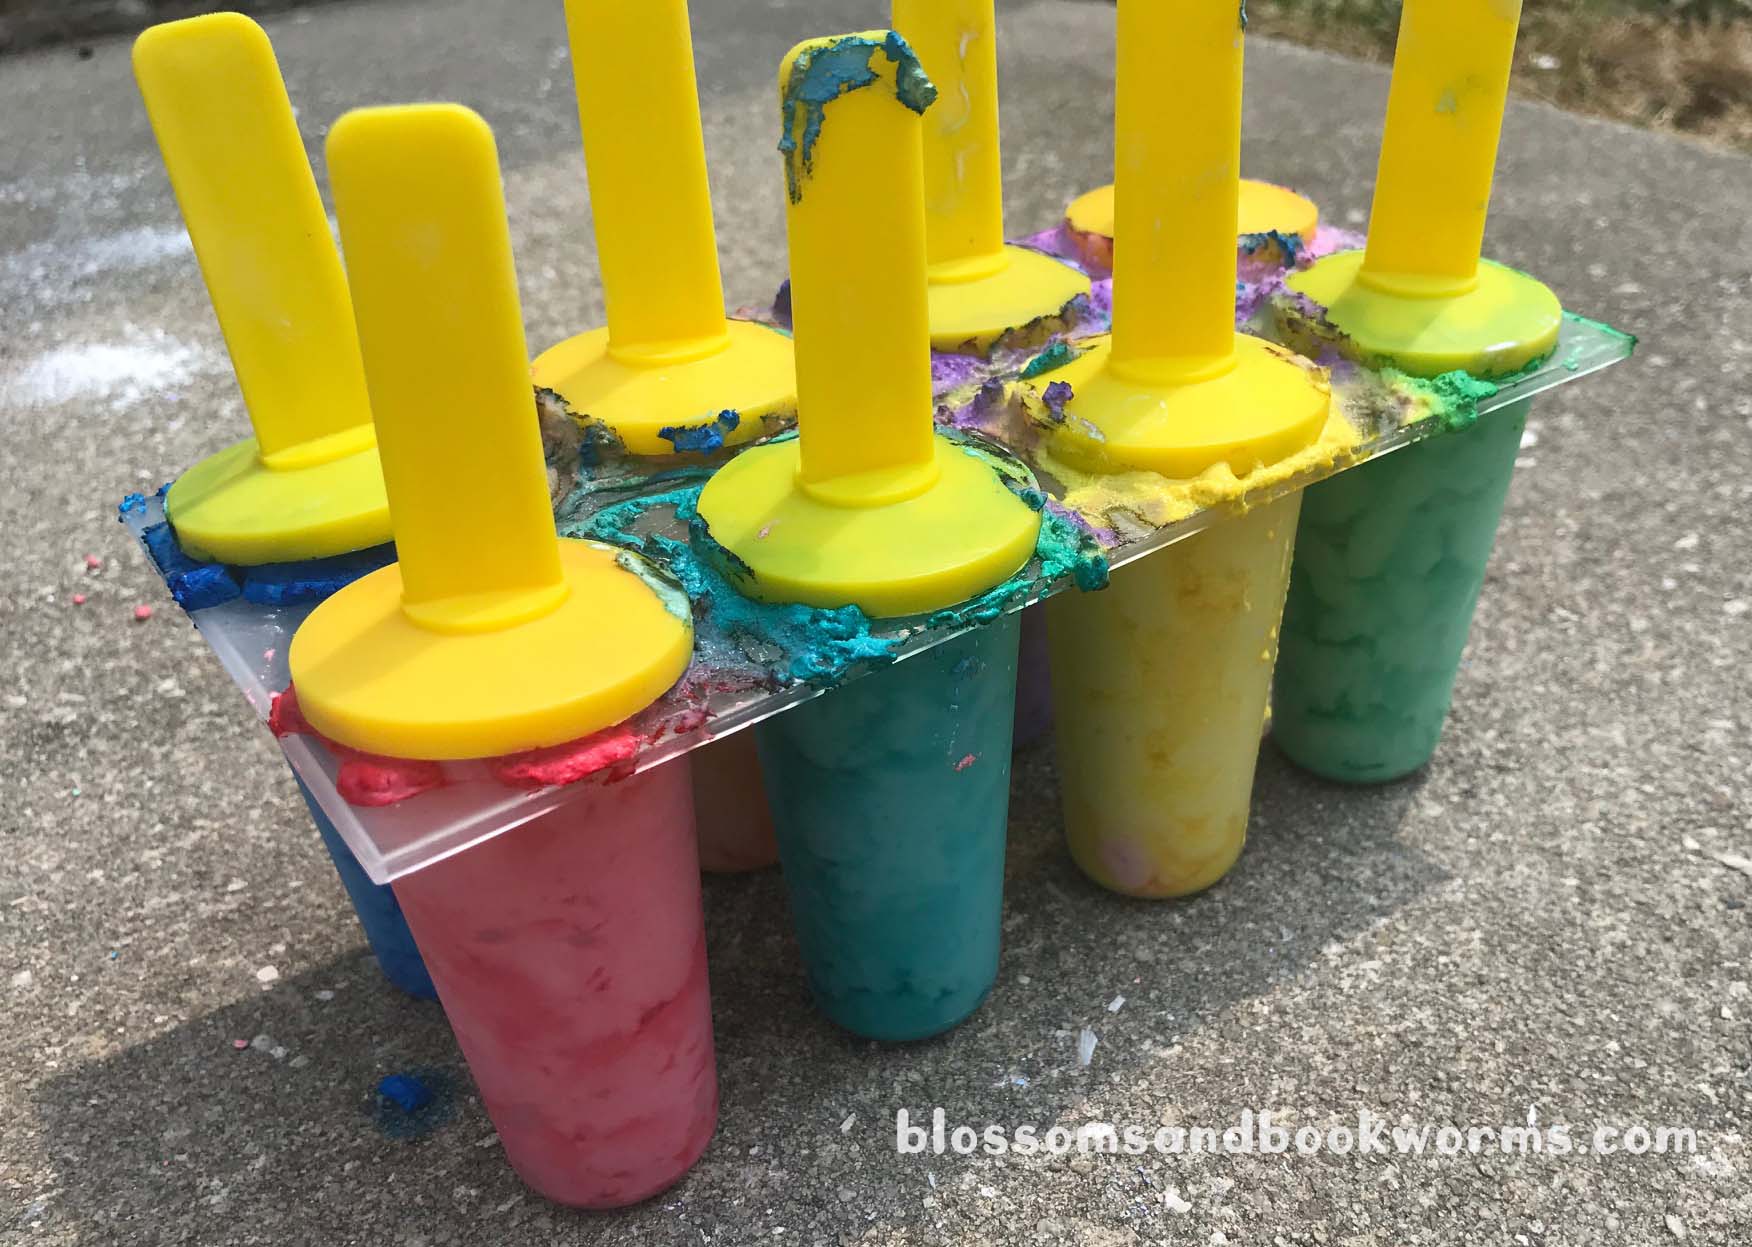
I was curious if I could grow crystals in a smaller container to save on the liquid necessary. Hence we also used this popsicle mold and clipped the sticks in the middle the same as we did for the glasses.
Next, you will take the prepped sticks out of the glass. Into the glass add small dab of gel color and 2 drops of candy flavor.
Now heat the 1 C Water and 3 C White Sugar in a saucepan over medium heat. Stir the mixture constantly to dissolve the sugar.
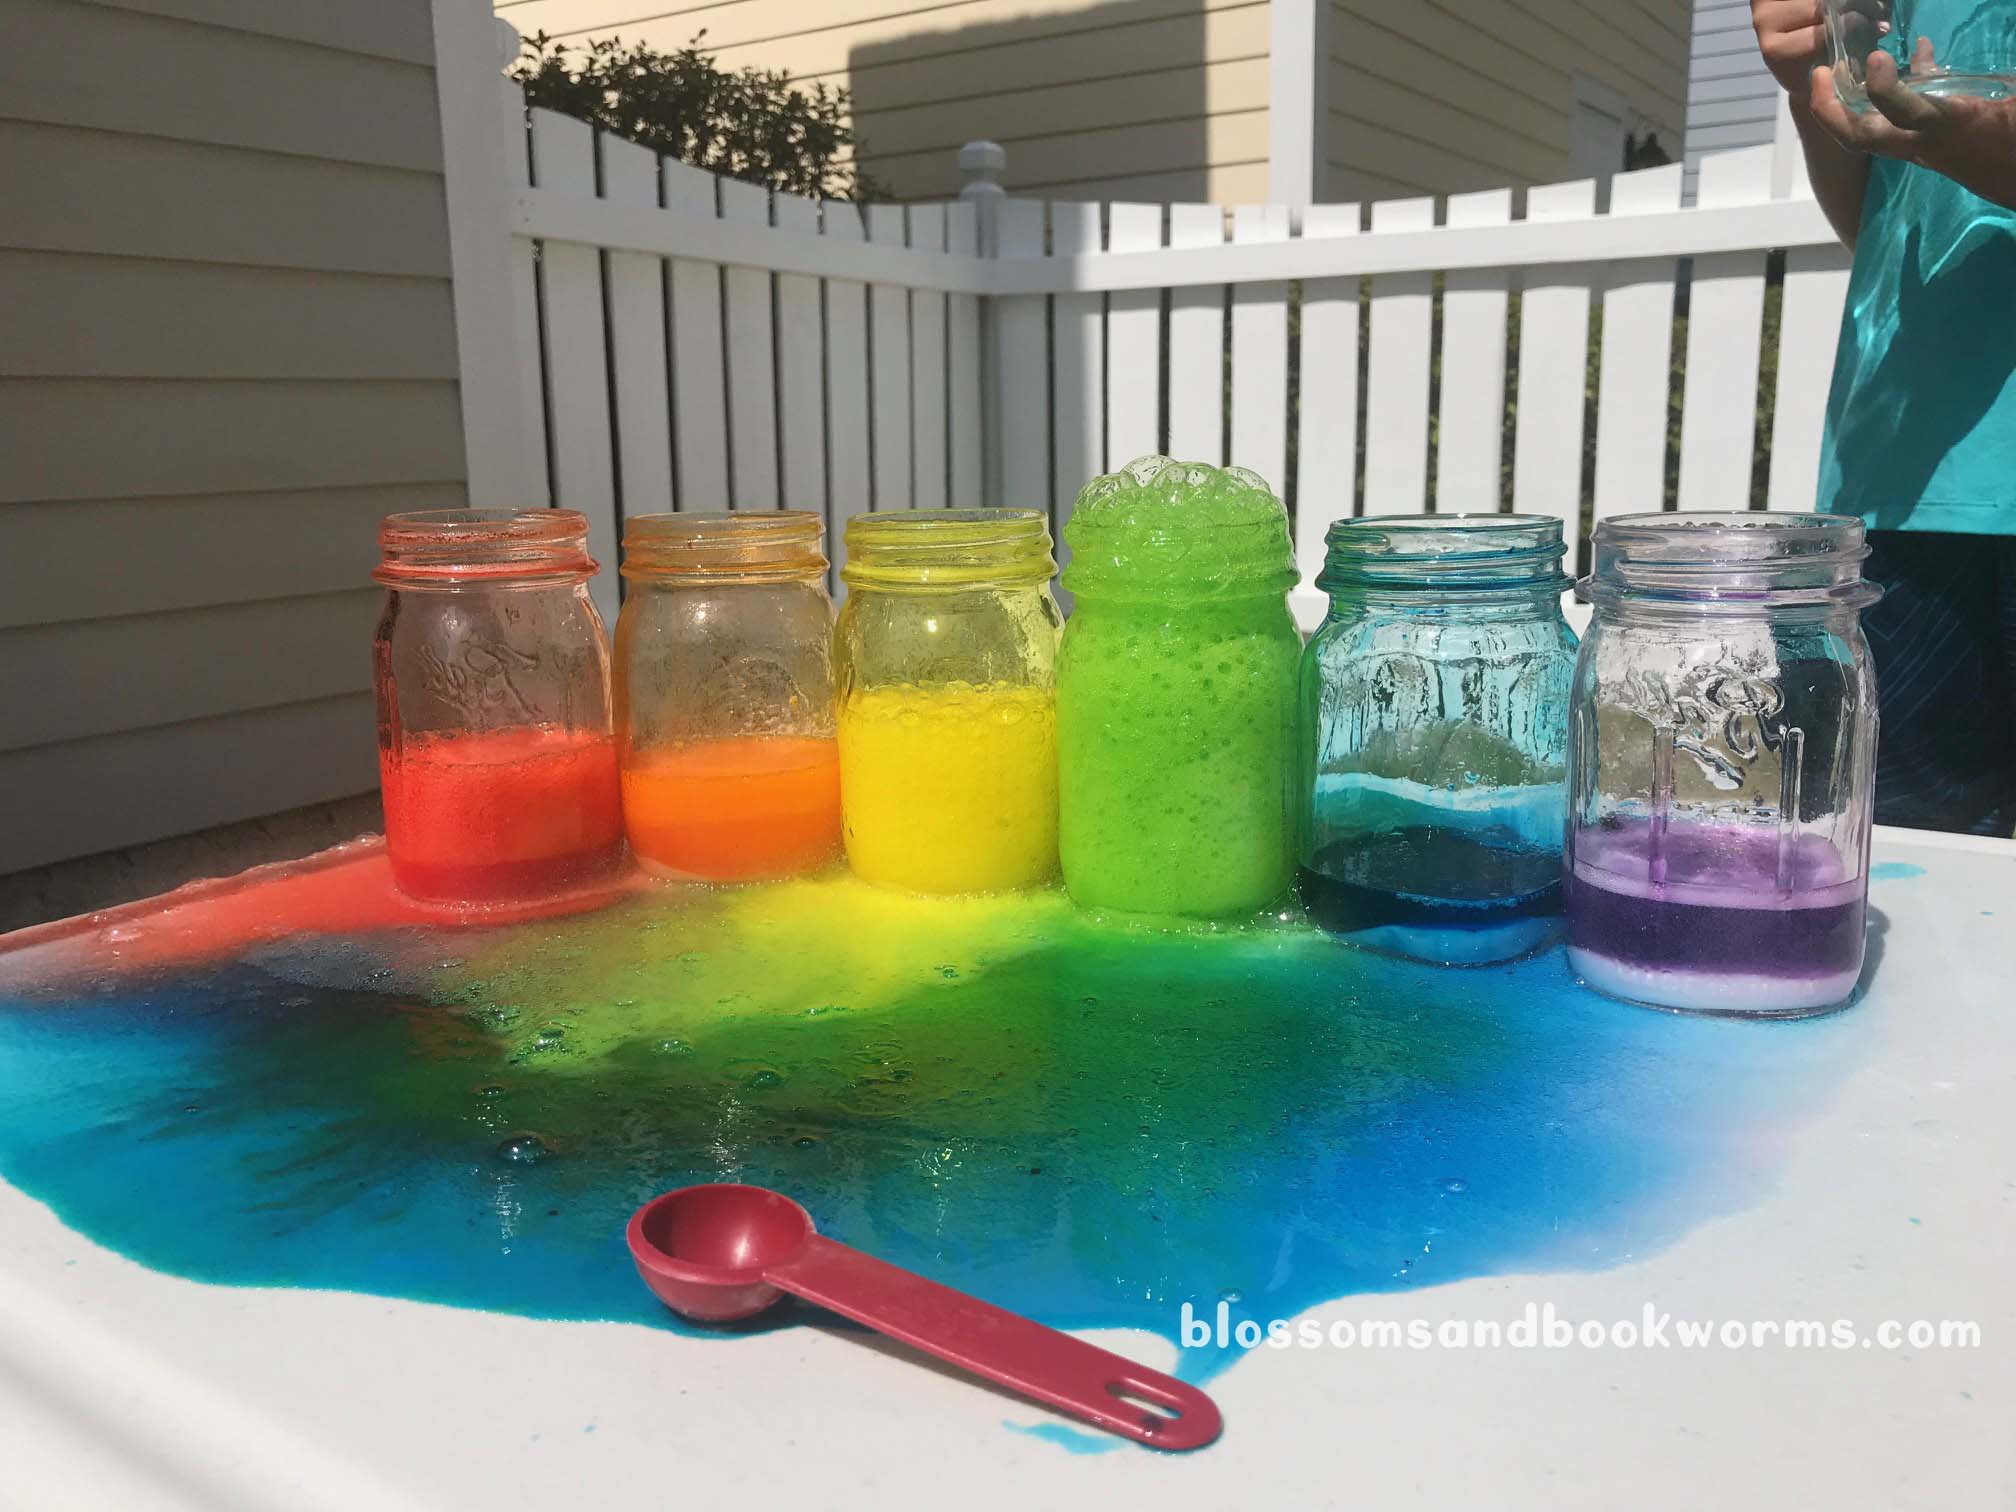
Stir constantly for about 1 minute after it comes to a boil, then turn off the heat. Transfer hot liquid to a heat proof measuring cup with a pour spout. Pour sugar syrup equally into each glass and stir with an extra stick to combine the food coloring and flavor with the sugar syrup.
Allow the sugar syrup to cool in the glasses for about half an hour before placing the wooden sticks into the liquid.
Next, place the wooden sticks on the clips into the containers to wet the stick.

Take the wet wooden stick out of the syrup mixture and roll it in the dry white sugar. This step is super important – the dry sugar will help the sugar crystals attach and grow on the wooden stick.

Place the sugar coated wooden sticks into glasses with the sugar syrup. Be gentle – you want to keep that dry sugar on the wooden stick! Make sure the stick isn’t touching the sides or bottom of the glass.
Set aside for 2-3 days and watch the sugar crystals grow!
On day 3, take the sugar crystals out of the syrup. Allow the crystals to drip off and then place on a paper towel to dry.
Now it is time to enjoy your treat!
Your kids will be totally in awe that you GREW candy right in your own kitchen!
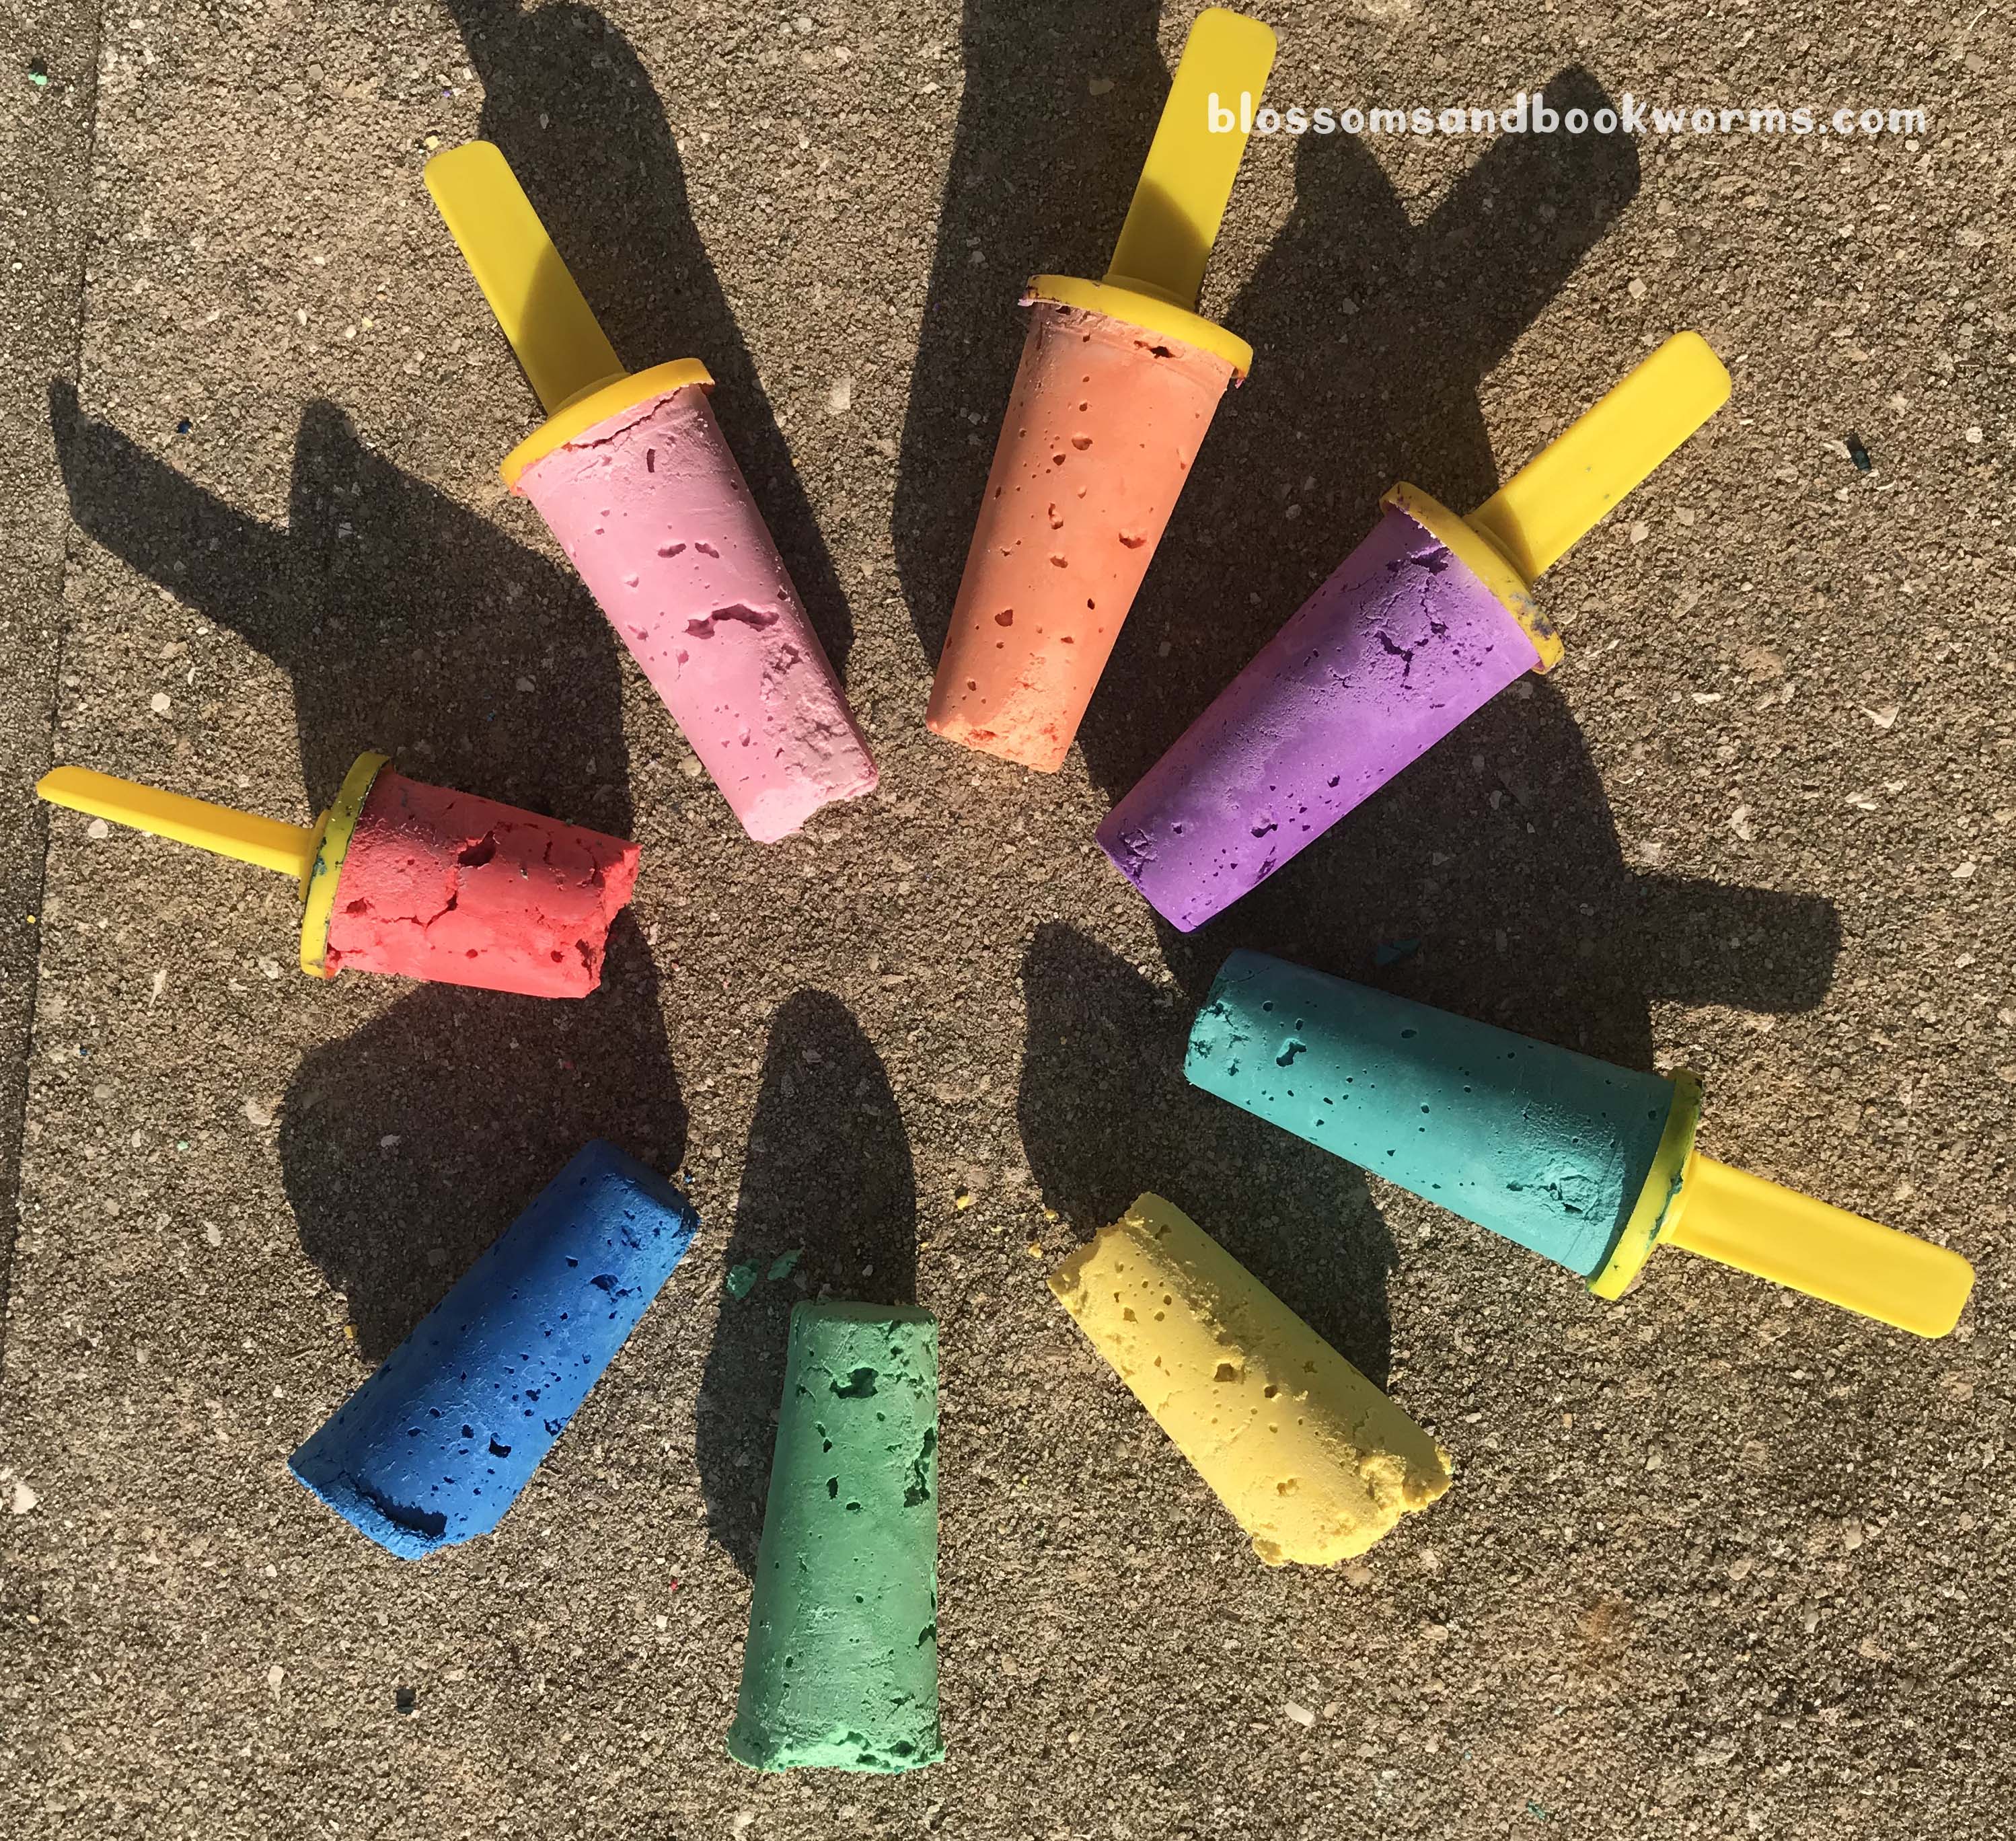
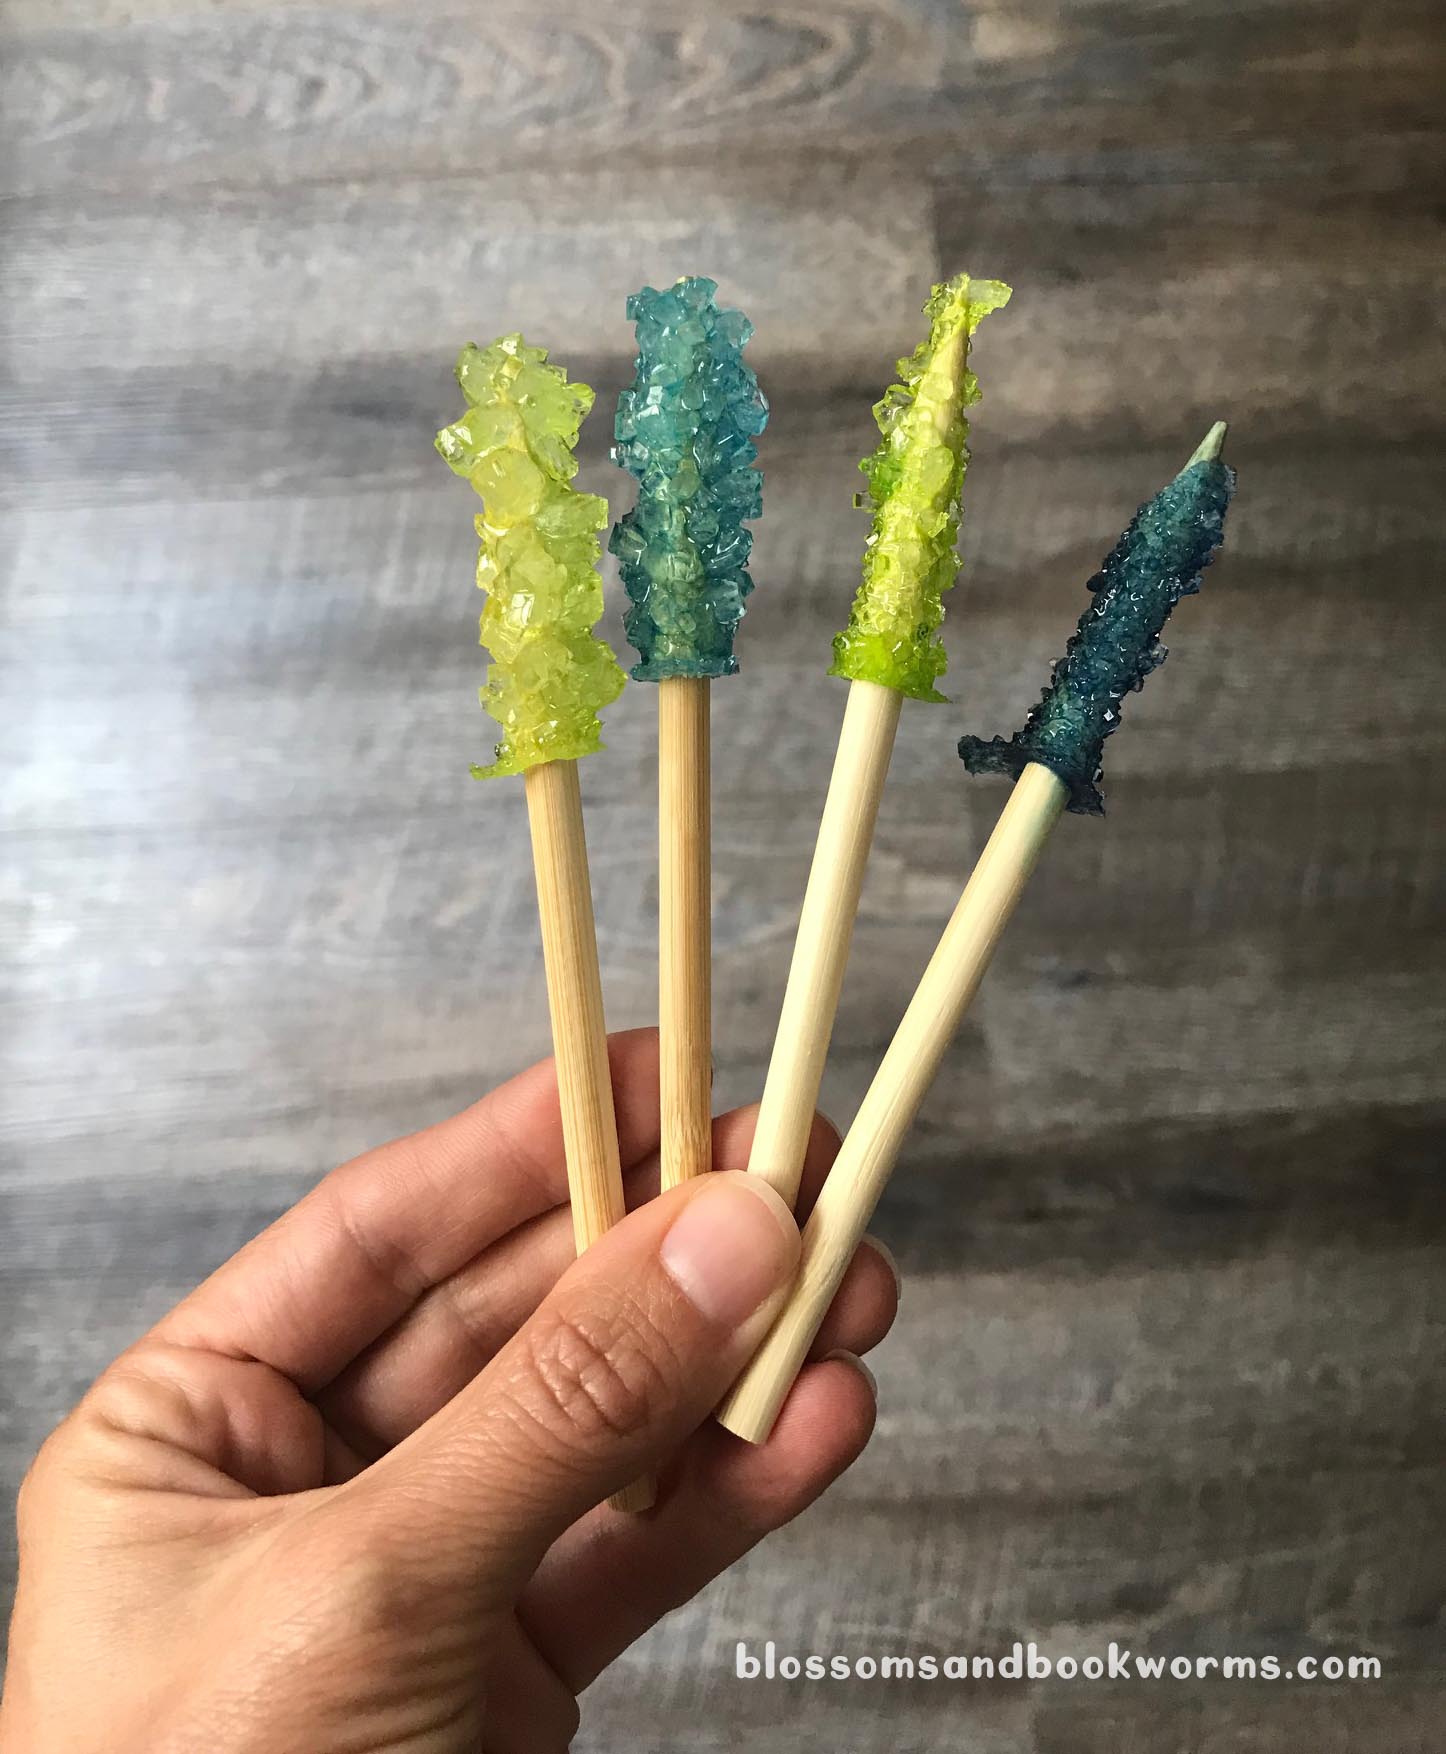
Oh and are you curious if there was a difference between my small container and bigger glasses? There was! The sugar crystals that grew in the bigger containers were bigger than the sugar crystals that grew in the popsicle mold. Imagine that!

Look at all those colors! These 4 grew in the smaller popsicle mold. The crystals are smaller but they are still super tasty!
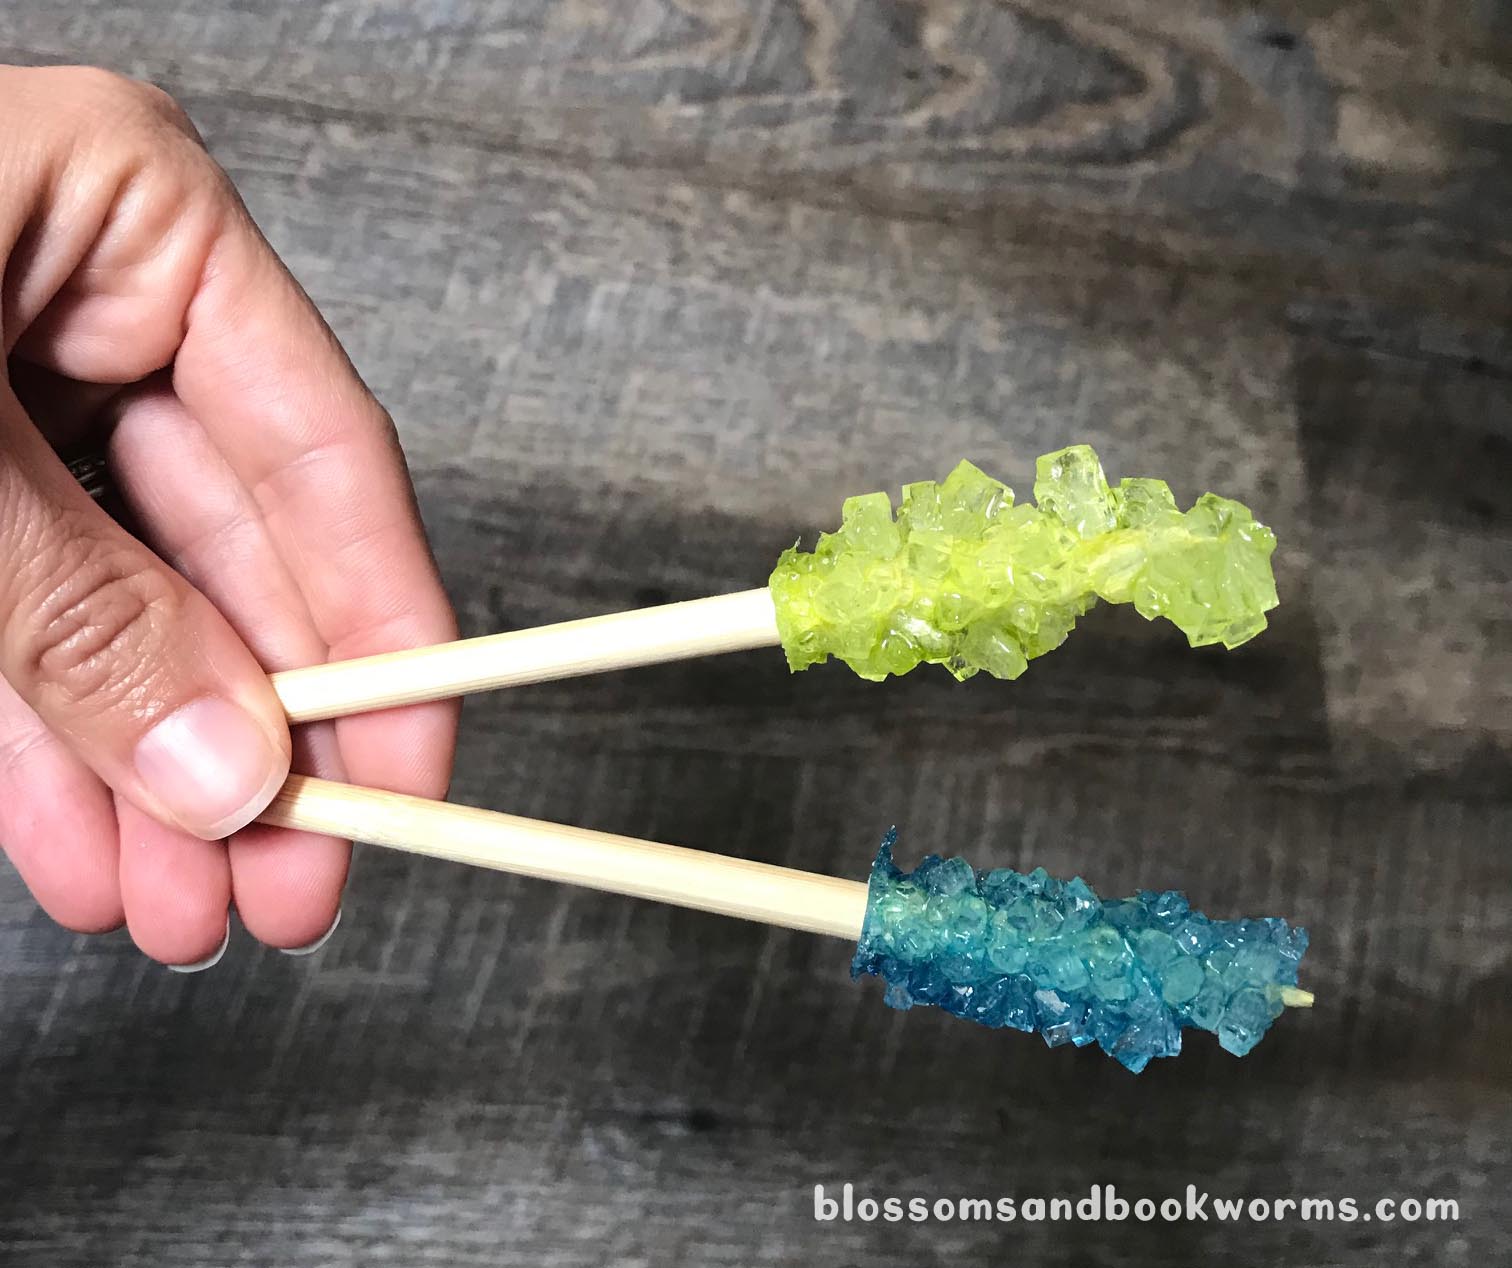
Here is an event better comparison. The green and blue on the left grew in the bigger glasses, the green and blue on the right grew in the smaller popsicle mold. So cool!
🍧 Fun tip: the leftover sugar syrup would make the PERFECT snow cone flavoring!
🍭 It turns out you really can grow candy with a couple ingredients and a big dose of patience 🍭
Happy Growing!!