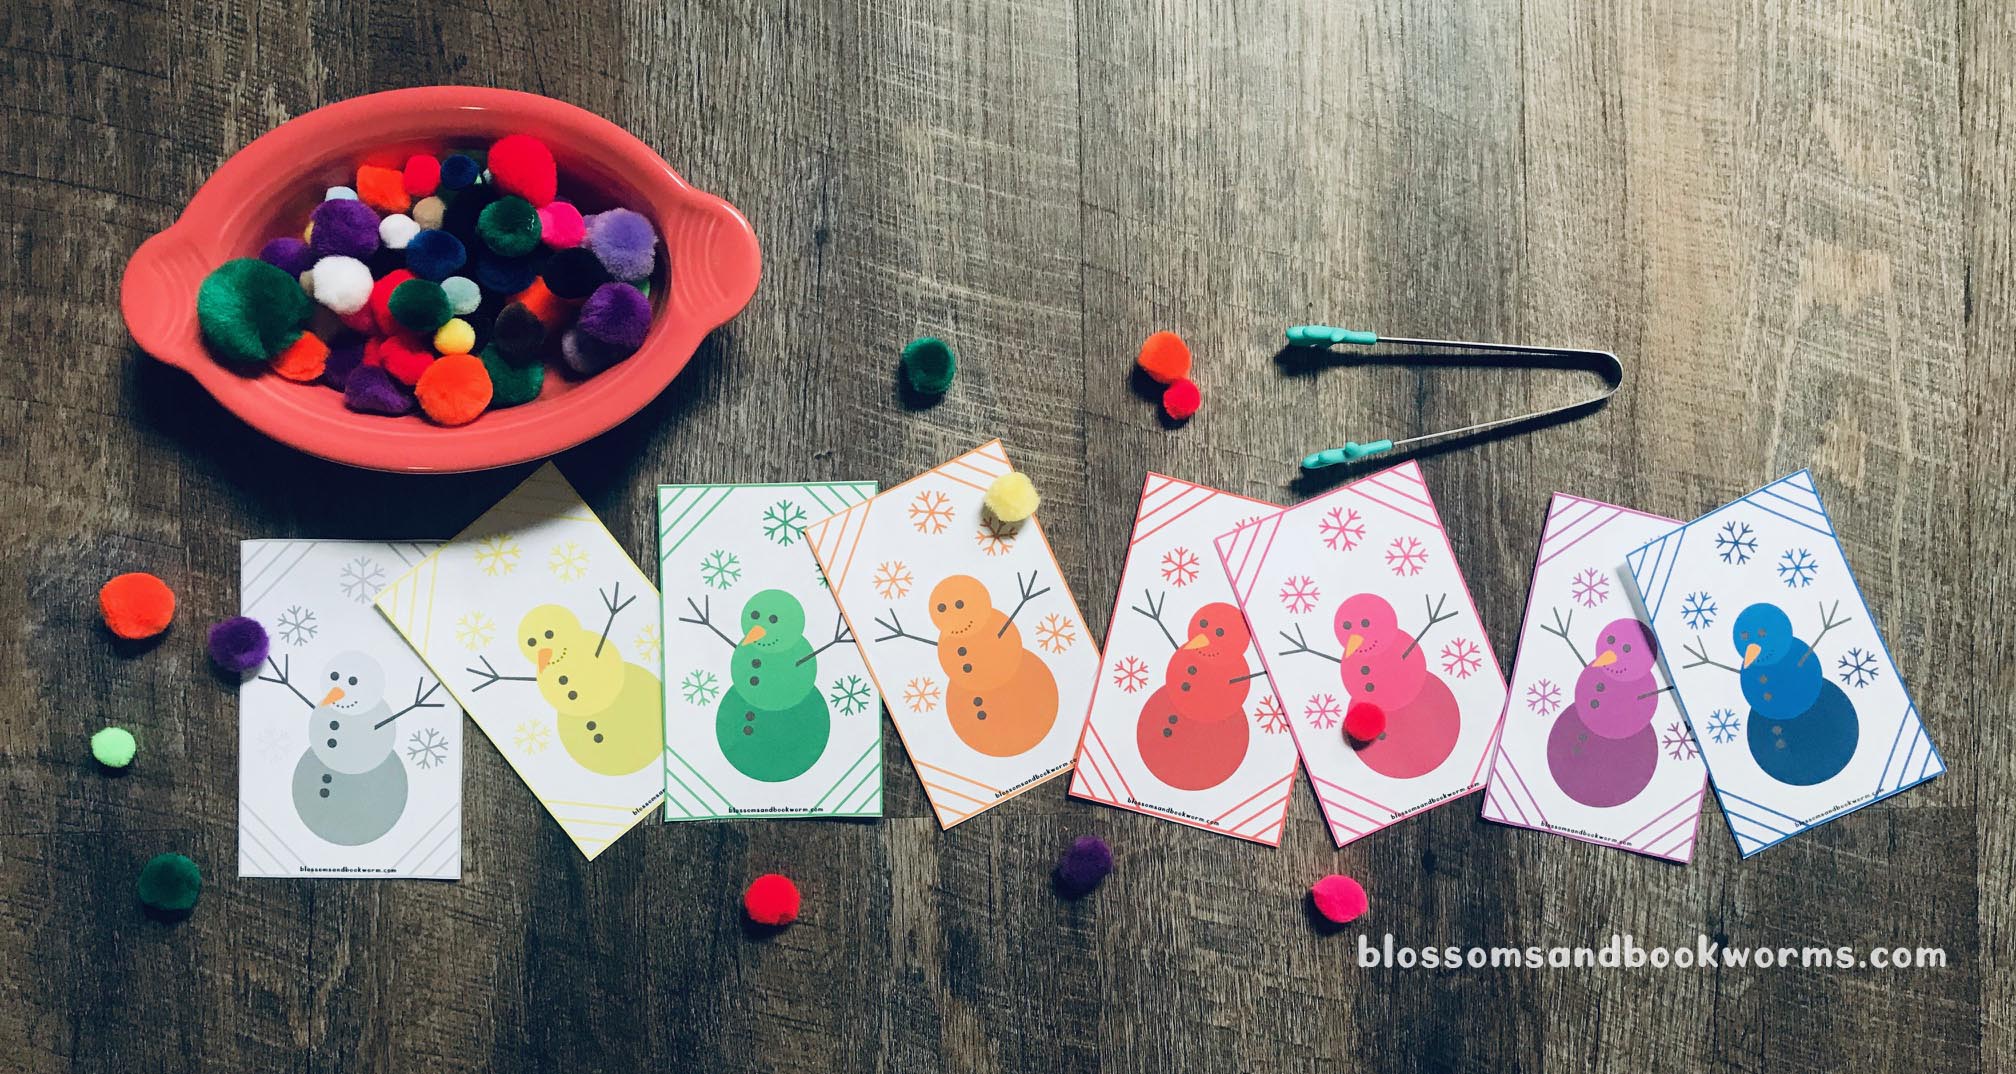
Need a COOL way to practice COLORS? Check out these amazing Snowman Color cards! I love the bright colors!
Grab pom-poms, a pair of tongs, and this FREE printable and start the learning I mean FUN!
Your little will work on fine motor skills and grip strength as they pinch the tongs and carry the pom-pom to the cards. Place the pom-poms on the snowflakes and talk about color matching, sorting, visual discrimination, and counting!
You can use the entire rainbow of colors, or just one or two colors at a time. You can even have your child place colored blocks, beads, or stickers on the snowflakes!
My daughter still calls this color “lell-low” and there is something so endearing about it that I hope no one ever corrects her!
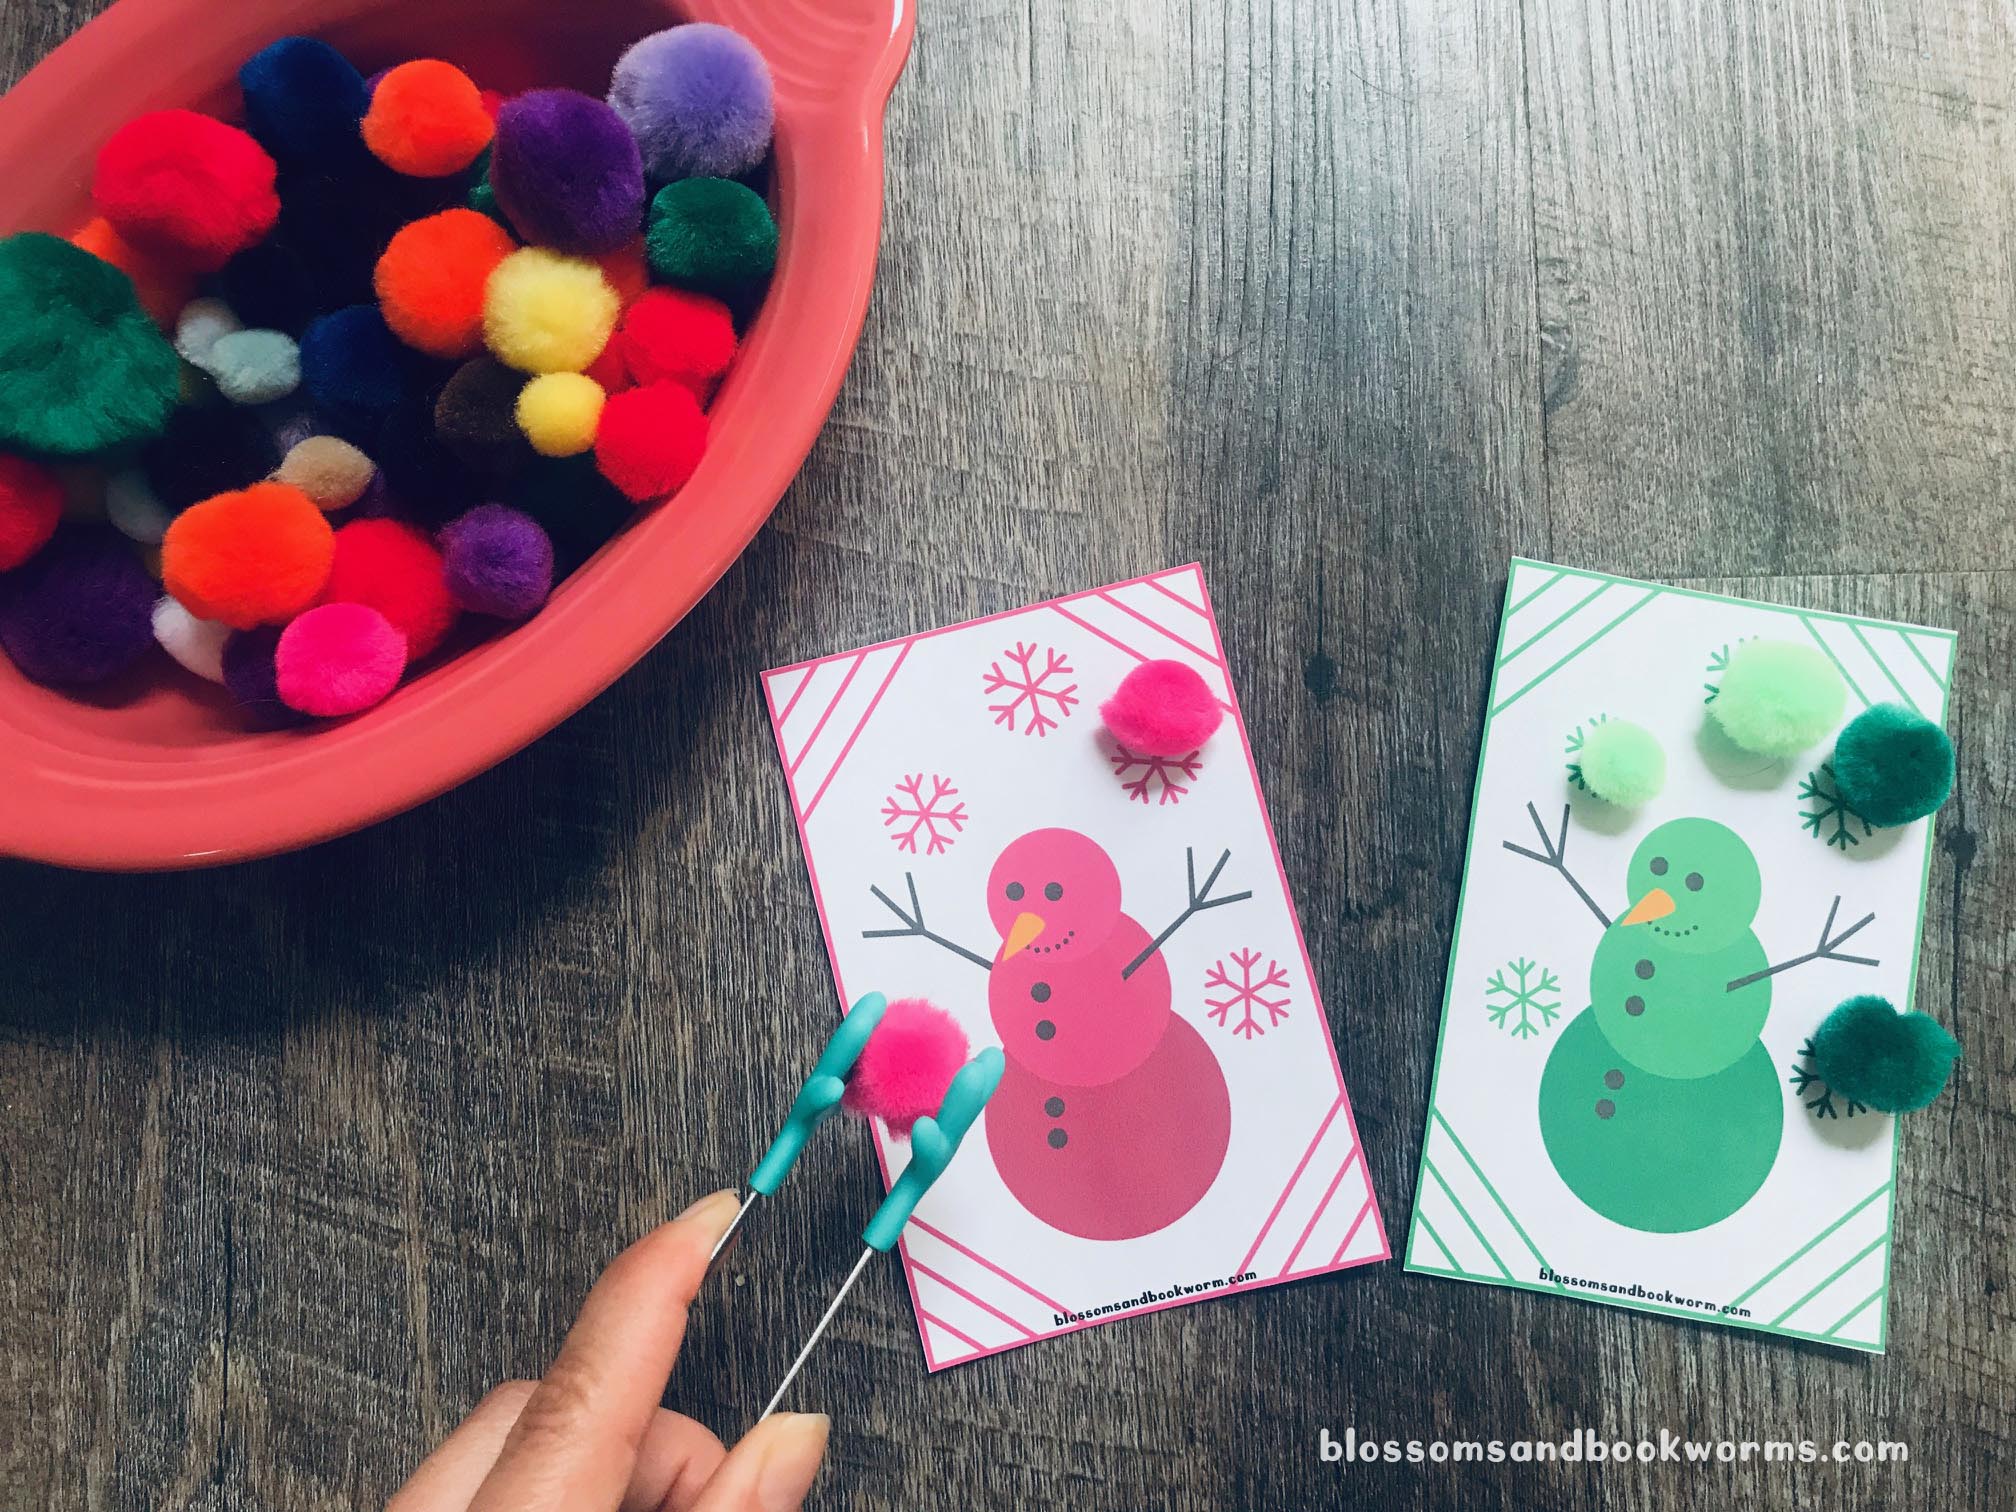
Pull out the colors your child struggles with and focus on those cards. This is a fun way to seek and find the colors in the pile of pom-poms.
Make it a little “competition” which snowman card will fill up first?!
And check out those 2 different shades of green pom-poms! This is a great time to talk about color variations!
Such a simple activity that has tons of benefits! I cannot wait to hear how you use it!
I love activities that let creativity and imagination bloom!
Check out this super fun Christmas activity! Your readers can decorate their own Christmas tree and let their own creativity run wild all while developing their hand-eye coordination and fine motor skills. In fact, you can even sneak in a little color and shape learning!
Decorating your own Christmas tree doesn’t take special materials or even superior creativity. Pull out what you have:
markers
crayons
paint
stickers
string
paper shapes
buttons
ribbon
glitter (if you are super brave 🤣)
Anything goes!
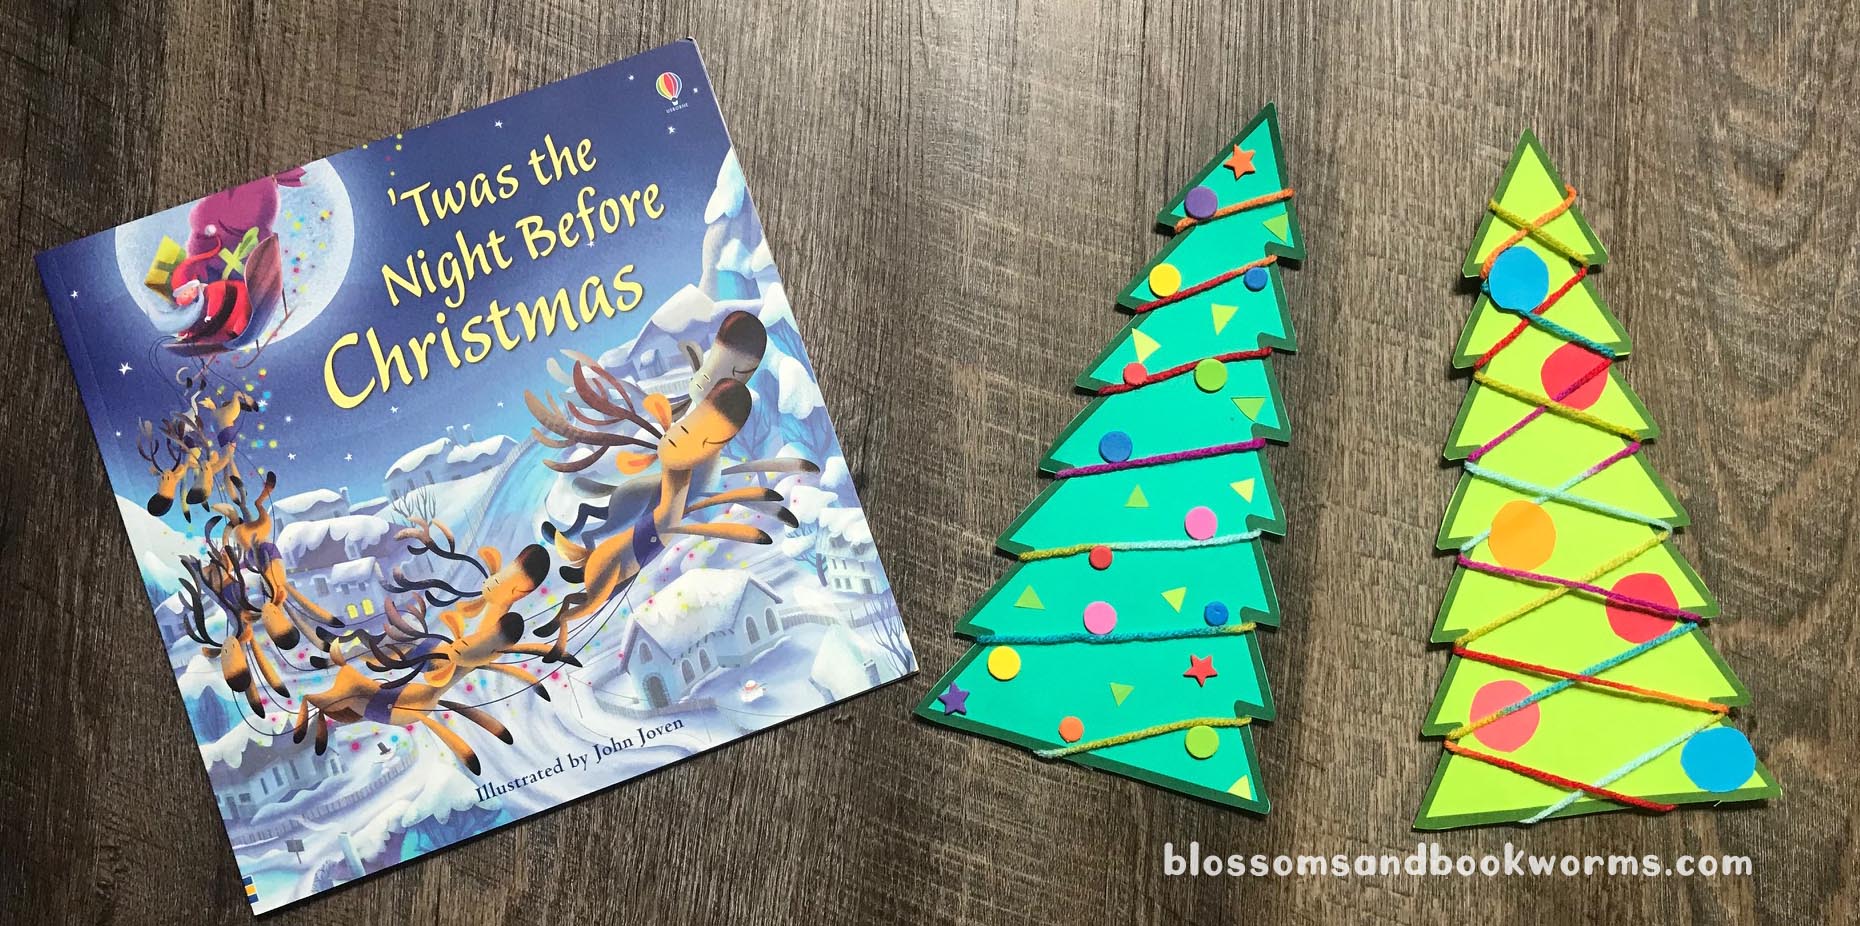
The best way to inspire my kiddos creativity is to first read and then have them complete the activity. I love these classic Christmas stories and both feature decorated trees to inspire your readers.
This activity is super versatile. You can print the FREE printable (on white or colored paper!) and decorate right on the paper or you can cut out the tree, decorate, and glue it onto a bigger collage. The options are endless!
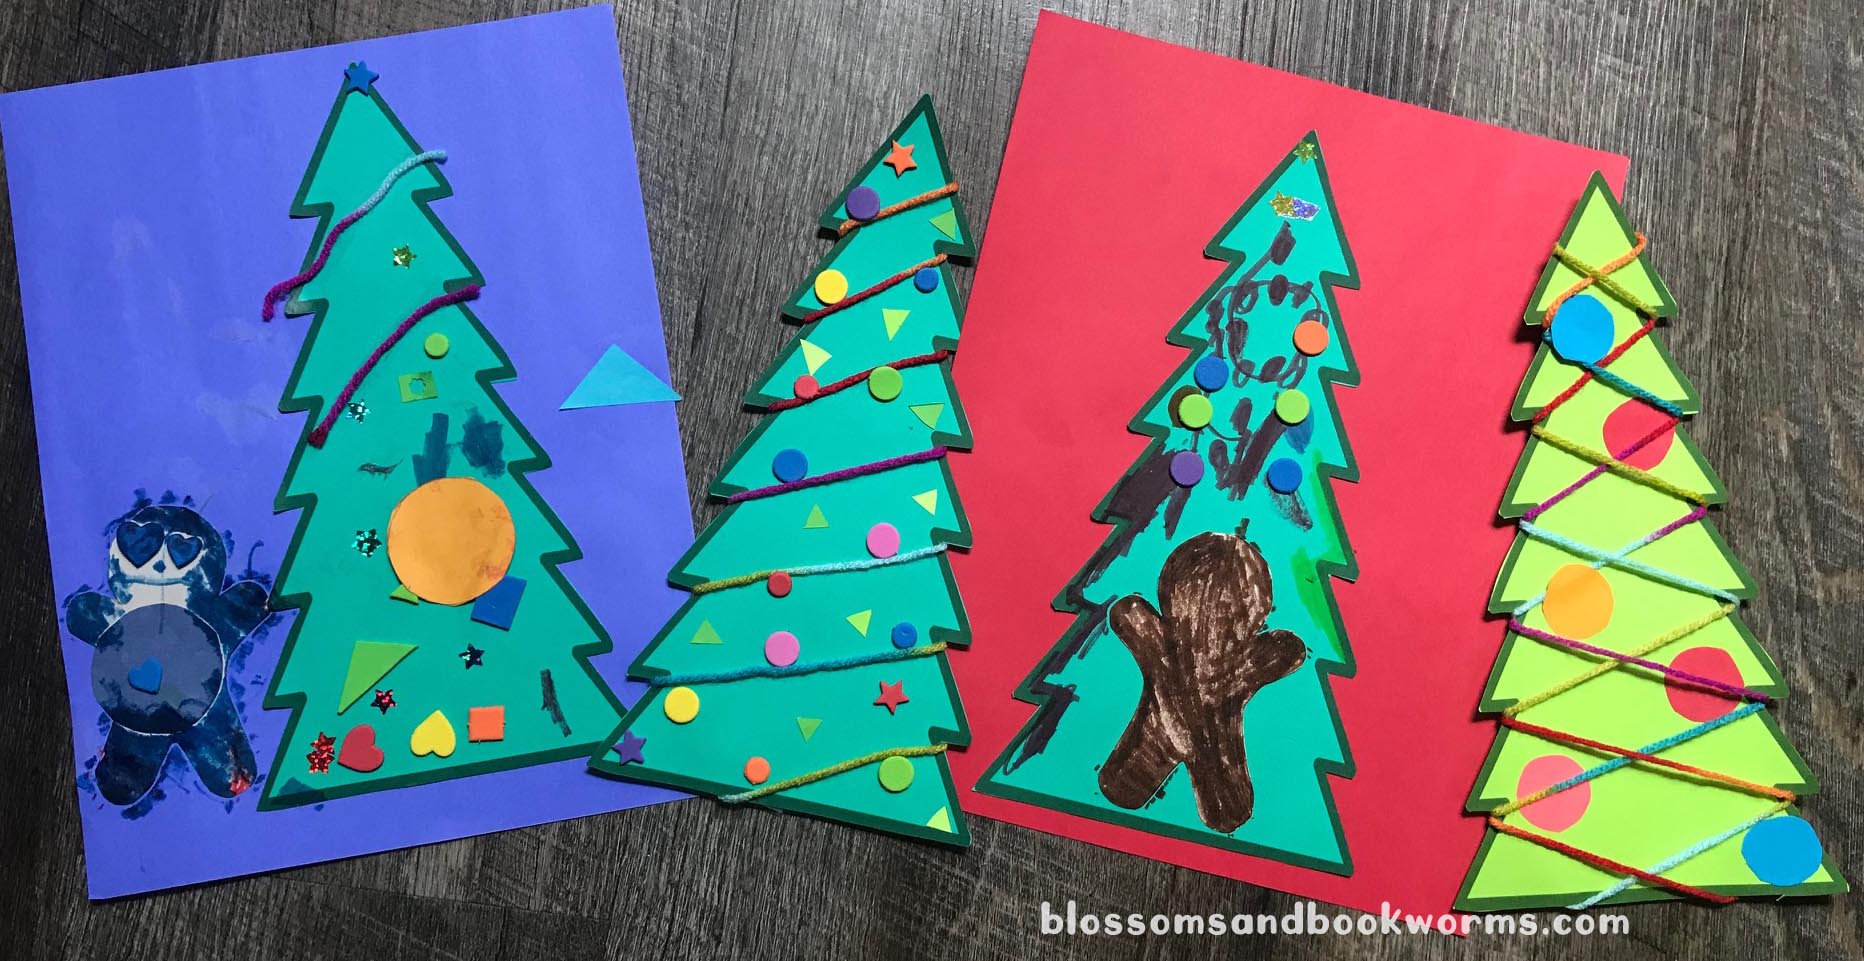
We read Christmas stories at our community story time this week and then the kiddos completed this activity. I always love seeing what they will come up with. Each tree is as unique as the artist who created it!
I love that these activities make wonderful festive decorations!
Need a rainy day activity or a quiet activity to help pass that scary antic-packed hour as you make dinner? Outer Space Matching Game to the rescue!!
Matching games can help little ones with visual recognition, train their visual memory, improve concentration and attention to detail, and increase short term memory. Memory games can also be used to increase classification and grouping skills!
You can grab the FREE printable HERE and then start playing! I chose to laminate my sheets before cutting to make them more durable, but that step is totally optional!
I love all the vocabulary you can learn from this Outer Space Matching Game, too! It can be the jumping off point for so much space-themed conversation! Or, better yet, use this to reinforce concepts that you have already read about!
If you have a younger child you can start introducing matching games by using fewer cards and keeping them face up. As they get quicker at these 6 pairs, then you can rotate in new matches. Or try turning these familiar cards face down to see how they do!
Did you miss the FREE printable with the matching game cards? You can grab it HERE now!
Once unexpected perk of playing this matching game in our house is that our little lady is learning what “taking turns” actually means. She thought she could keep turning over cards until she found her match, but big brother had a very different opinion about that! It led to great conversation about what our house rules would be.
Want to check out another fun themed matching game? Find my Under the Sea Matching Game HERE!
Space Week is turning out to be a huge learning opportunity for me! I am fully embracing the challenge and wonder that come with new discoveries! A sweet friend told me of all kinds of local activities that would go with our Space Week theme so stay tuned to see how many of those we can incorporate this week! We might need a longer space unit soon!
We are reading tons of fun space-related books this week. One thing most have in common…. a countdown to a BLAST OFF! This fun activity can help your reader imagine they are blasting off to space in their own rocket!
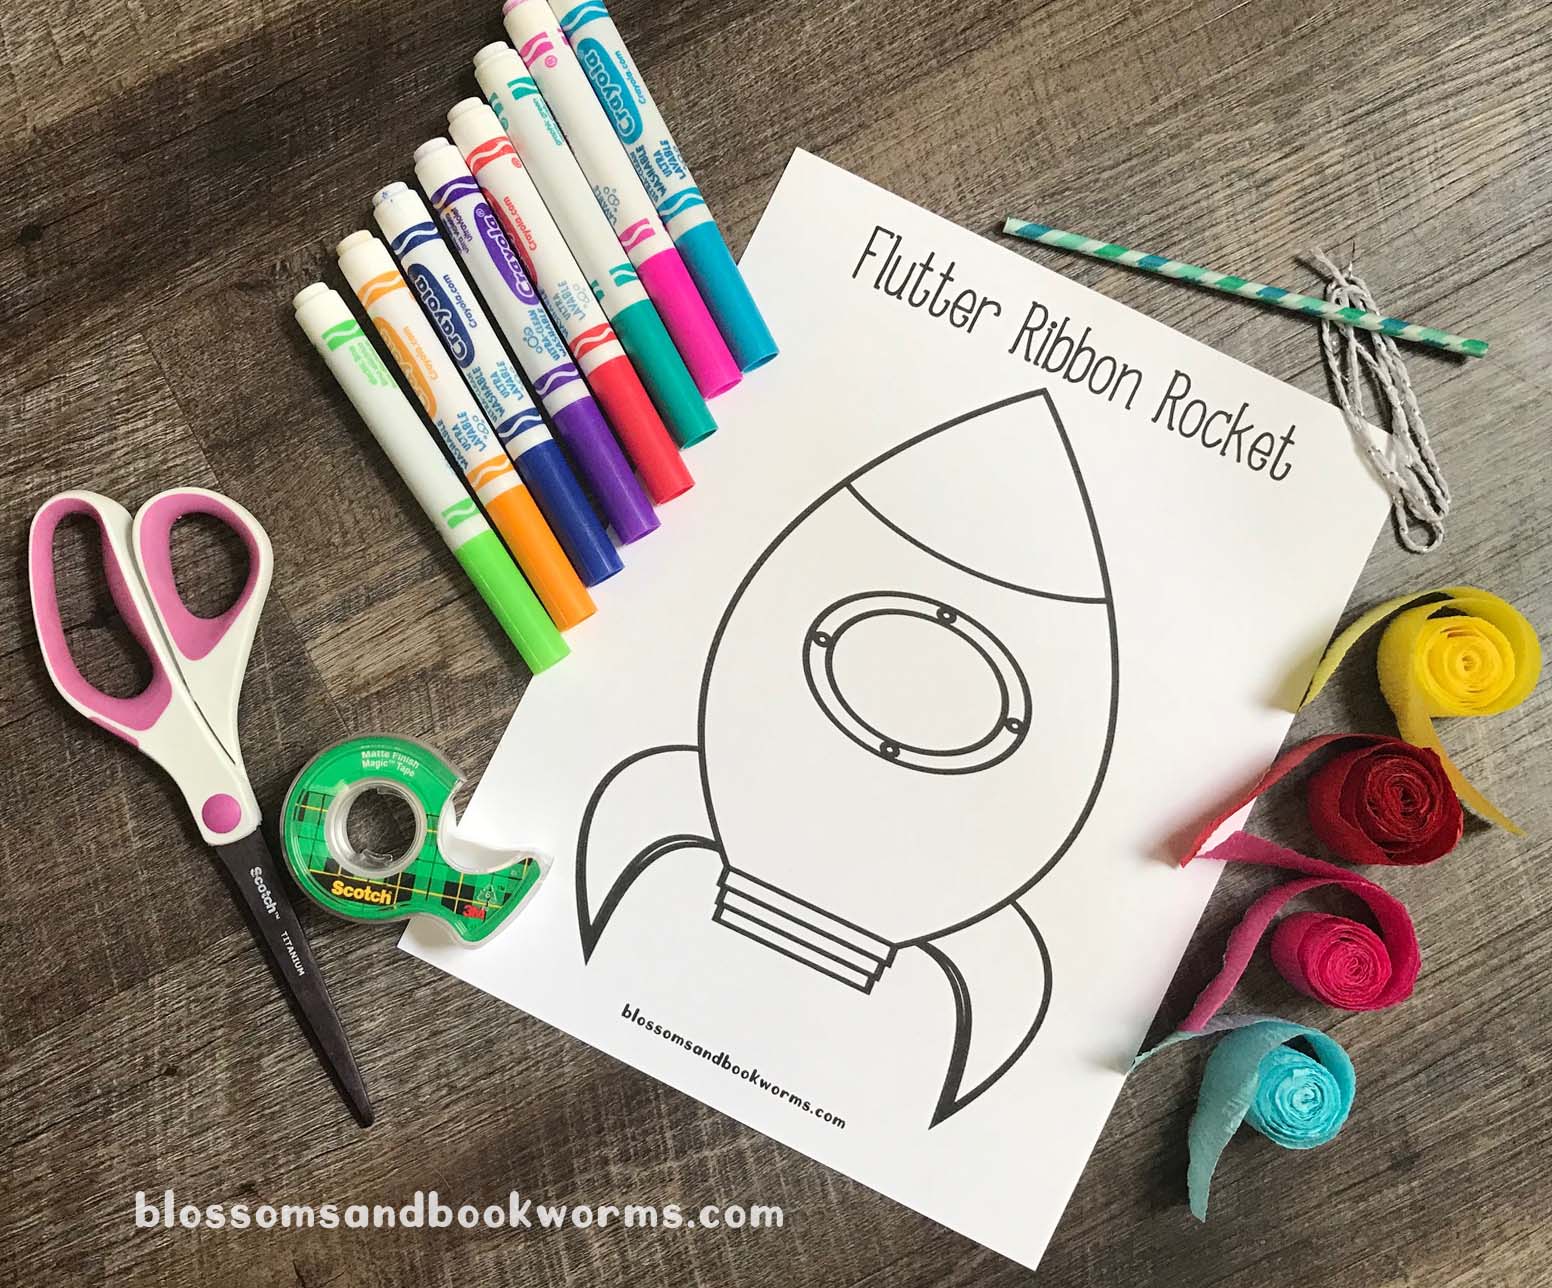
Materials:
Grab your FREE Flutter Ribbon Rocket printable HERE
Markers, crayons, or pencils to color your design
Scissors and tape
Streamers in fiery colors
A string and a stick (we used a lollipop stick from a hobby store! It was the perfect length for little hands!)
Once you grab your free printable, let your little reader go crazy coloring their unique design. I love that the rockets are as original as the kiddos who make them!
Then, help your little to cut out the rocket ship.
Now let your little use tape or glue to fix the streamers to the bottom of the rocket. I like keeping the streamers pretty long so that there is a lot of “fire” swirling around as they play. Just remember, you don’t want your reader stepping on and tripping on the streamers!
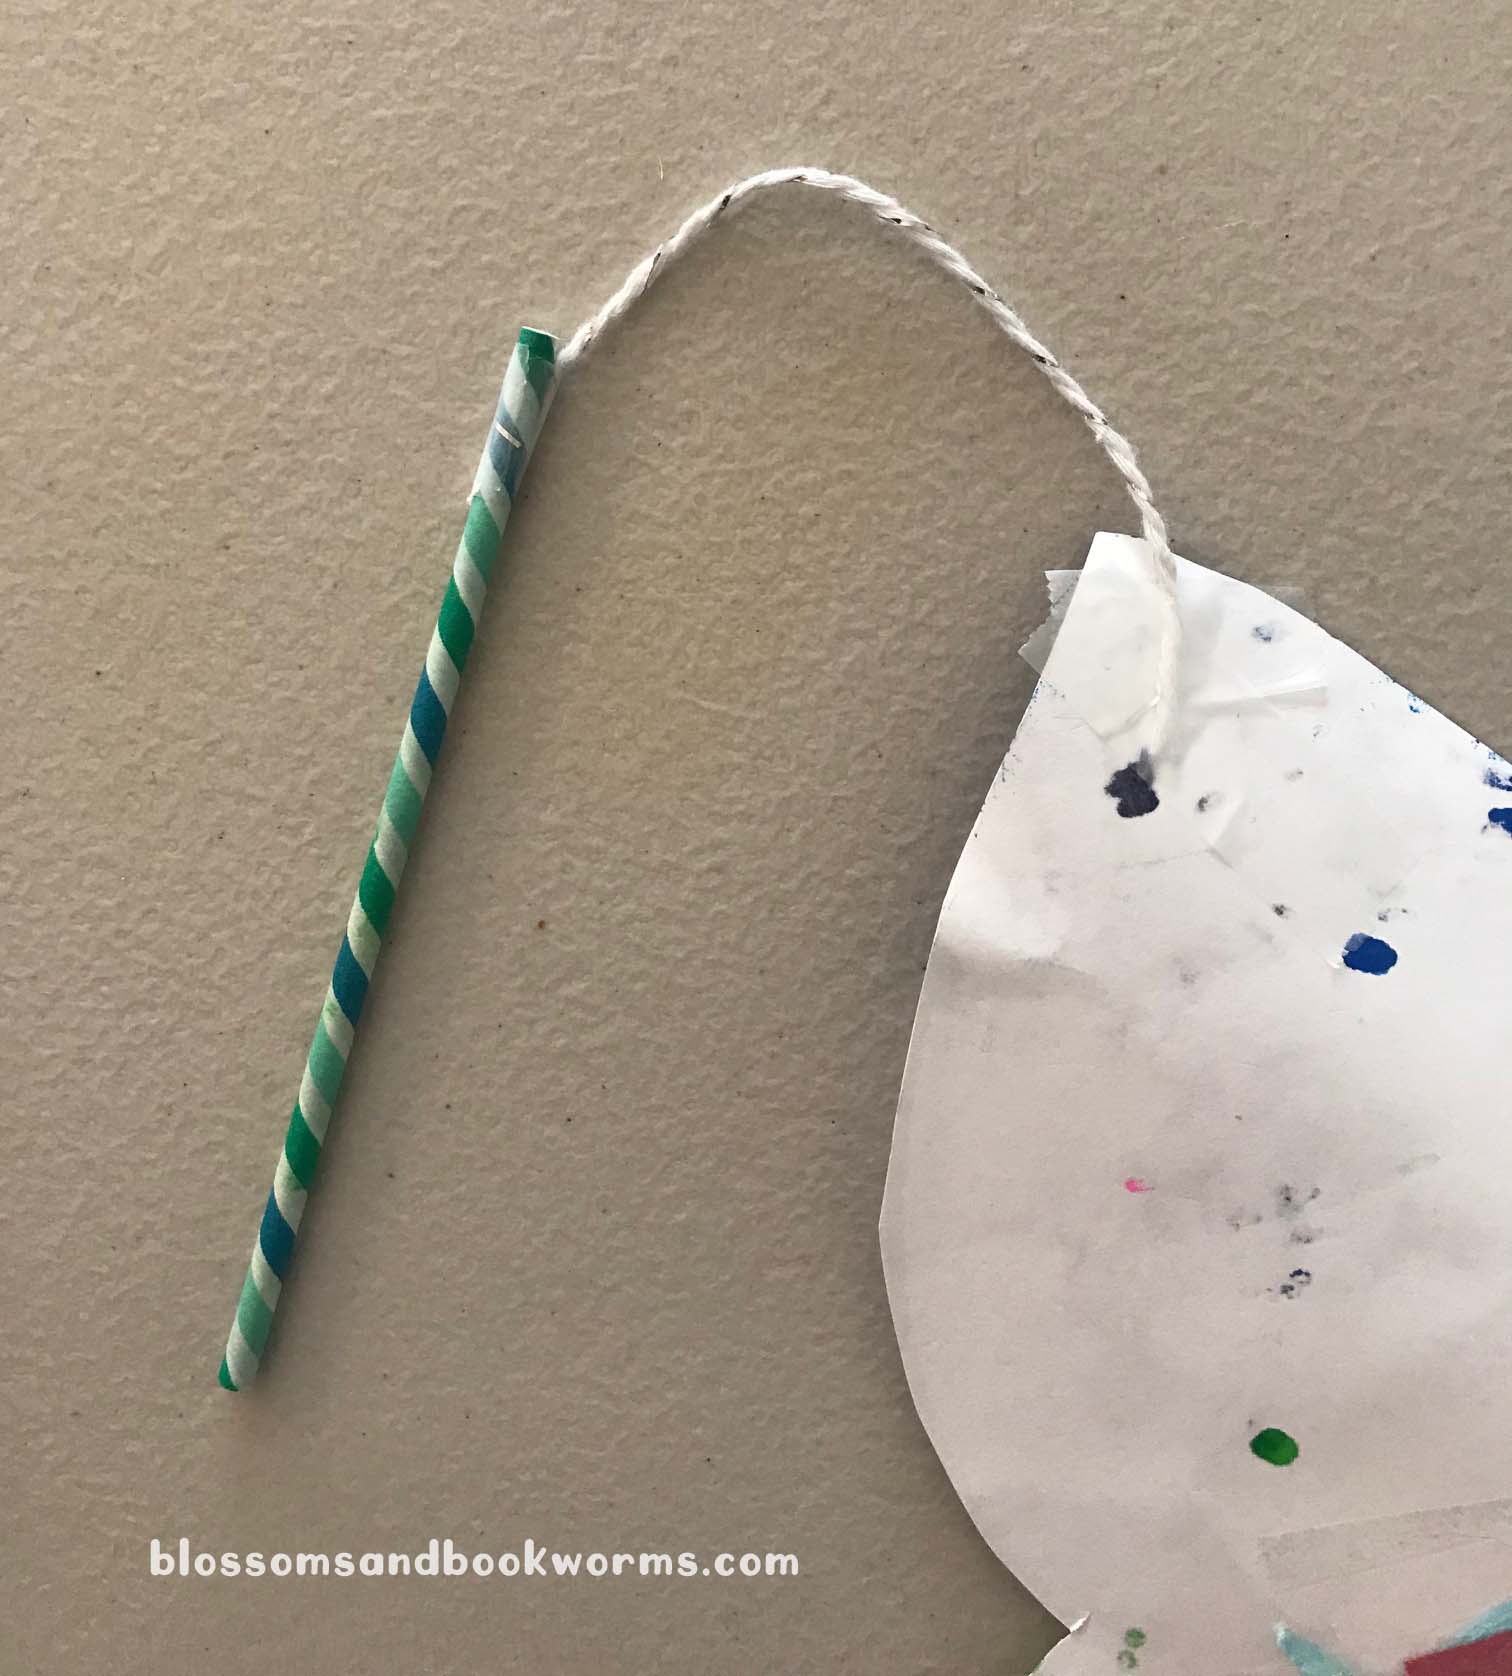
Next, tape the string to the top of the rocket (or punch a hole and tie it!) and tape the other end of the string to the stick.
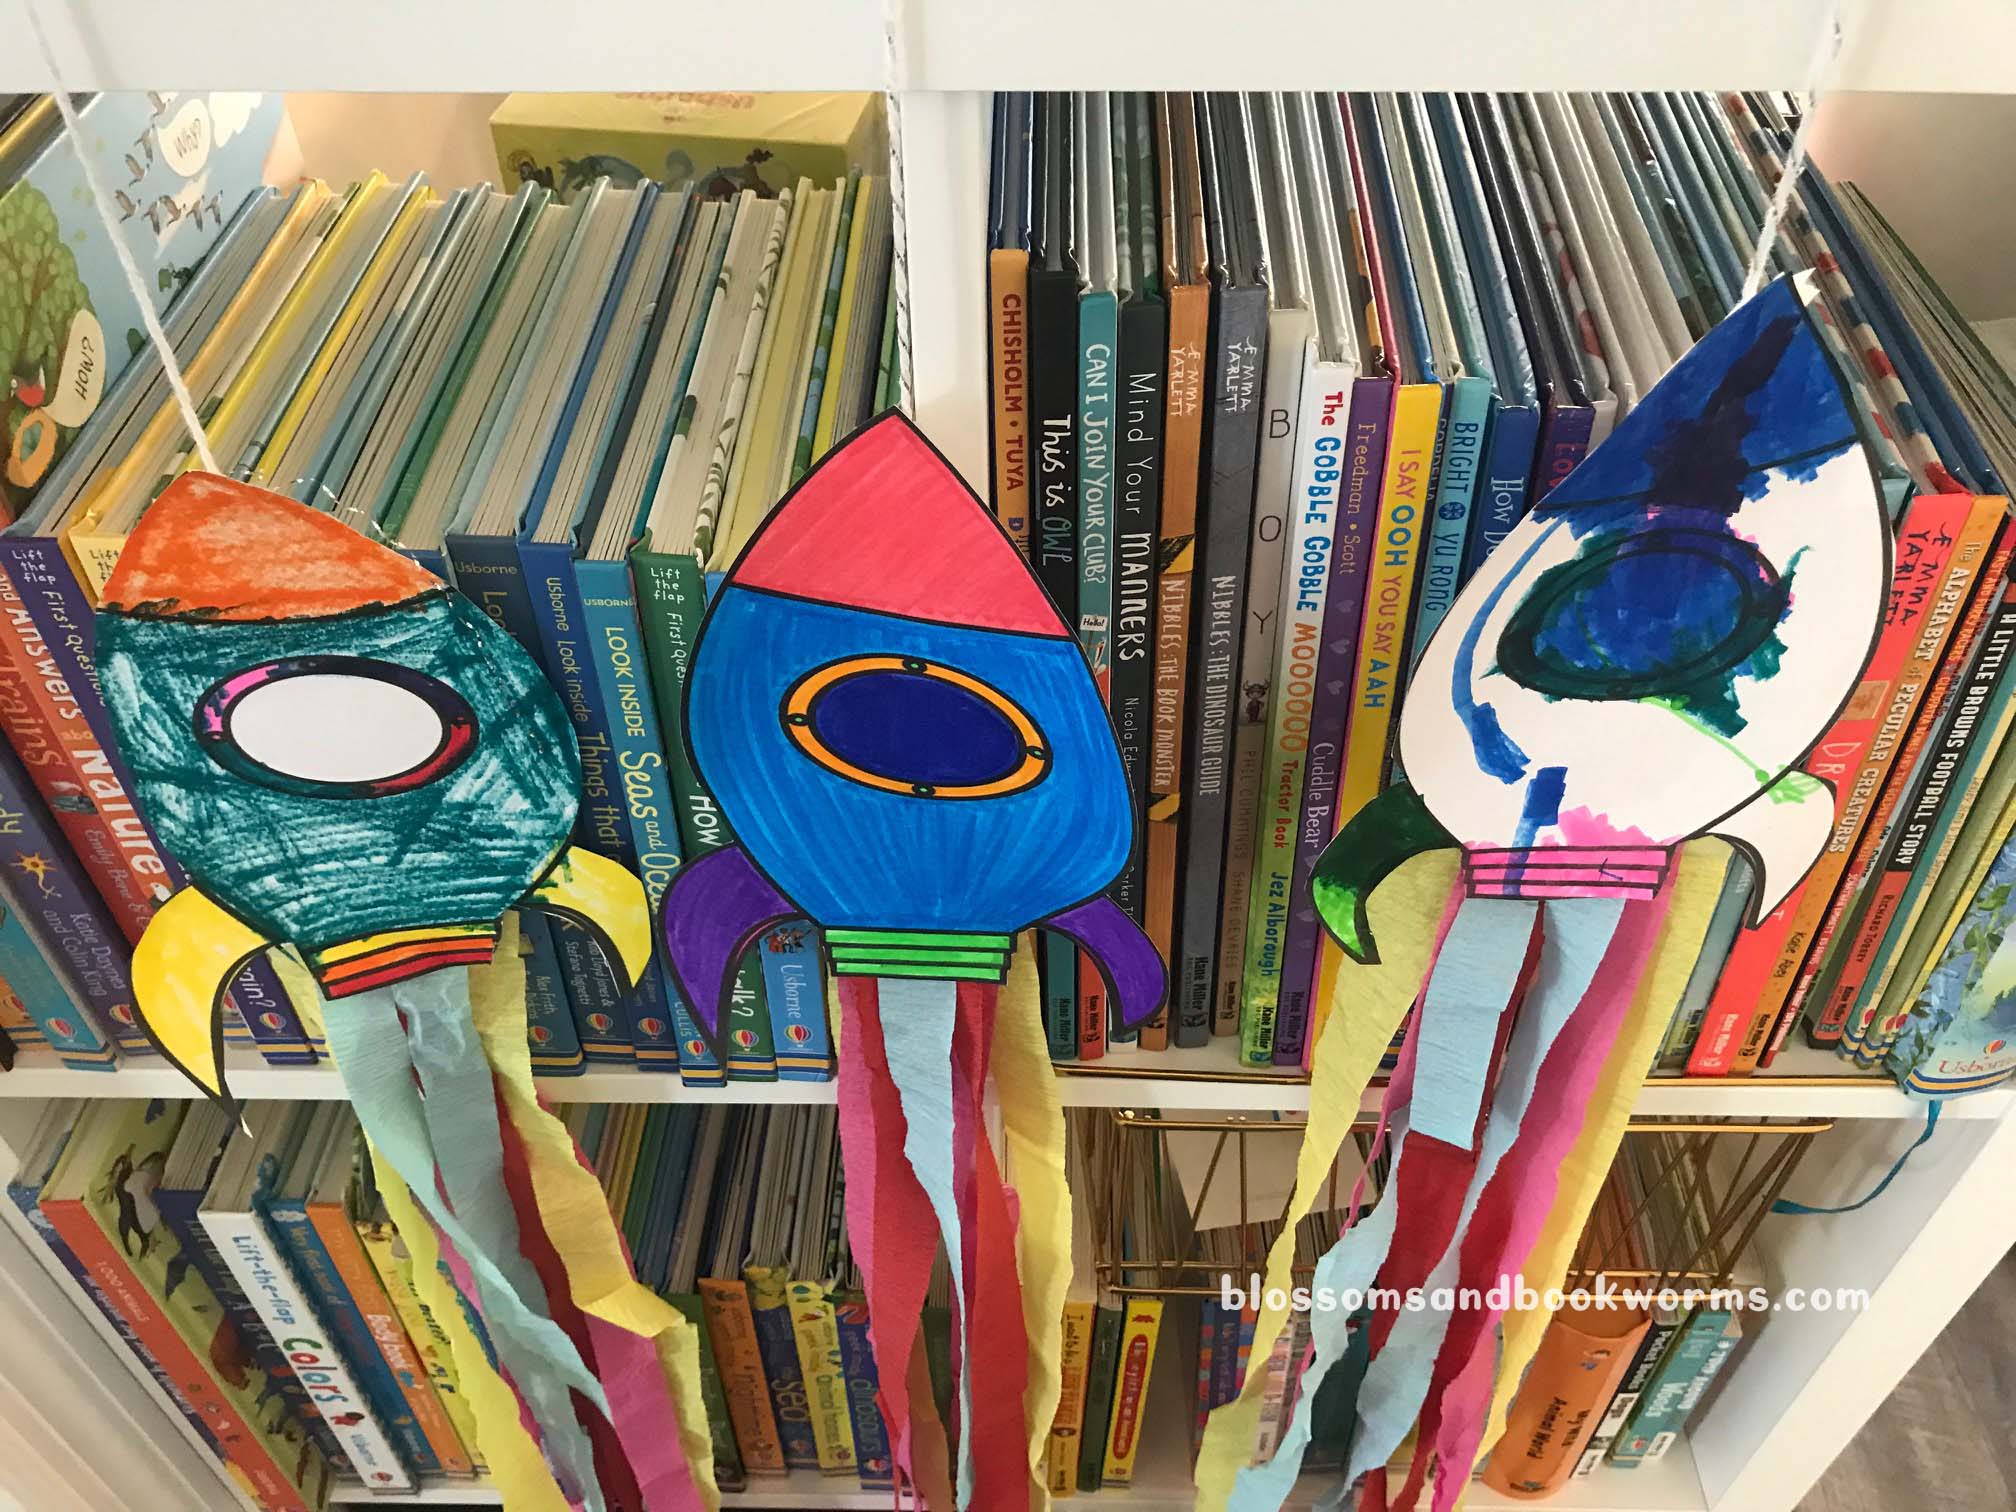
Check out these 2 amazing rockets that these sweet kiddos made at story time this week! I loved seeing all the rockets flying all around the room!
Flying them outside is even more beautiful! A little bit of wind and your rocket will get picked up like a kite!
Bonus – they are the perfect decoration for our bookshelf while not in use!
How fun is this? I cannot wait to hear what adventures your reader goes on while racing their personal Flutter Ribbon Rocket around!
Did you miss the FREE printable Flutter Ribbon Rocket? Click HERE to download now!
Playdough play is a wonderfully fun activity full of developmental benefits, including these:
Playdough play aids in fine motor skills development while littles build muscles needs for prewriting, cutting, and more.
It is calming and therapeutic while they squash, shape, and squeeze away any tension or extra energy.
Playdough play inspires creativity and imagination while also emphasizing hand-eye coordination.
It also can aid in social skill development as children plan and problem solve with others, play collaboratively, and talk and discuss their creations.
I have loved playdough since I was a tiny tot so anytime my kiddos want to dive into those cans of salt dough, I am game! The addition of playdough mats has really encouraged my kiddos to get more creative with the dough as they try to form and shape it into the “right” shape for their specific work. They seem to work harder at conceptualizing what they want to make and then molding it to fit their vision when they have a mat as a background.
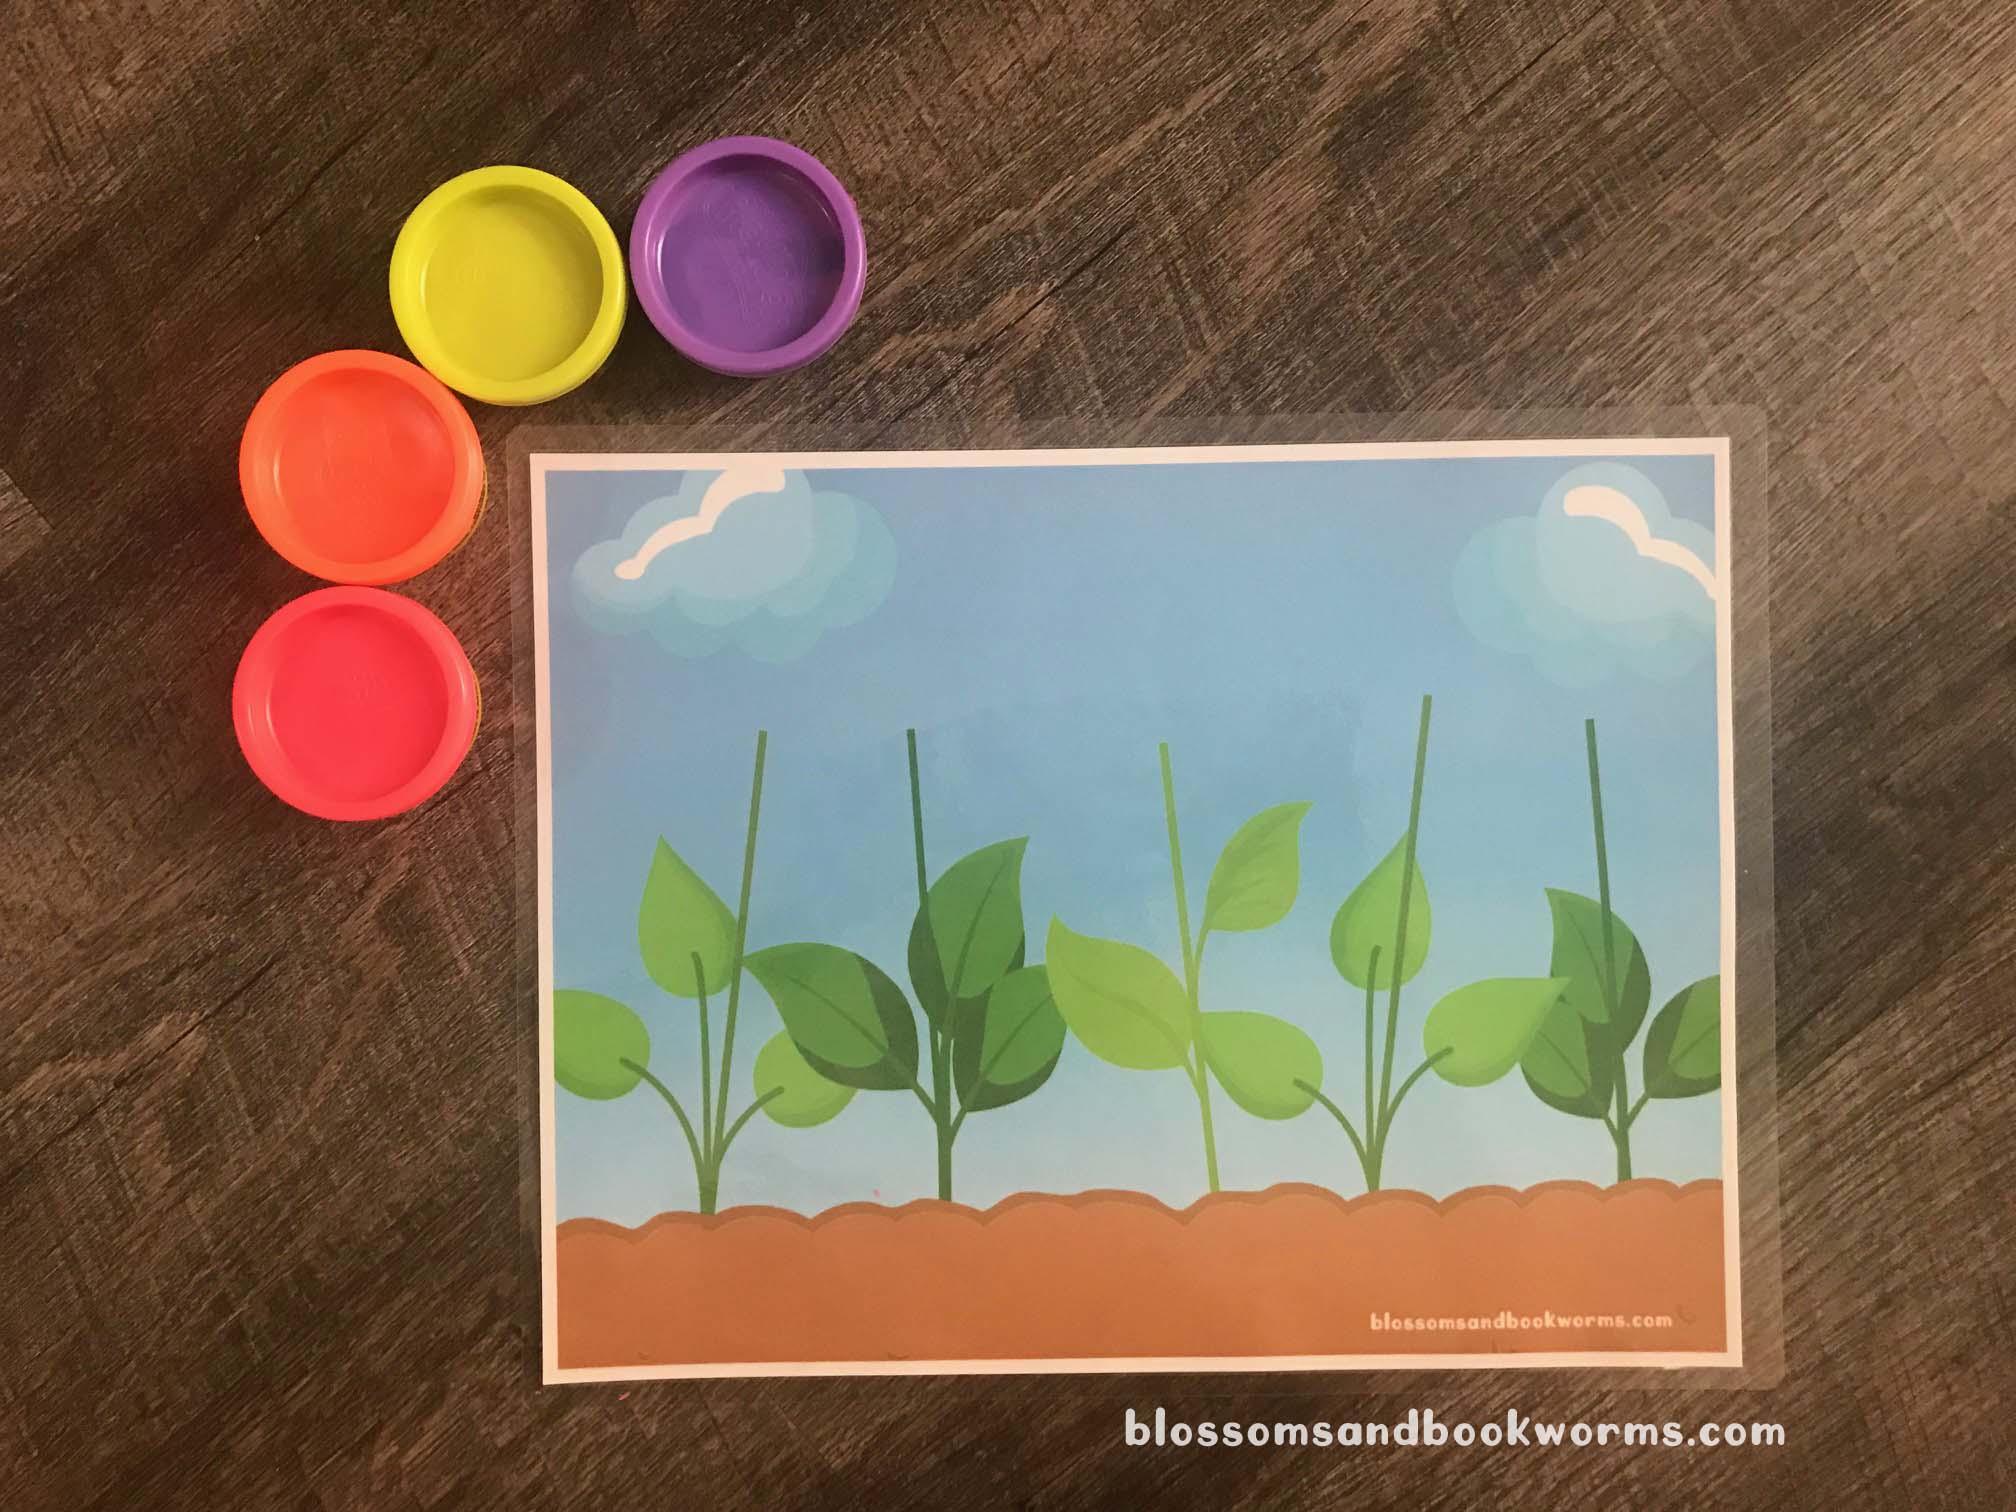
For #GardenWeek, I just knew we needed to grow a playdough garden! Right now we have tons of flowers blooming with riotous color that make perfect inspiration for our creations. However, this activity would also be fantastic to pull out during the winter doldrums while we are all dreaming of spring.
You can grab the FREE printable, print, and laminate it and have your kiddos creating while you make dinner! I found myself focused on flower making, but I think that dirt really needs a worm or two! Maybe even a butterfly or the sun could be peeking in the sky!
I love all the color, dimension, and variations that can be created. If you pull this mat out 100 times, I am willing to be 100 different masterpieces will be created!
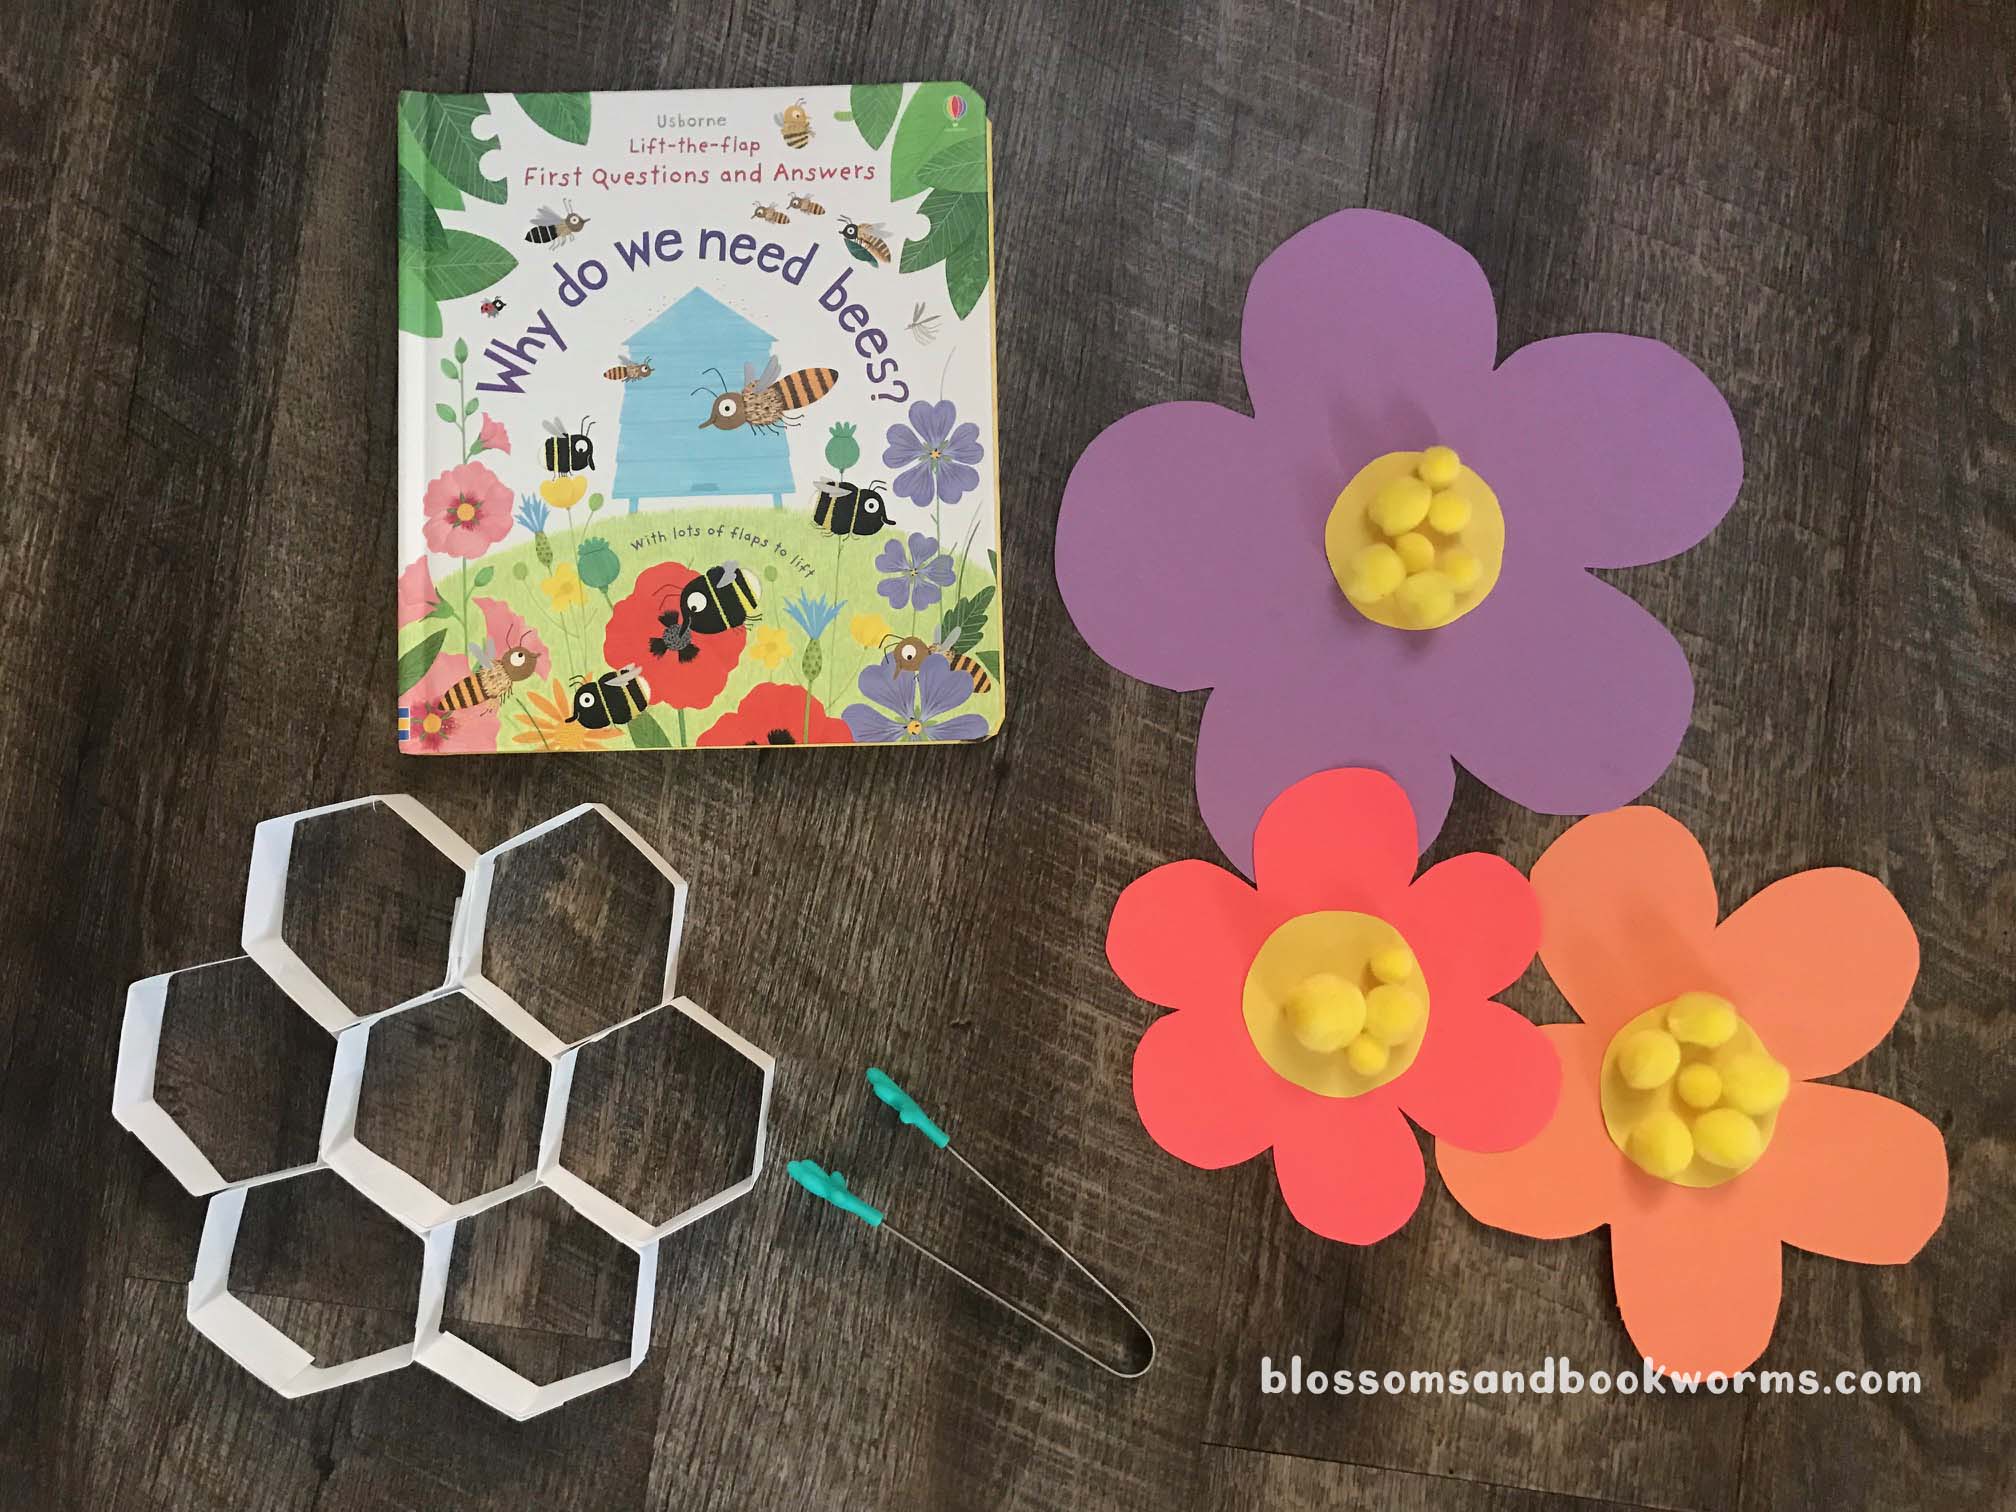
We can’t have #GardenWeek without talking about the, dare I say, mostimportant insects in the garden – BEES!
Why do we need bees? It is a great question!
Without bees we couldn’t grow lots of the fruits and vegetables that we eat! When a bee visits a flower or plant to sip the sweet nectar, they spread pollen that helps plants grow fruit and vegetables.
My kiddos have so many questions about bees and I am so thankful that we found this book to answer them all (and MORE!) in an age-appropriate, relatable way. I was learning right alongside my kiddos while reading it!
For instance, do you know how many bees make one jar of honey? Around TWENTY THOUSAND!! 😳 I will never look at that honey bear the same way again!
Our fun hands-on learning activity helps illustrate how bees travel to flowers, collect nectar, and carry it back to the hive to turn it into thick, sweet honey.
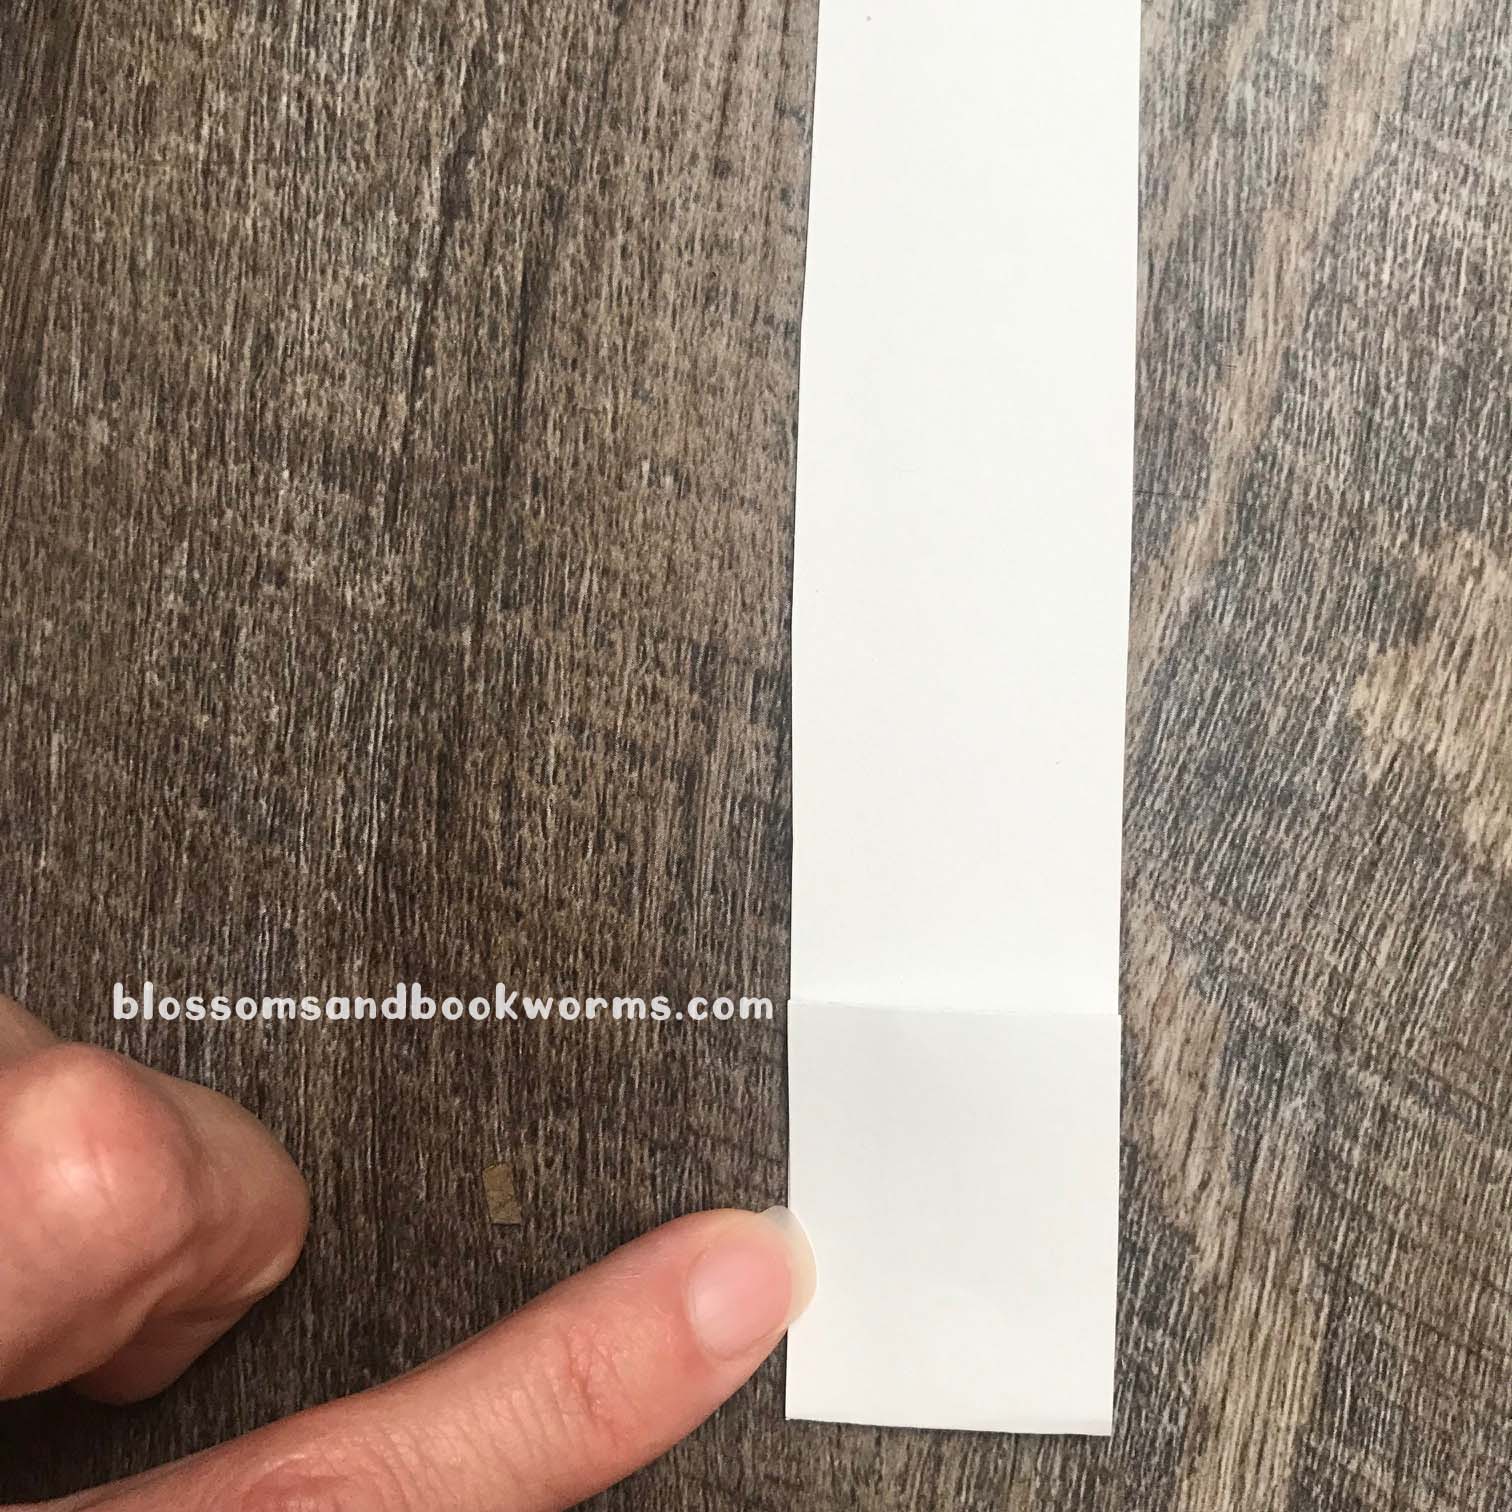
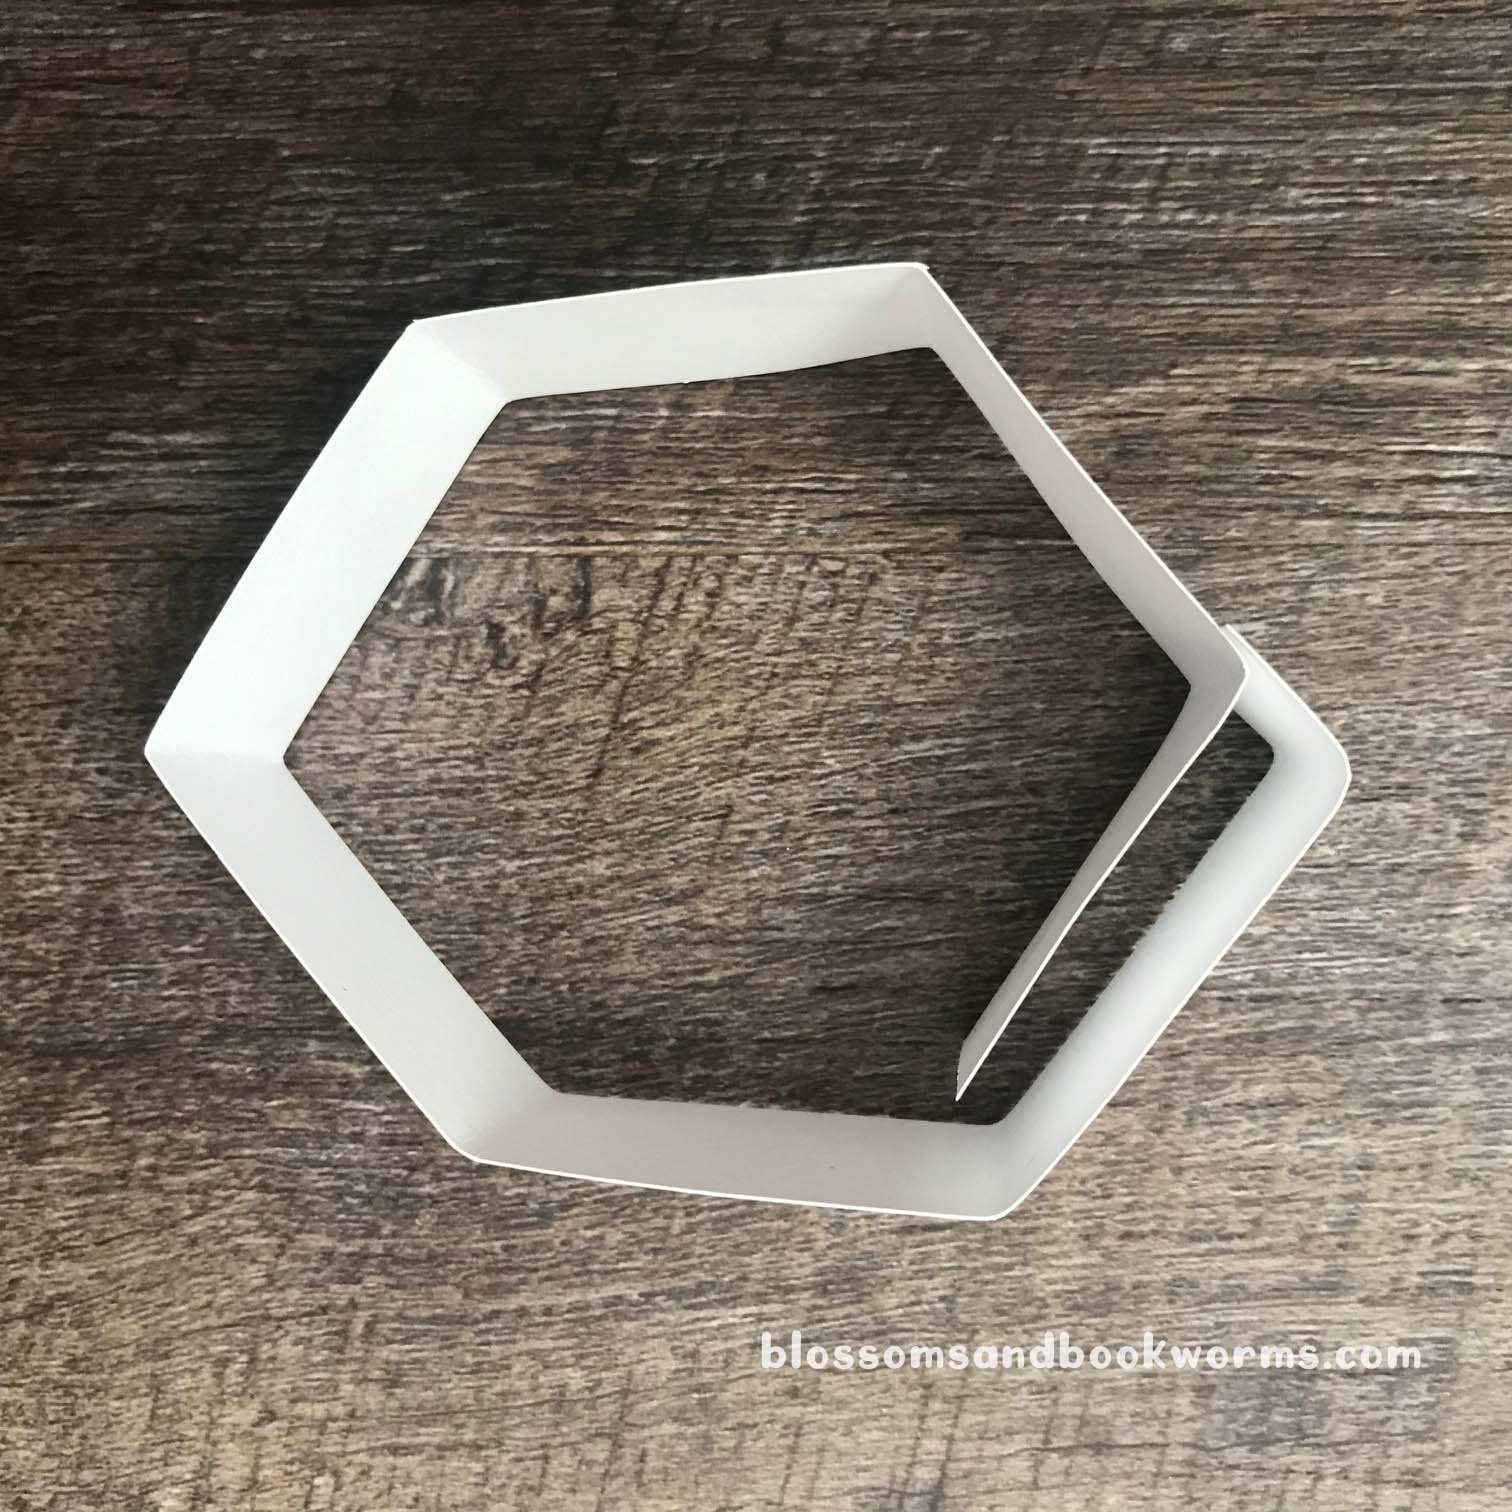
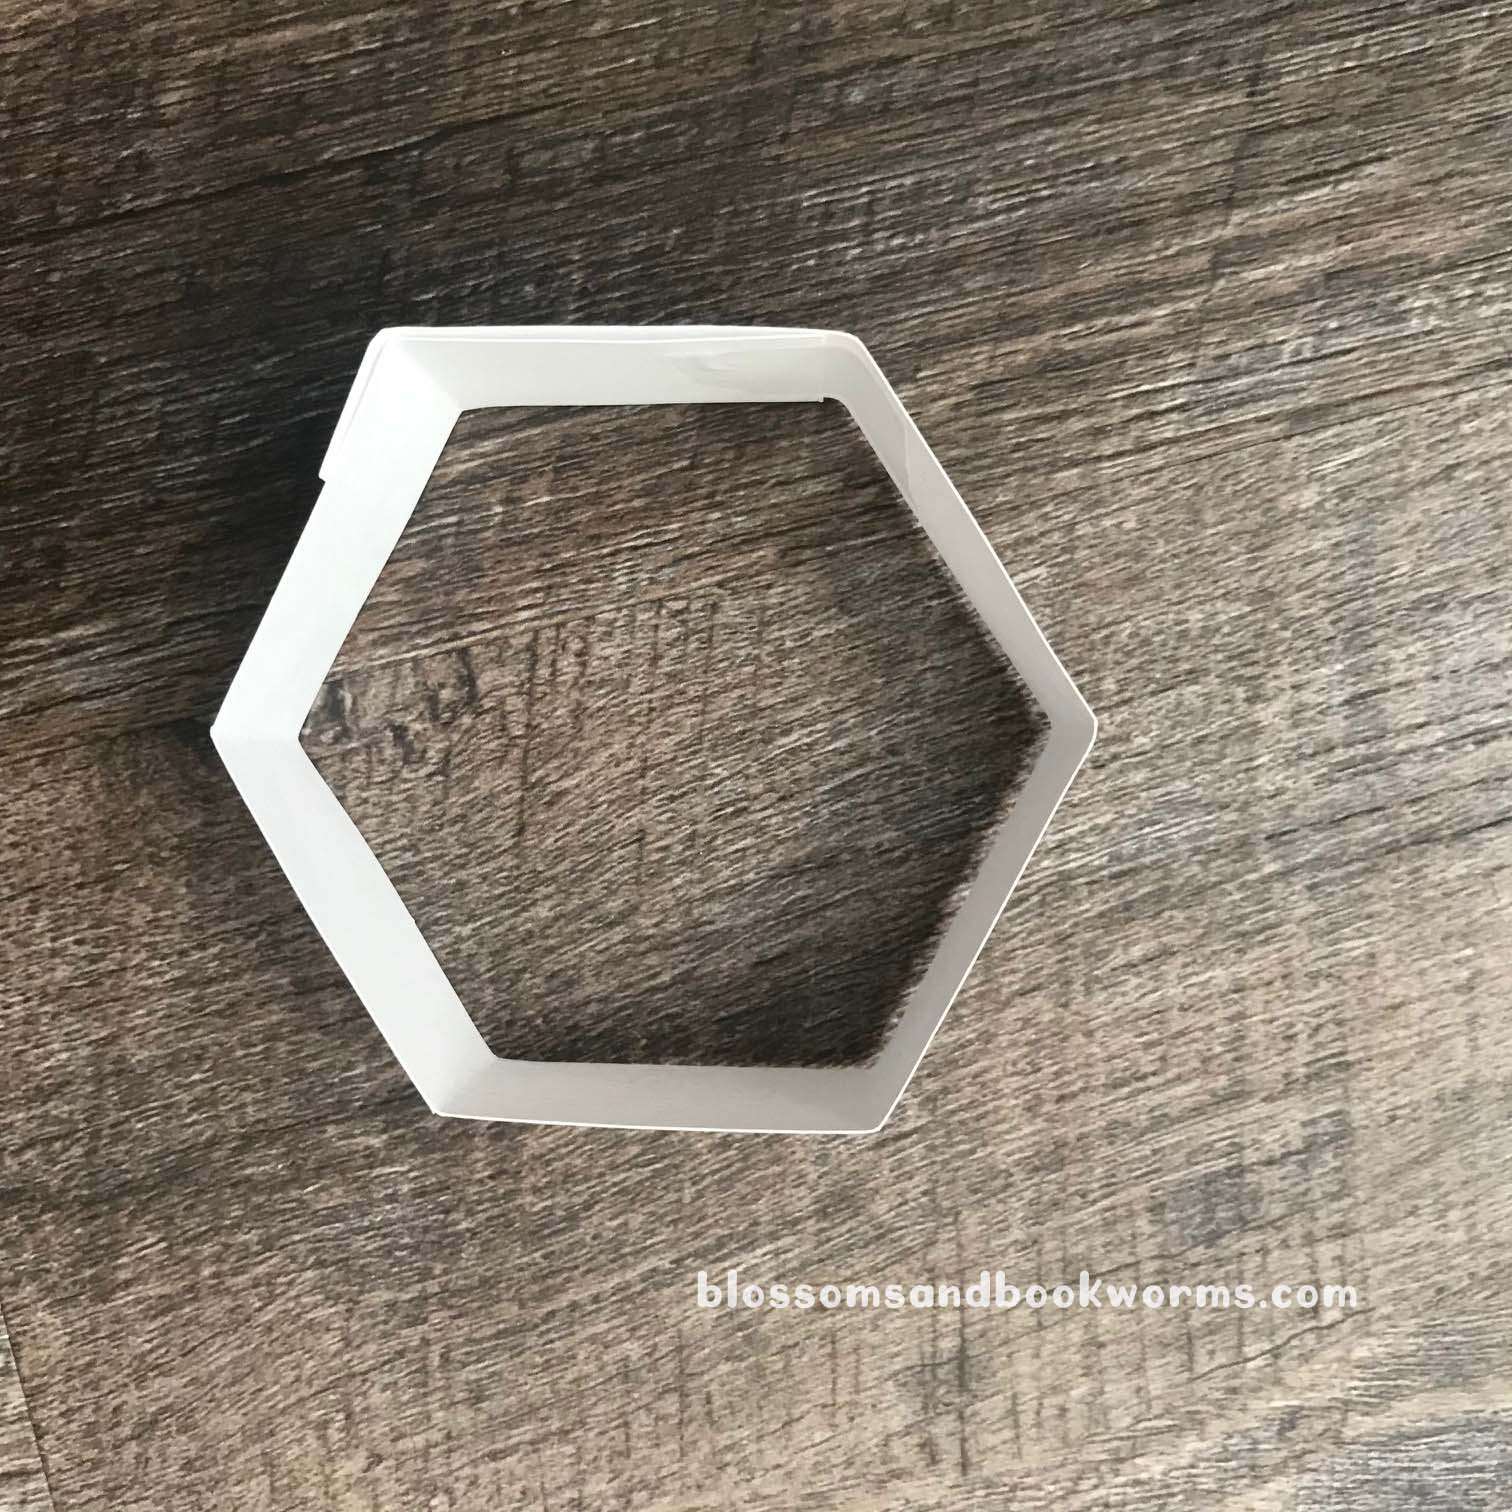
The first step is to make the hexagonal hive. First, cut strips of cardstock or other thick paper into 1-inch strips. Then begin folding the strip into a hexagon. I found it easiest to fold down the first side and then continue folding the paper strip on itself until the entire strip was folded up. Unfold the paper and then tape into a 6-sided hexagon.
Repeat with the remaining strips to make more hexagons. Then, tape them together into a larger honeycomb pattern.
Now your little will become the bees and use tongs (or their fingers) to move the pollen from the flower to the honeycomb.
This activity is very simple, but it can be used to emphasize various concepts:
Shapes – hexagon is a super fun word and shape!
Colors – what colors are the flowers? the pom-poms?
Numbers & Counting – how many pom-poms are inside each hexagon? on each flower?
Fine Motor Skills – can you squeeze the tongs to pick up just one pom?
I hope your little ones enjoy learning all about bees with this activity! And now that you know why we need bees, can you spot them hard at work outside in your environment?
We are digging into #GardenWeek over here and we are already enjoying the fruits of our labor. 😉
I have had this amazing reference book for quite a while but this is the first time that we sat down and read through it. It is packed with great information. The text is all broken up into small pieces and the writing is conversational to make the topic interesting. My kiddos loved it!
As we were reading about the parts of a plant we started talking about how different foods grow differently. Much to my surprise, we turned the page and VOILA, there was a page all about which fruits and vegetables were the different parts of the plants!
Usborne Books & More never ceases to amaze me!
I love that they covered this fun topic. It truly wowed my kiddos.
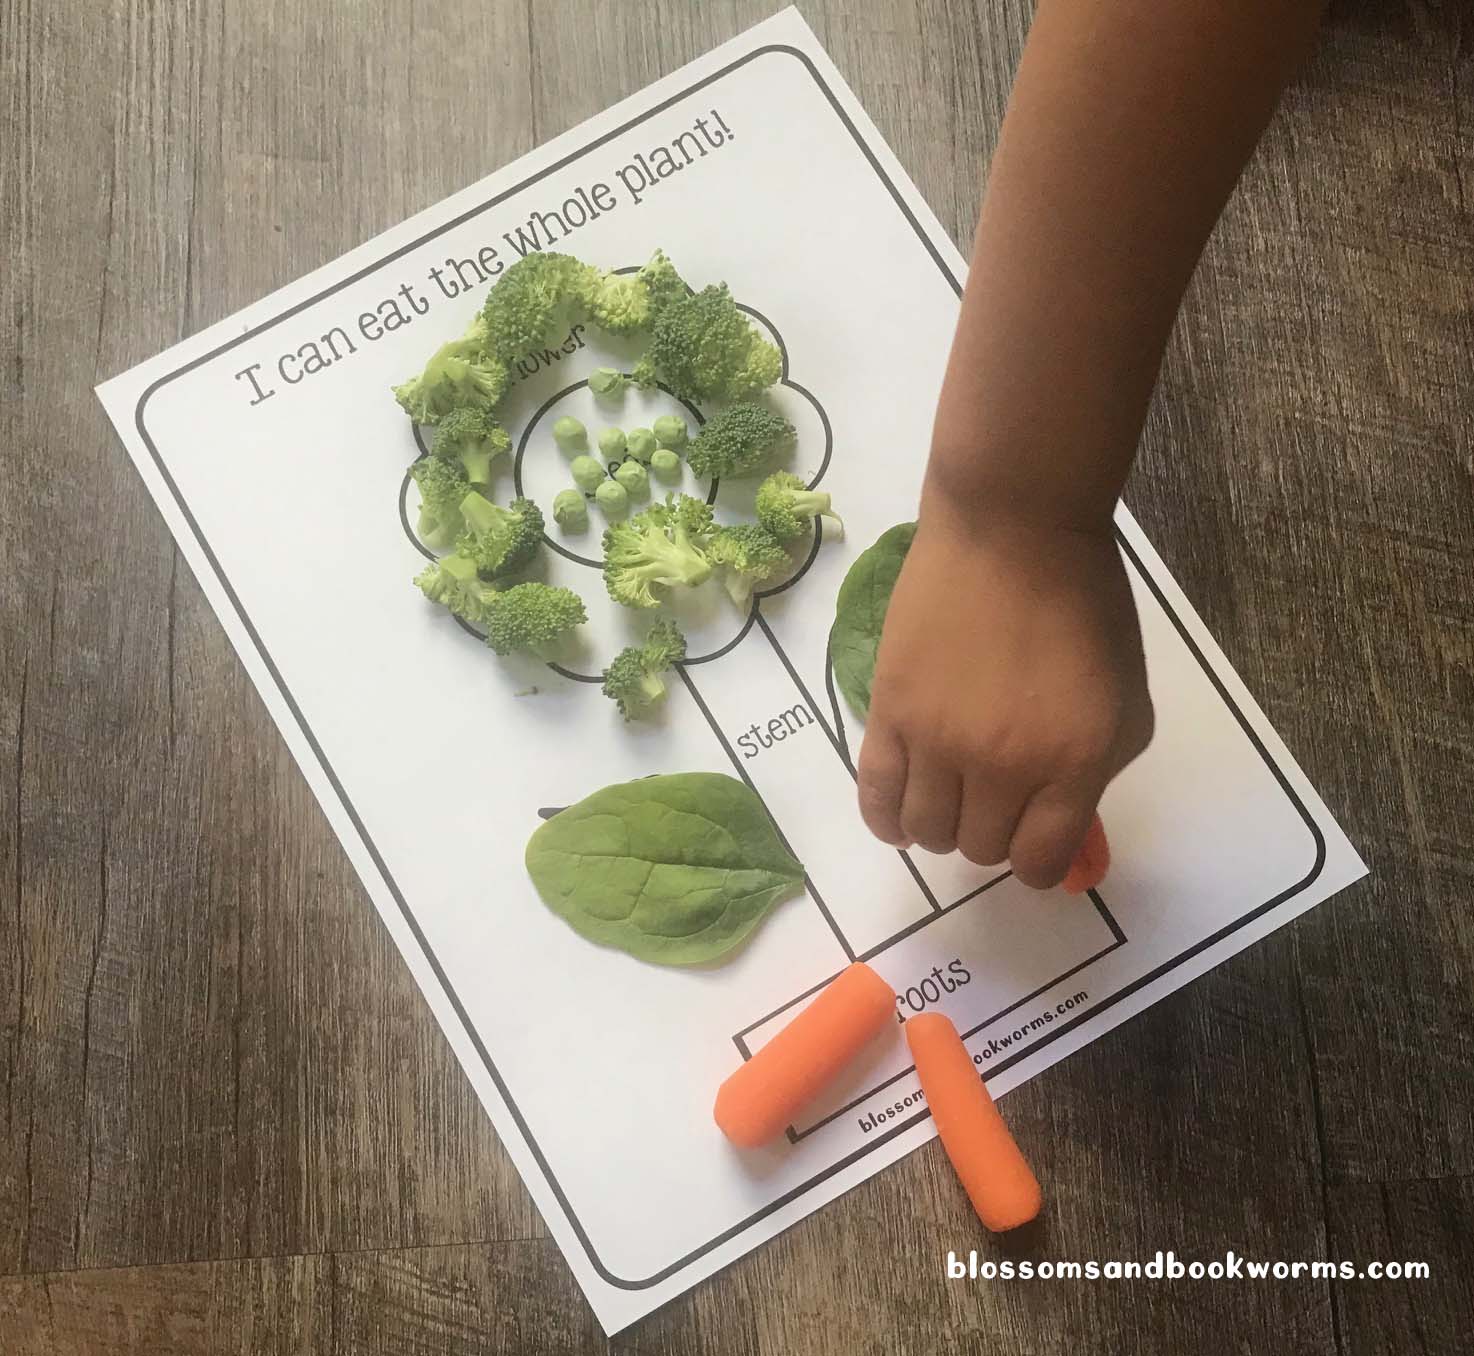
To make this fun concept really sink in, we grabbed our FREE PRINTABLE and a few veggies from the fridge and started laying everything on our diagram.
The kids took turns with my oldest reading the section of text and then my youngest picking the veggies off the plate to place on the diagram.
Look how cute our “plant” turned out! 😁 Now quickly take a photo to commemorate the occasion before sneaky fingers start stealing the veggies for a snack! 😂
See! I warned you! Those sneaky fingers are super quick! I didn’t even know he liked celery, but he was determined to taste every part of our plant!
My favorite part of this activity? My youngest told her dad at dinner, “I ate a root for a snack today, daddy”. Little ears really do hear what you teach them!!
Don’t forget to grab your FREE printable so you can try out this fun activity with your kiddos!
Did your kiddo come home from school with a GIANT list of sight words to memorize this summer? Mine totally did. And nothing makes my kiddo give me that long-suffering sigh that kids specialize in more than a humongous list of black and white words in columns.
I am so thankful that our oldest is such strong reader (and he loves to read🤩🎉), but we are still putting in some practice this summer to make sure he doesn’t forget any of the basics. Since he is not a fan of reading all 120+ words from the list, I came up with a fun way to integrate his sight words into our #DinosaurWeek theme!
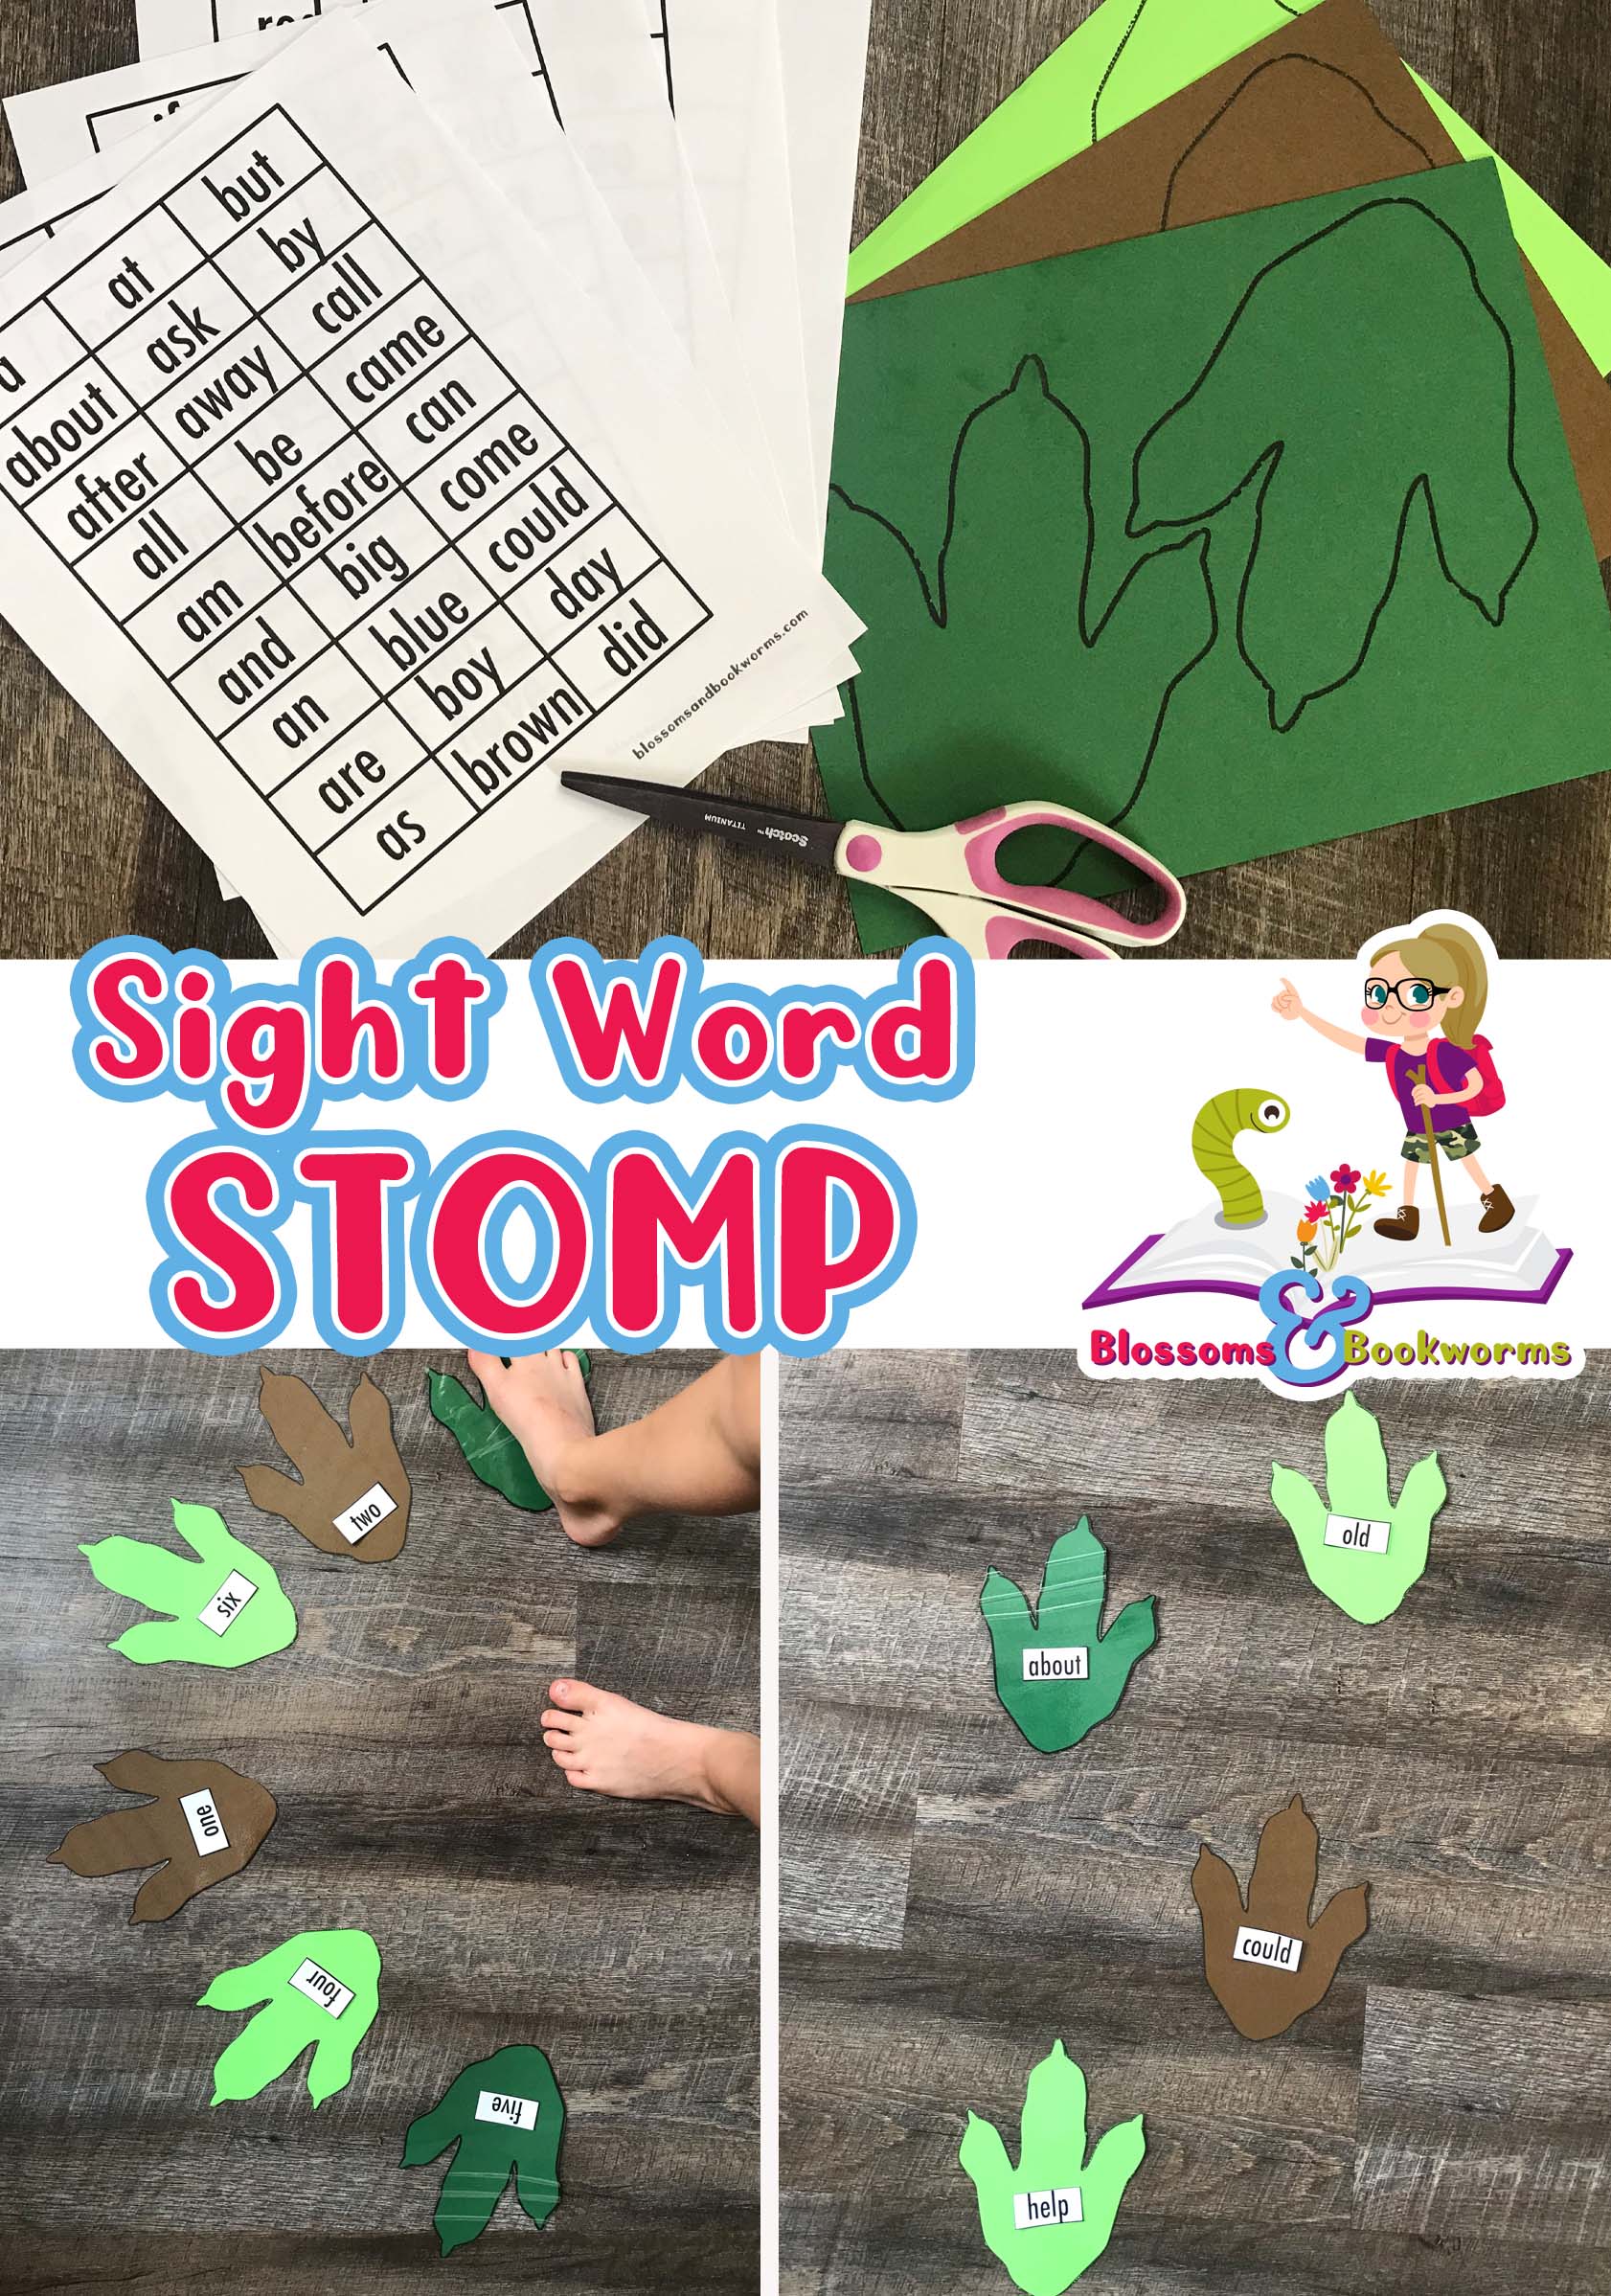
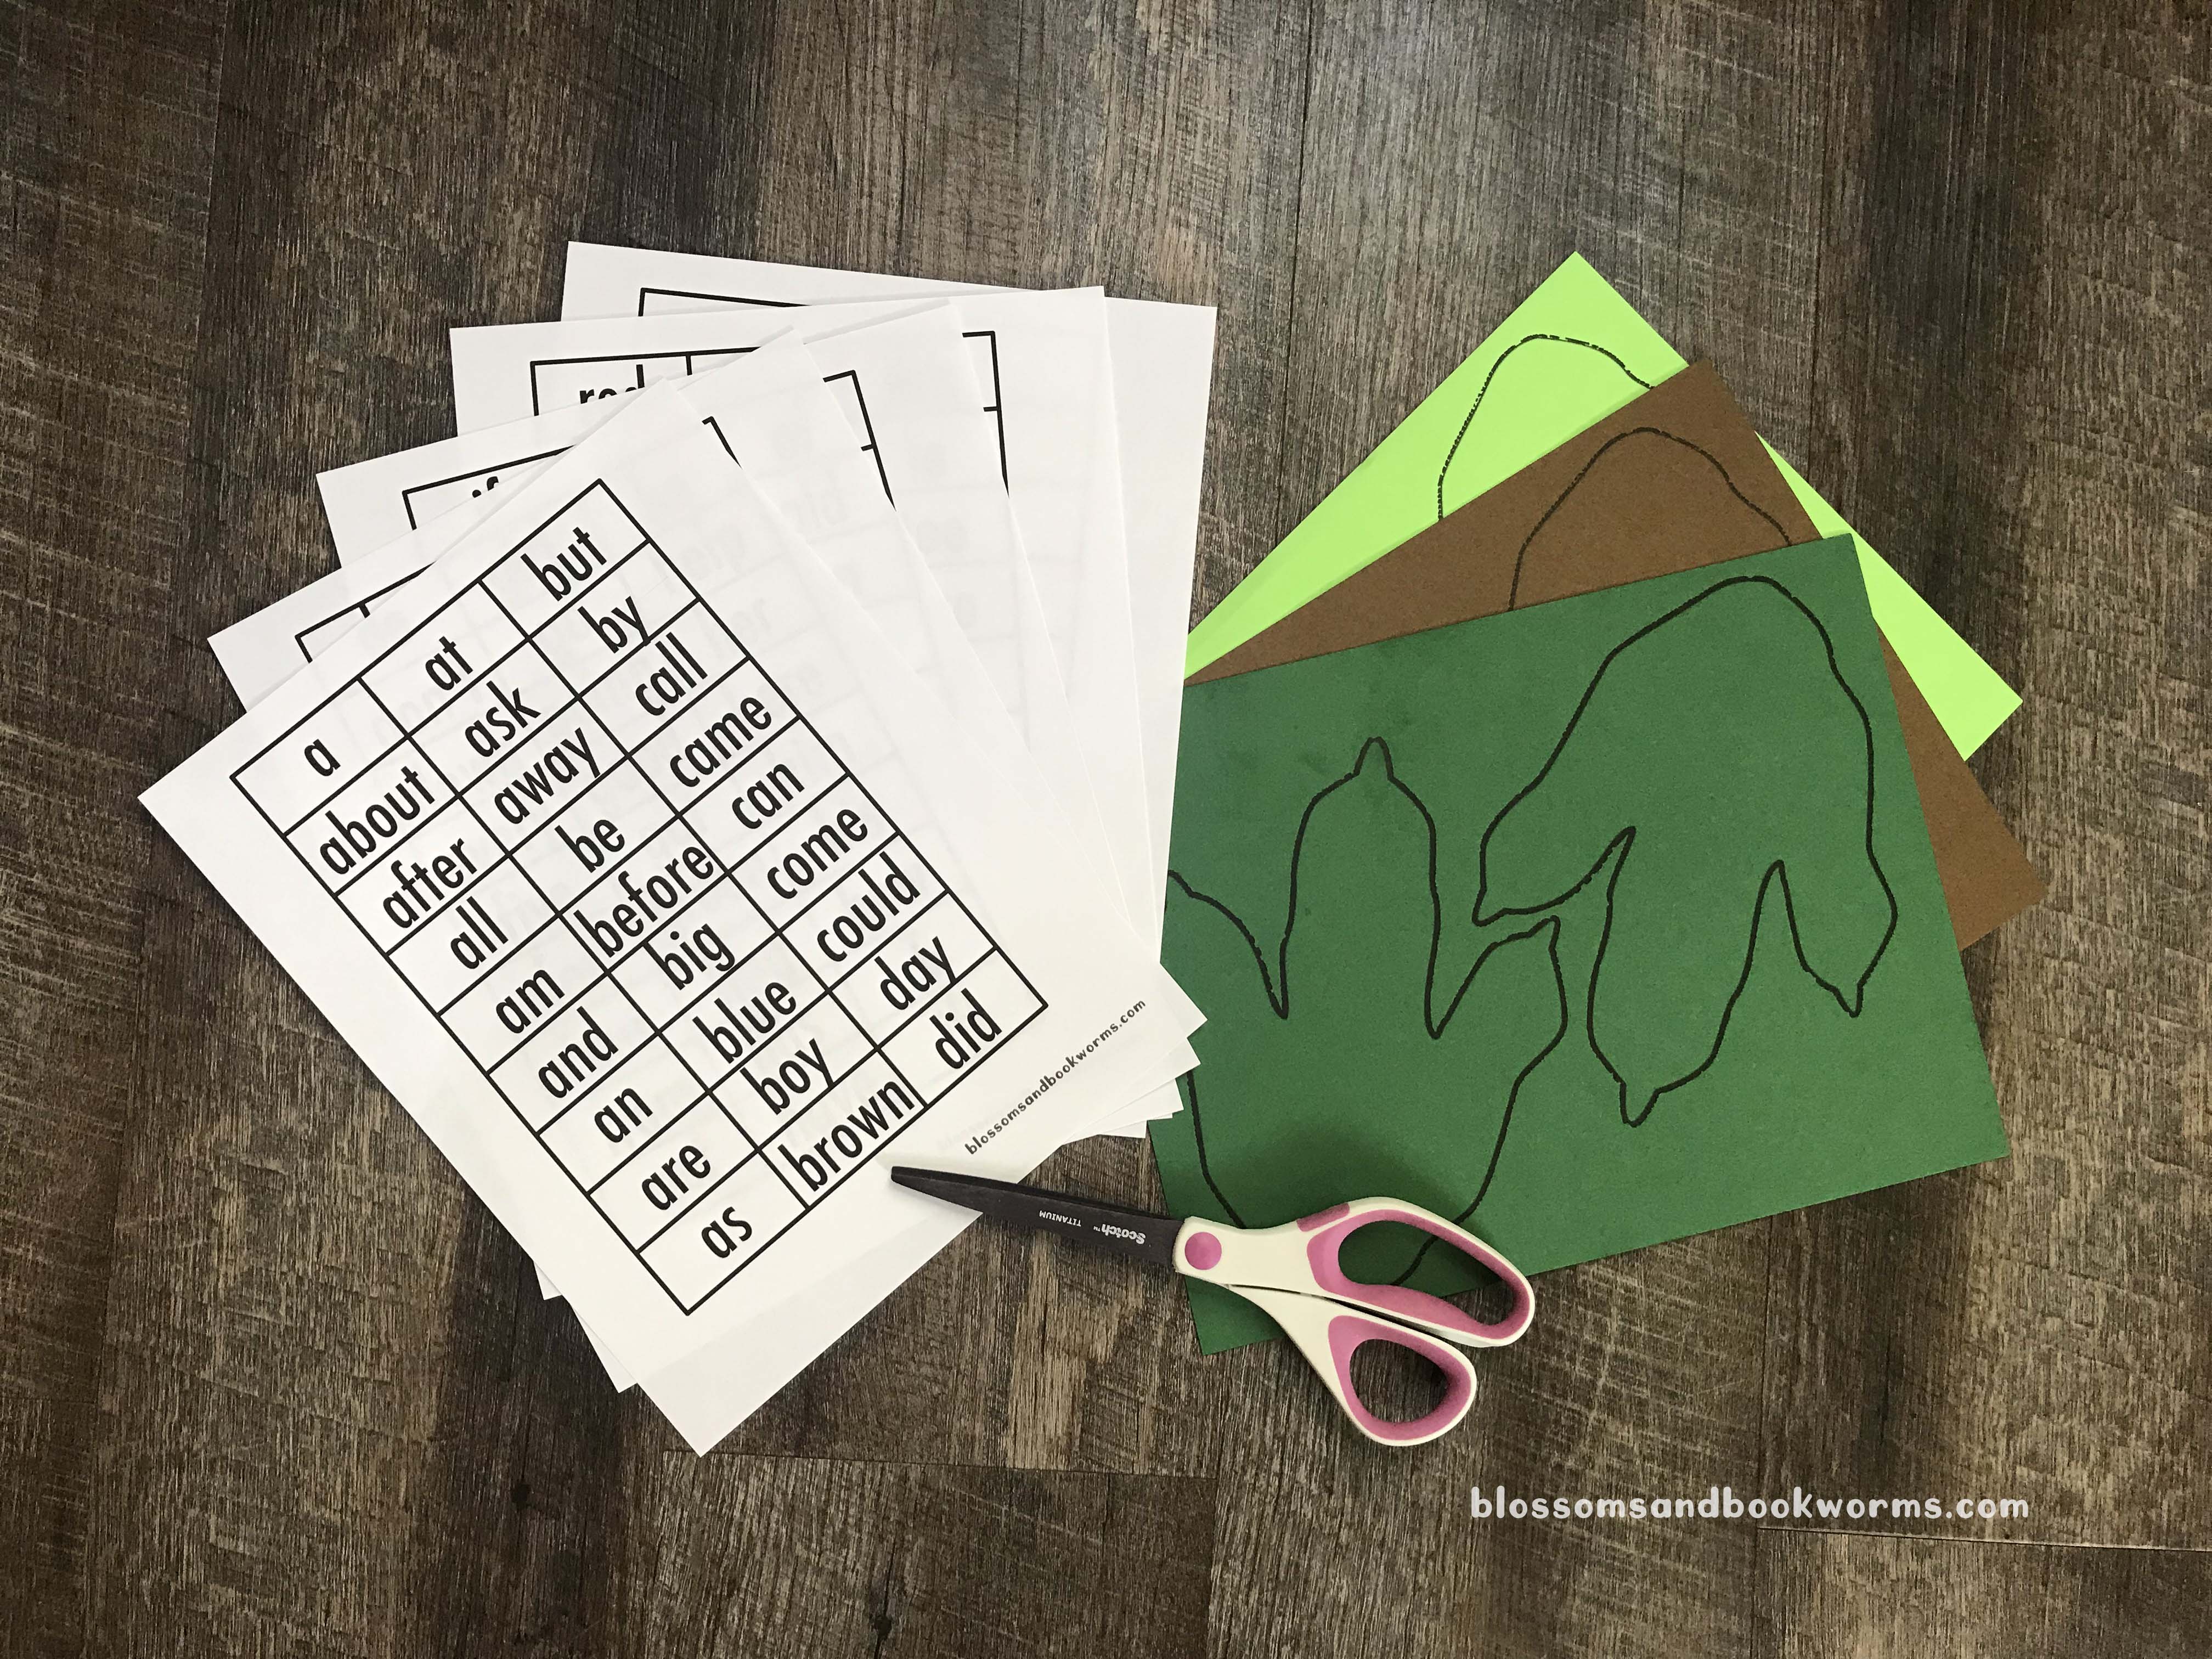
This activity was super simple to put together, especially when you download the free printable 😉. You can grab the Dinosaur Print FREE Printable HERE. You can grab the Sight Words FREE Printable HERE.
I printed the Dinosaur footprints onto colorful paper and the sight words onto plain white copy paper. I also opted to laminate the dinosaur prints because I have a feeling we will be using them for many things in our future!
One note on the sight words – I included the list of words from my son’s school, but the final page of sight words has 11 blank spots for you to add words your child is currently working on!
After you cut everything out, lay the dinosaur prints on the ground and use poster putty to adhere the sight words to the print. The poster putty is easy to use and move as you switch out the words on the prints.
Now, have fun experimenting with how to lay them out. You can lay them in a line and have your child stomp on each print while saying the sight words in a fun dinosaur voice…
… or set them in a semi-circle and make it a game – call out a word and have your child stomp on the correct one.
There are so many possibilities!
You can pick out the sight word opposites (like above)…
… or work on number words and counting….
… or even color words!
In case you missed it above – you can grab the Dinosaur Prints Printable HERE and the Sight Words Printable HERE.
There are so many ways to use these fun tools – I cannot wait to see what you come up with!
If you follow along with this blog, you know that I love simple science experiments that are easy to set up but have a big WOW factor. These Exploding Dino Eggs definitely fit the bill.
This is a play on the basic baking soda and vinegar reaction, but with the added WOW of dinosaurs hatching!
The prep isn’t difficult but it is messy and takes a bit of time. So plan your day accordingly 😉
Materials:
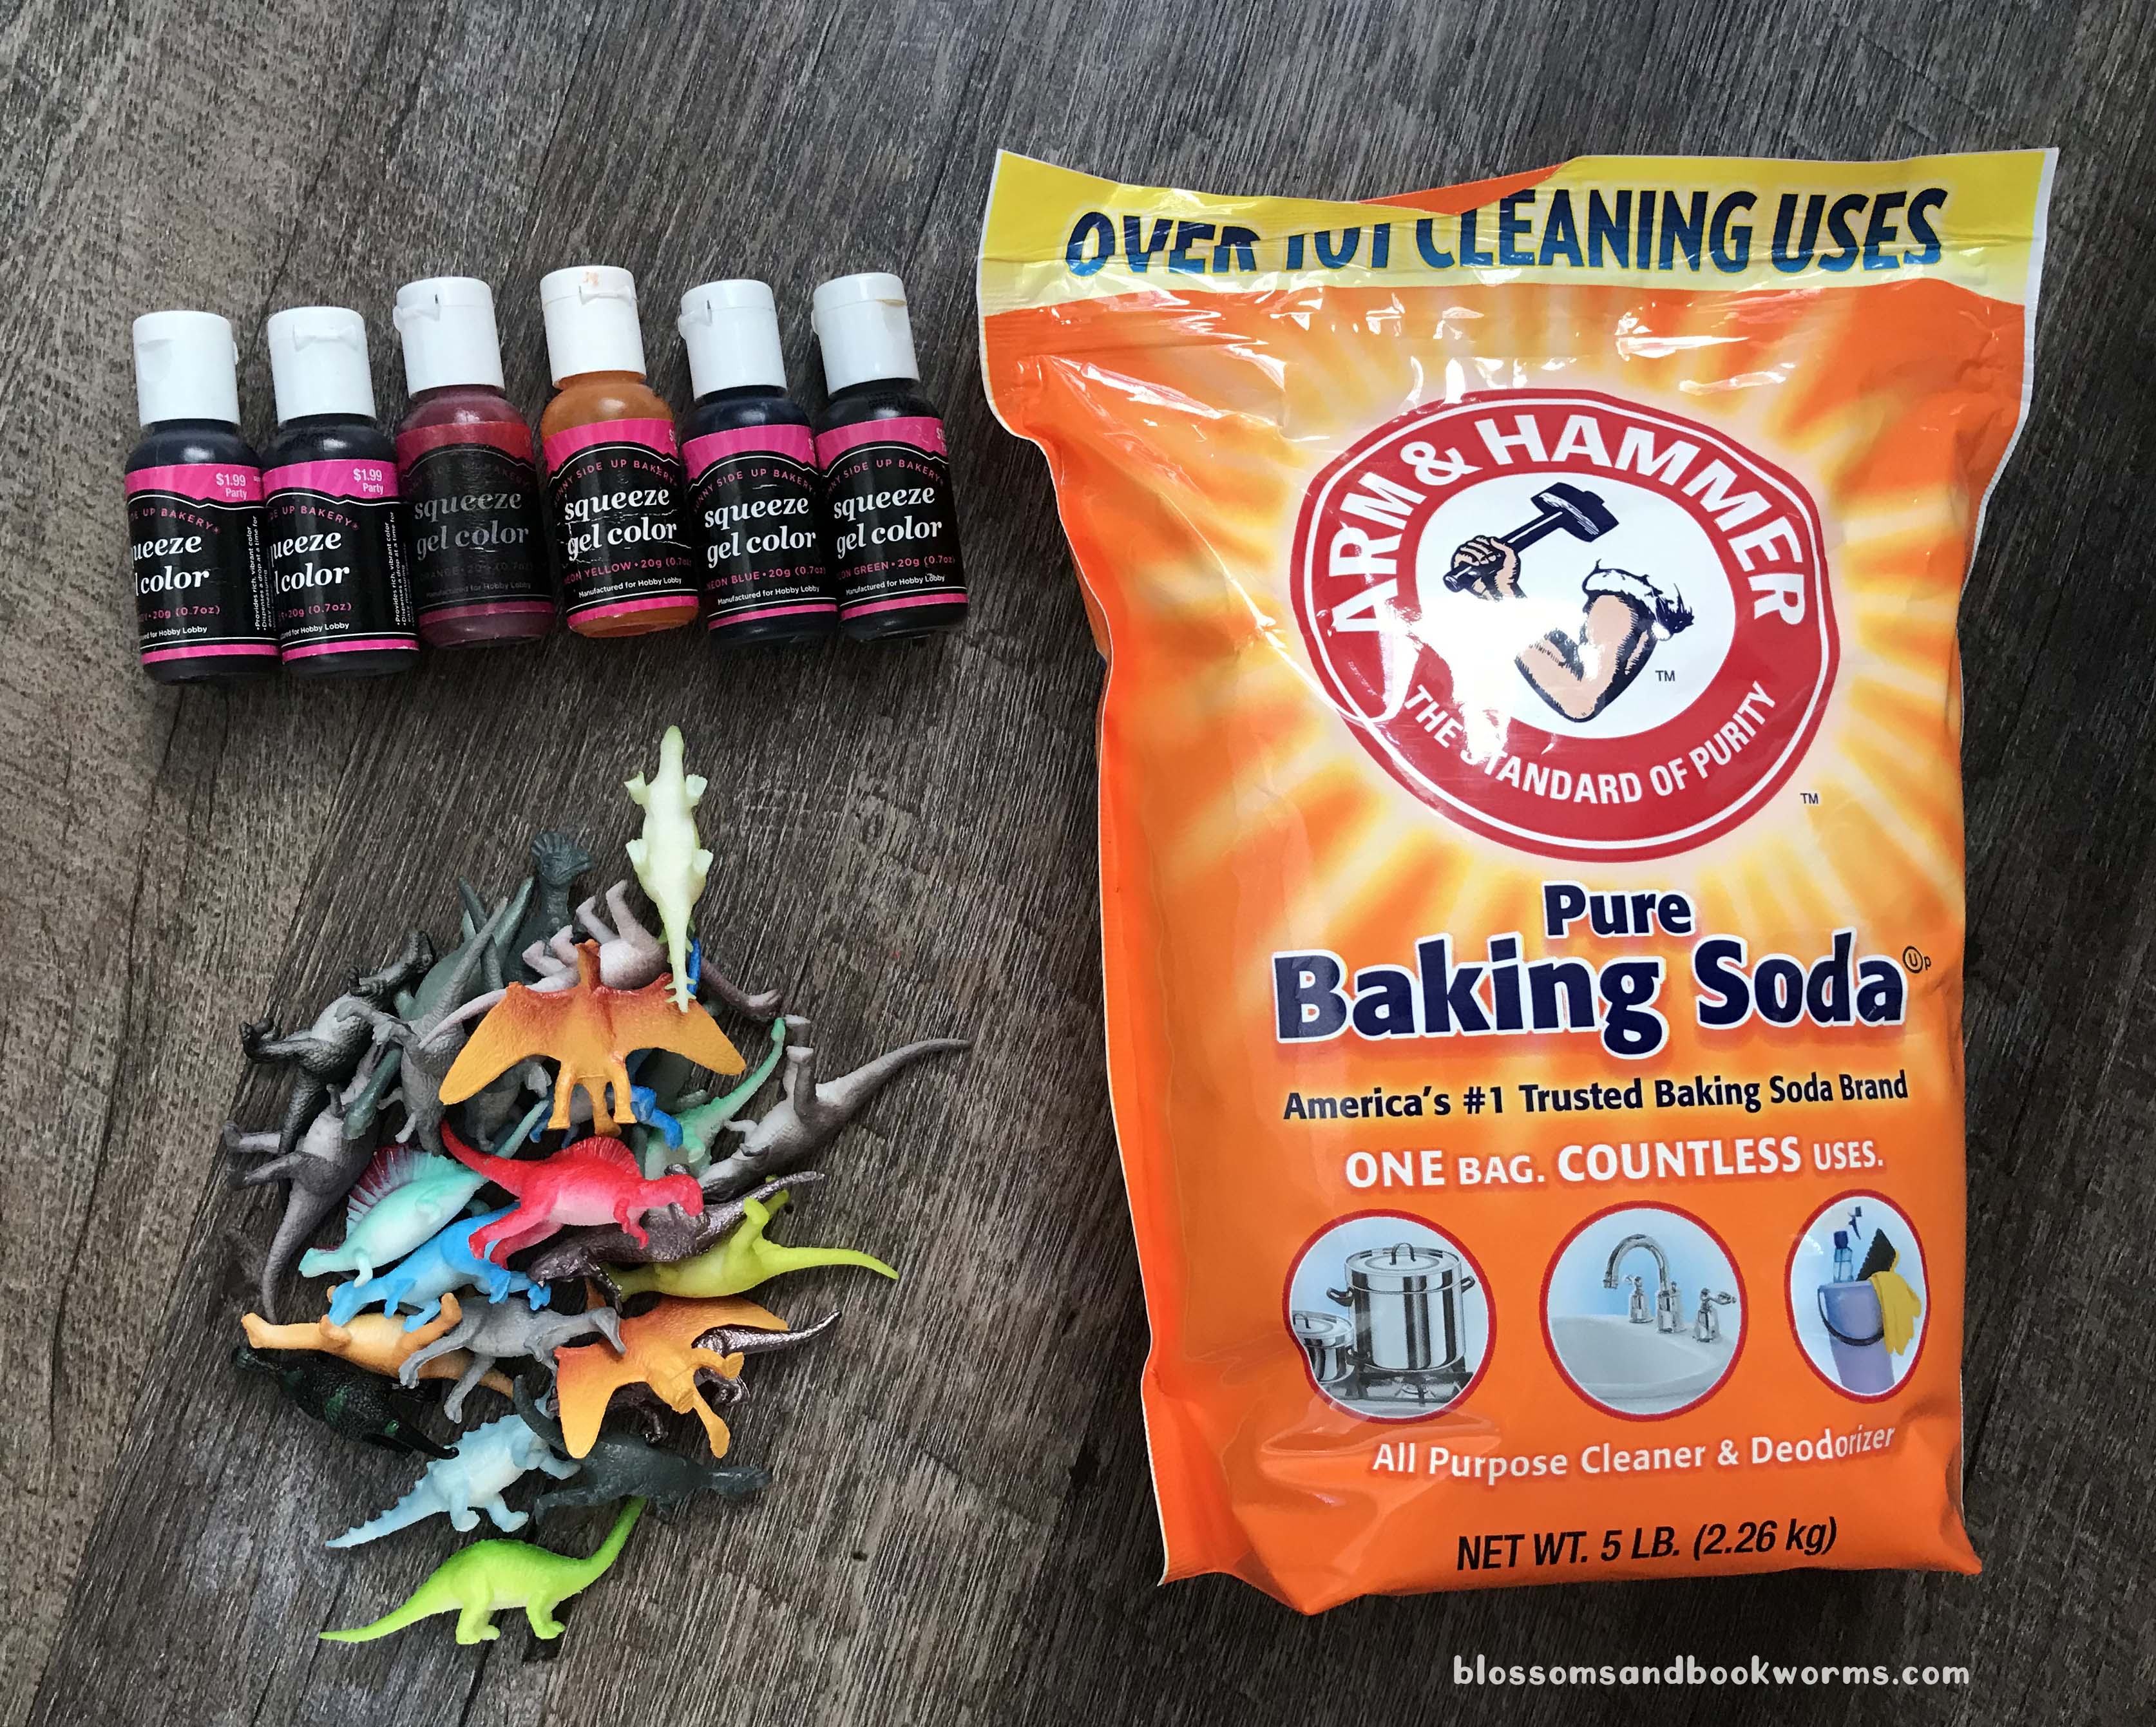
For the Eggs:
Baking Soda – opt for the big bag so you can make lots of eggs 😂
Mini Plastic Dinosaurs
Food Color – I used gel – totally optional but it ups the WOW factor!
Water
Spoons and Gloves are also super helpful!
For the Reaction:
Vinegar – again I buy vinegar in bulk so we have plenty for experiments.
Squirt bottles, spray bottles, or eye droppers
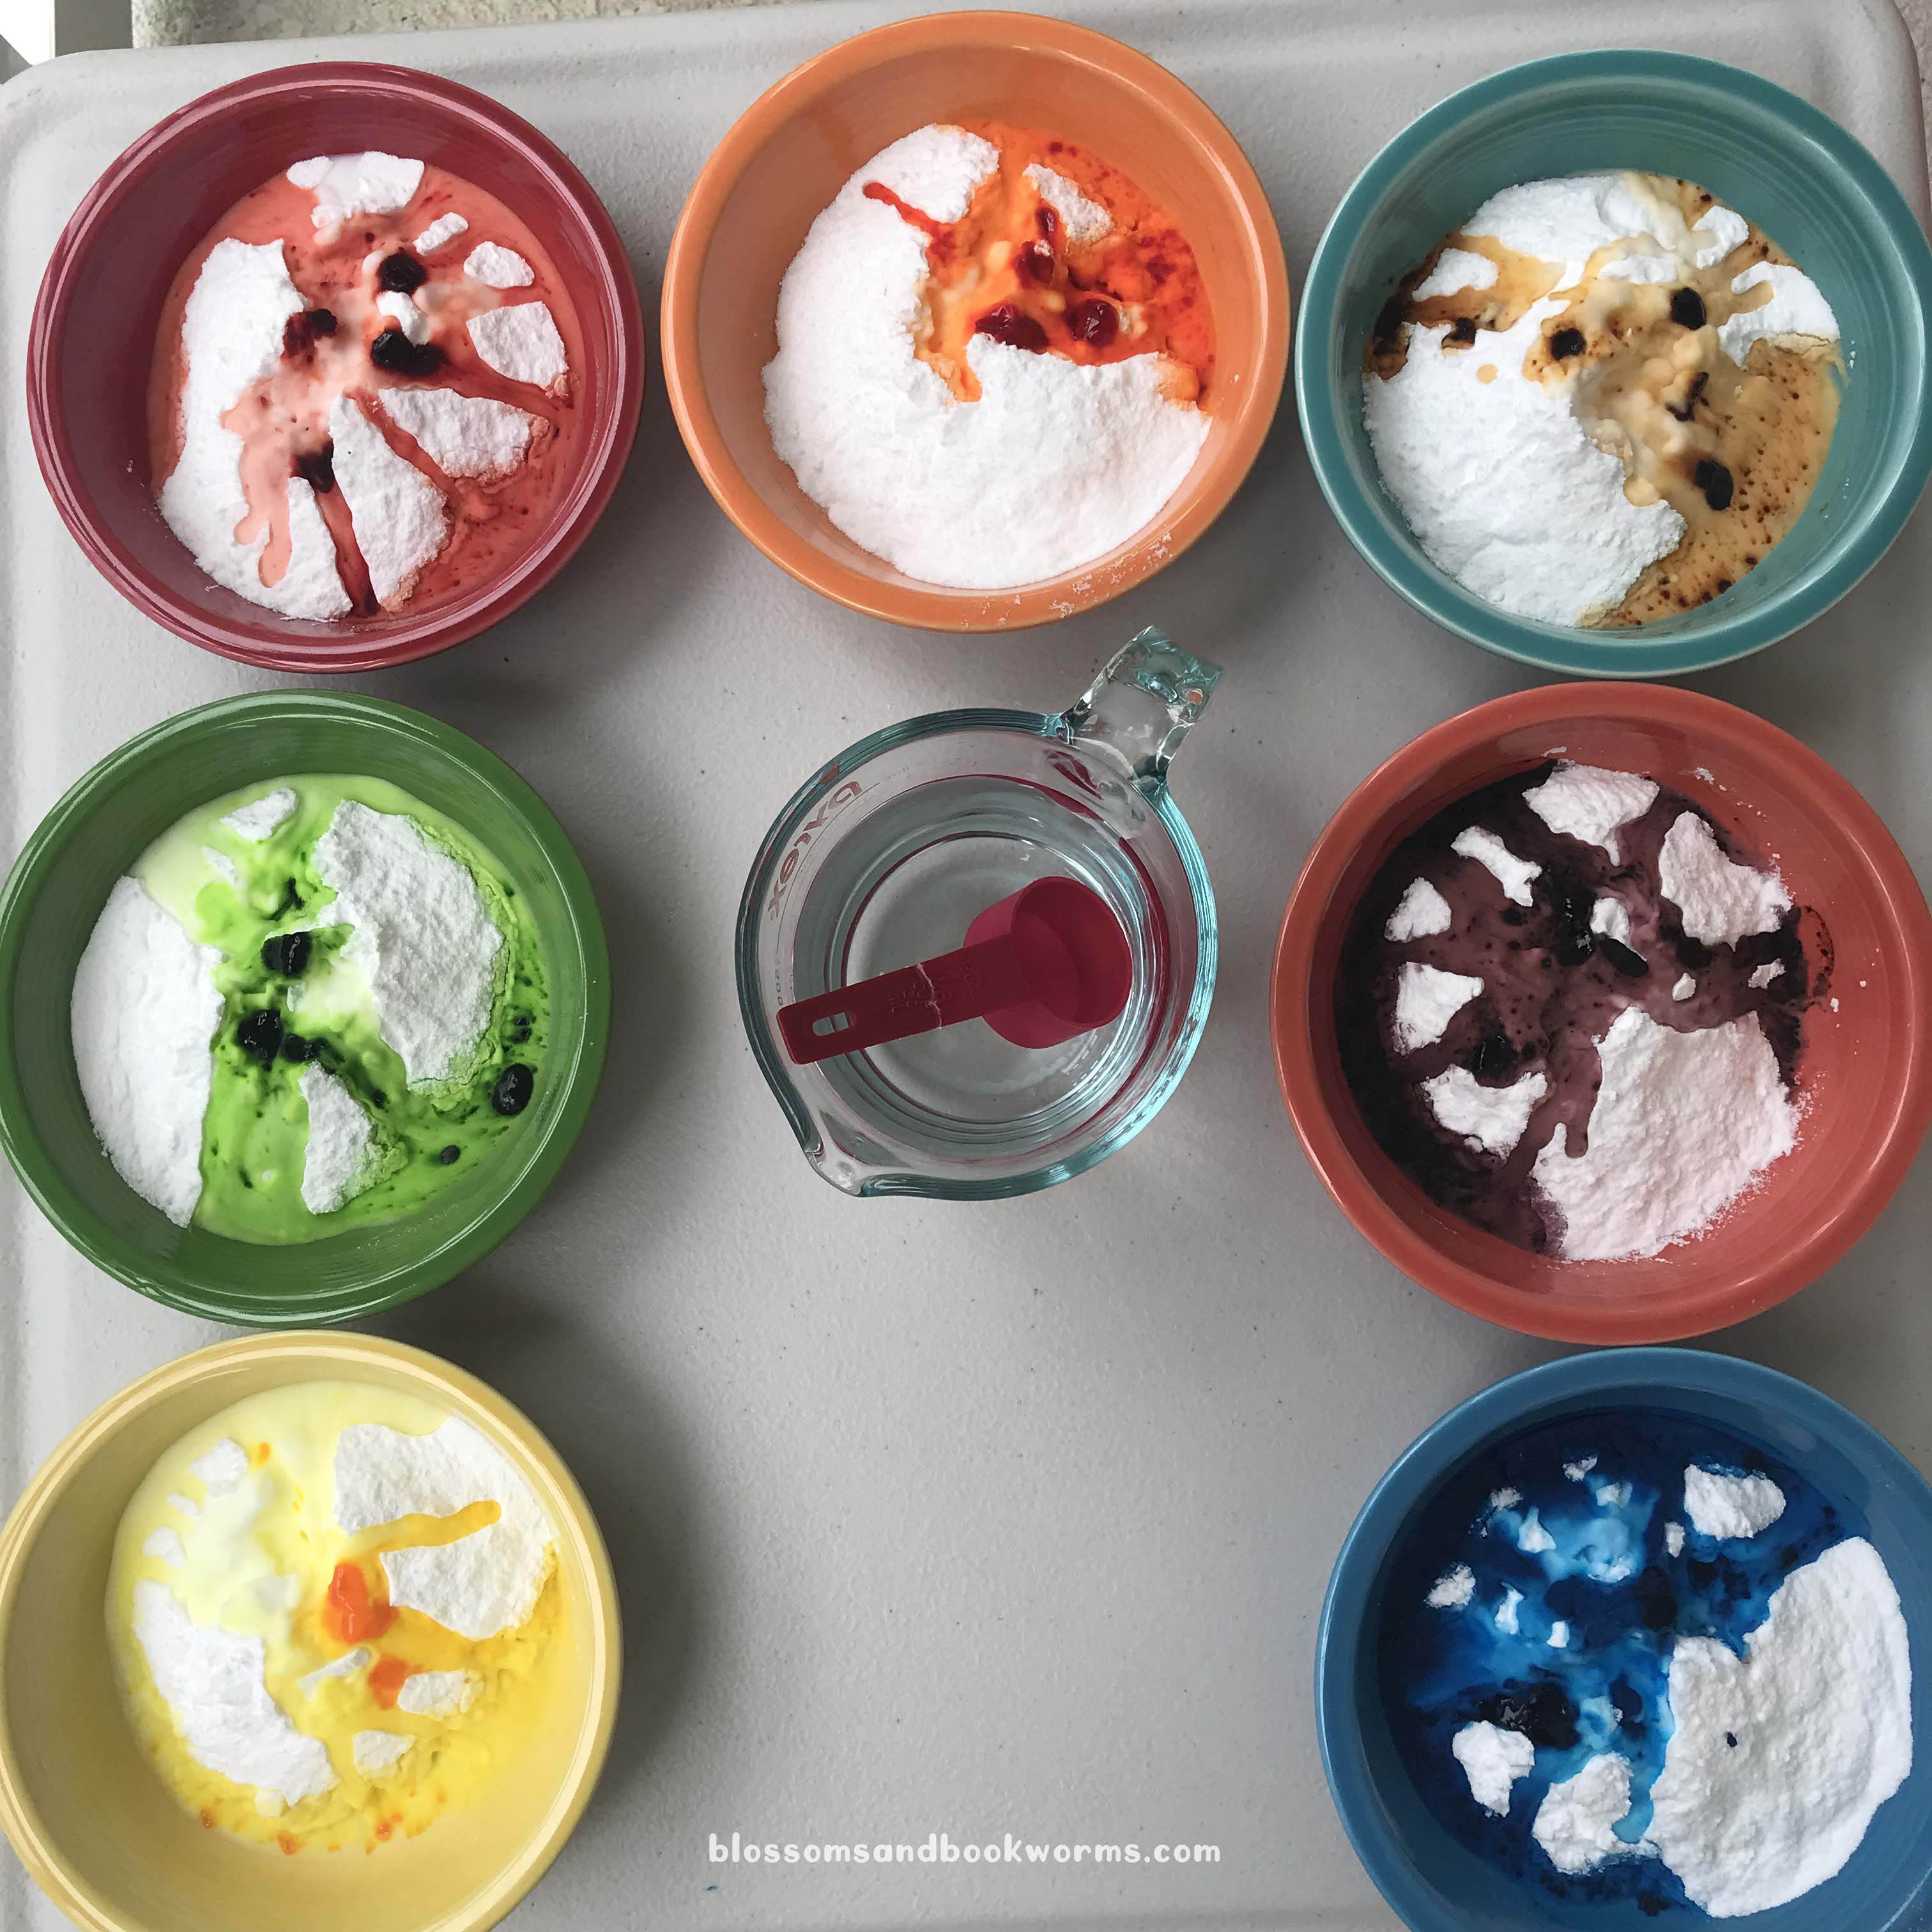
Grab a dish for each color you want to make, then measure out baking soda into the dishes. I was creating eggs for story time so I needed A LOT. Feel free to make less colors of reduce the recipe to fit your needs!
I used 1 cup of baking soda for each color. Then drop several drops of gel food coloring into the baking soda.
Add water, 2 TBS at a time, to make a thick paste. I used approximately 5 TBS water for each 1 Cup of baking soda.
Use spoons – or your hands if you’re a rebel 😉 – to mix the color, baking soda, and water into a thick paste.
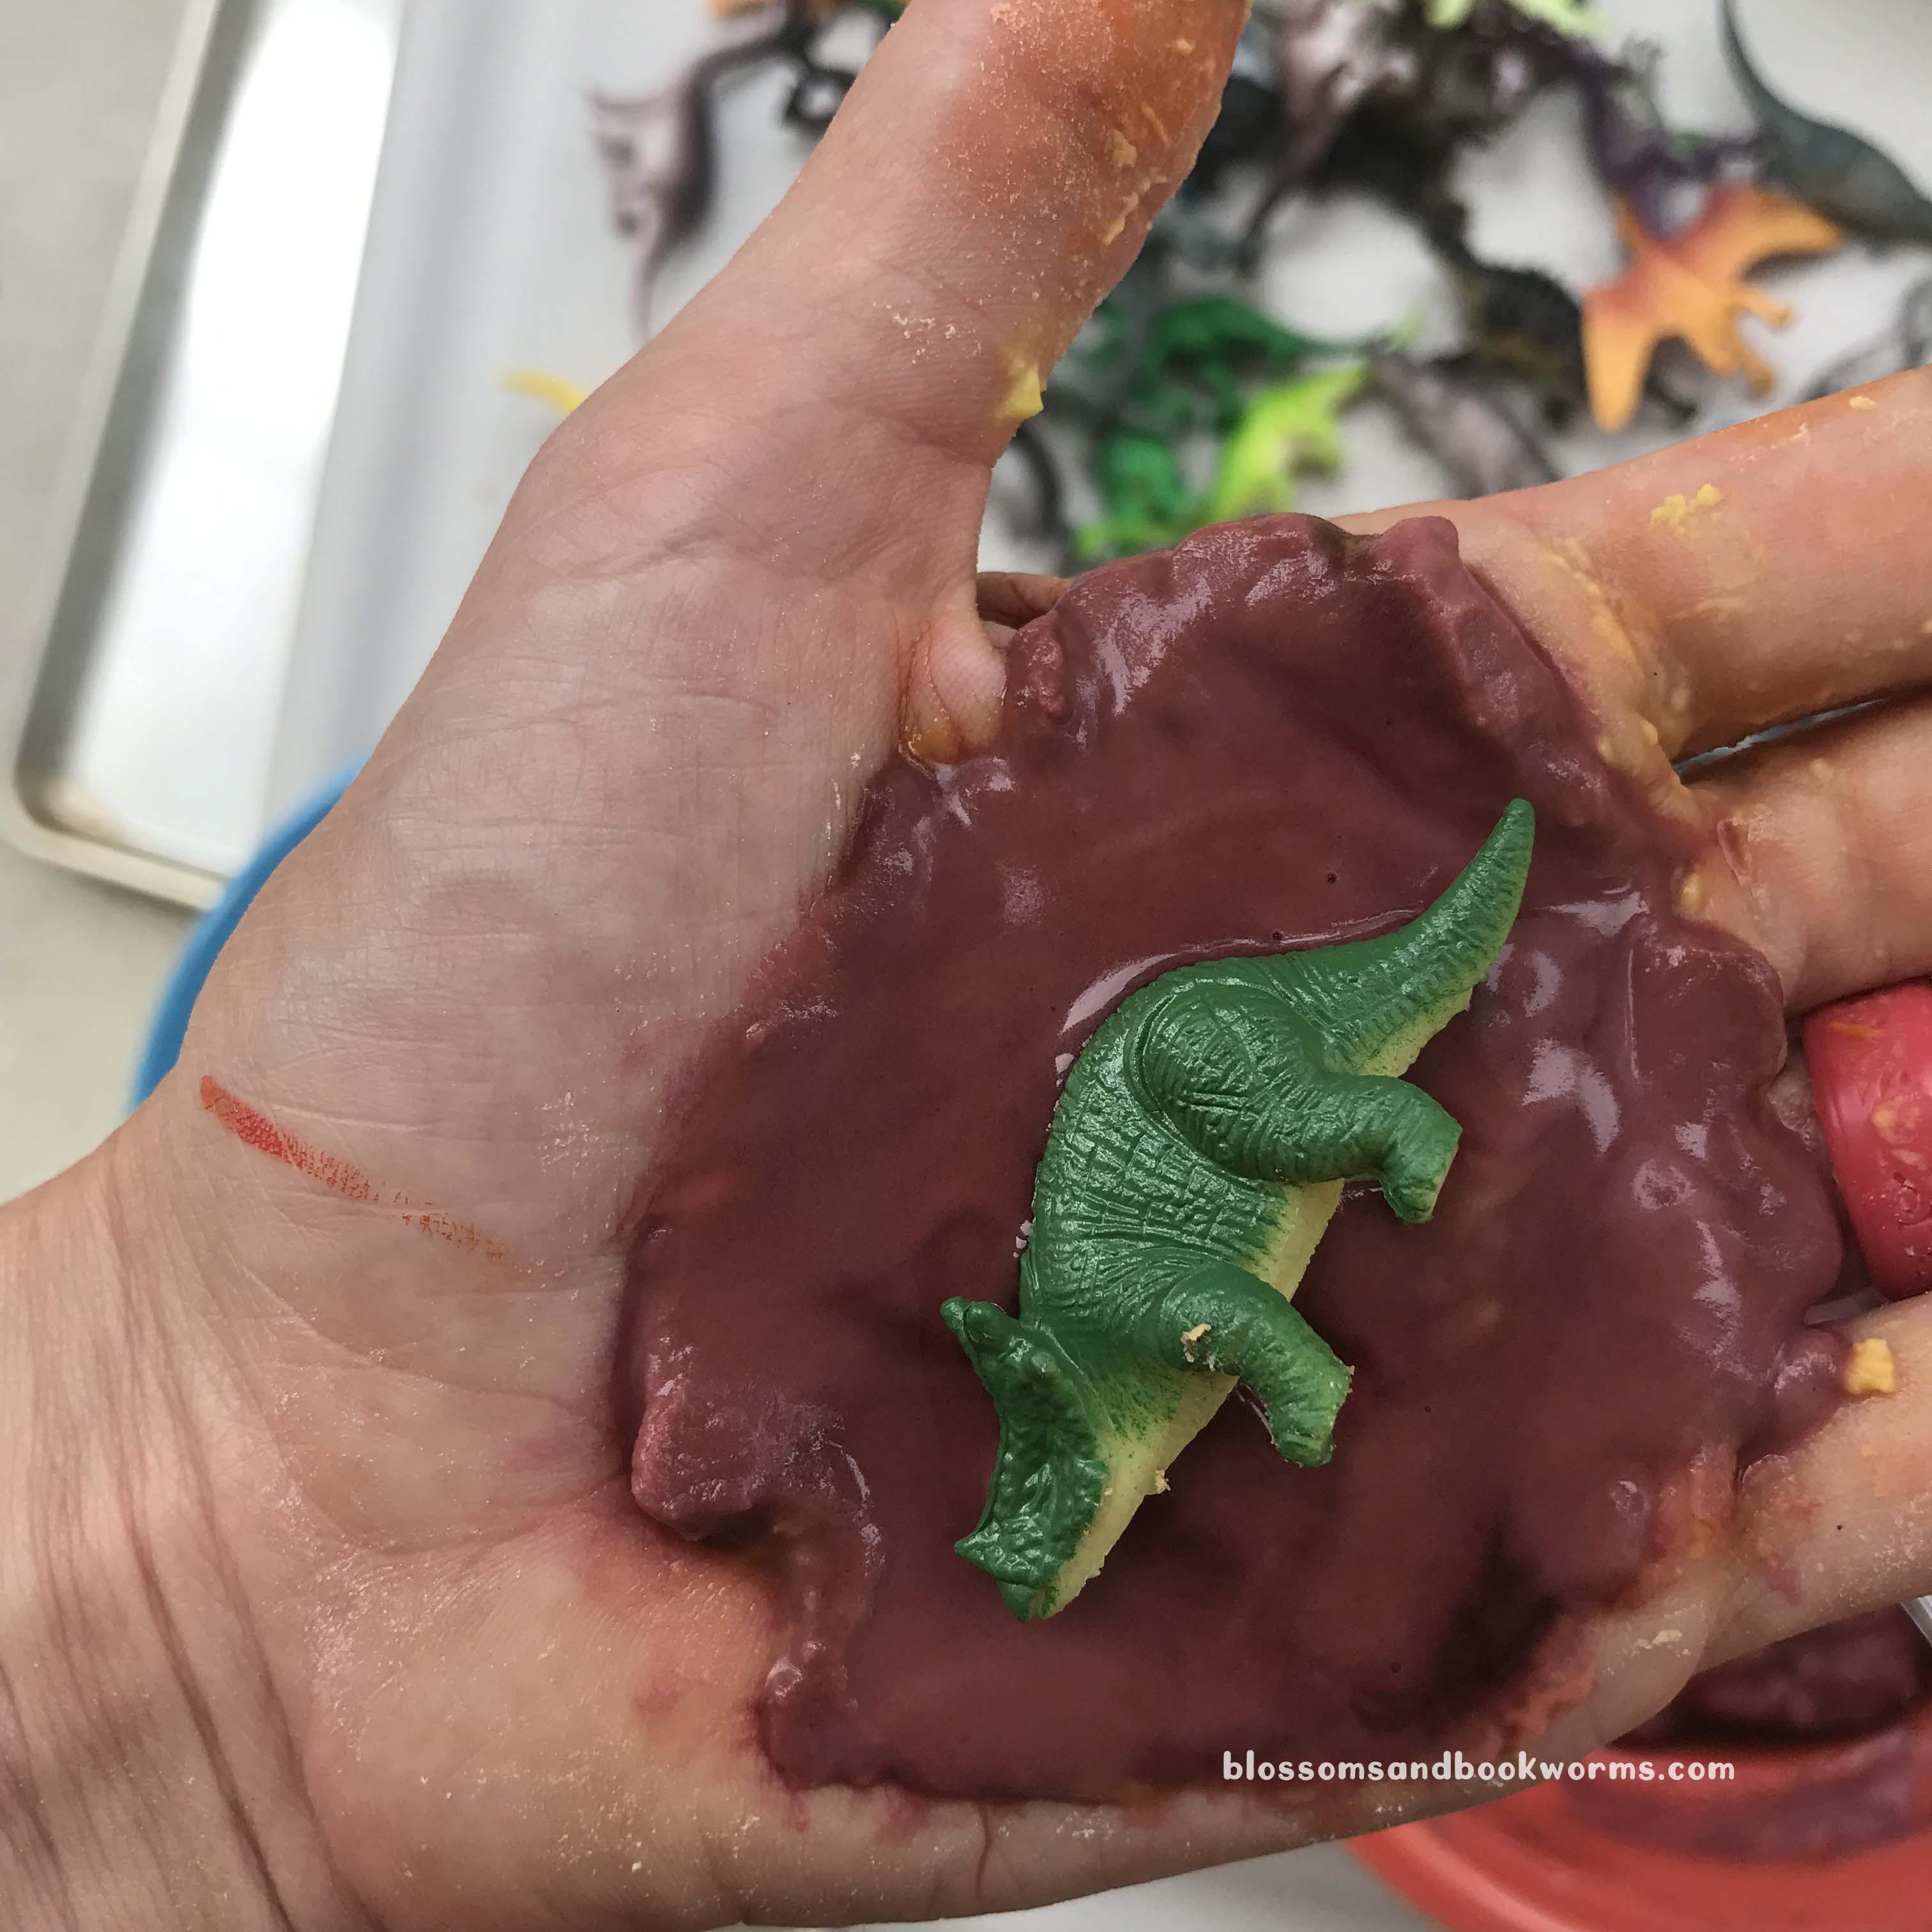
Now for the messy part – mold the paste into eggs! If you do not want your skin stained, you should definitely wear gloves for this part. Obviously, I didn’t, and my hands were a lovely shade of purplish-red for a couple days 🤣 So this is “do as I say and not as I did” situation. 🤣
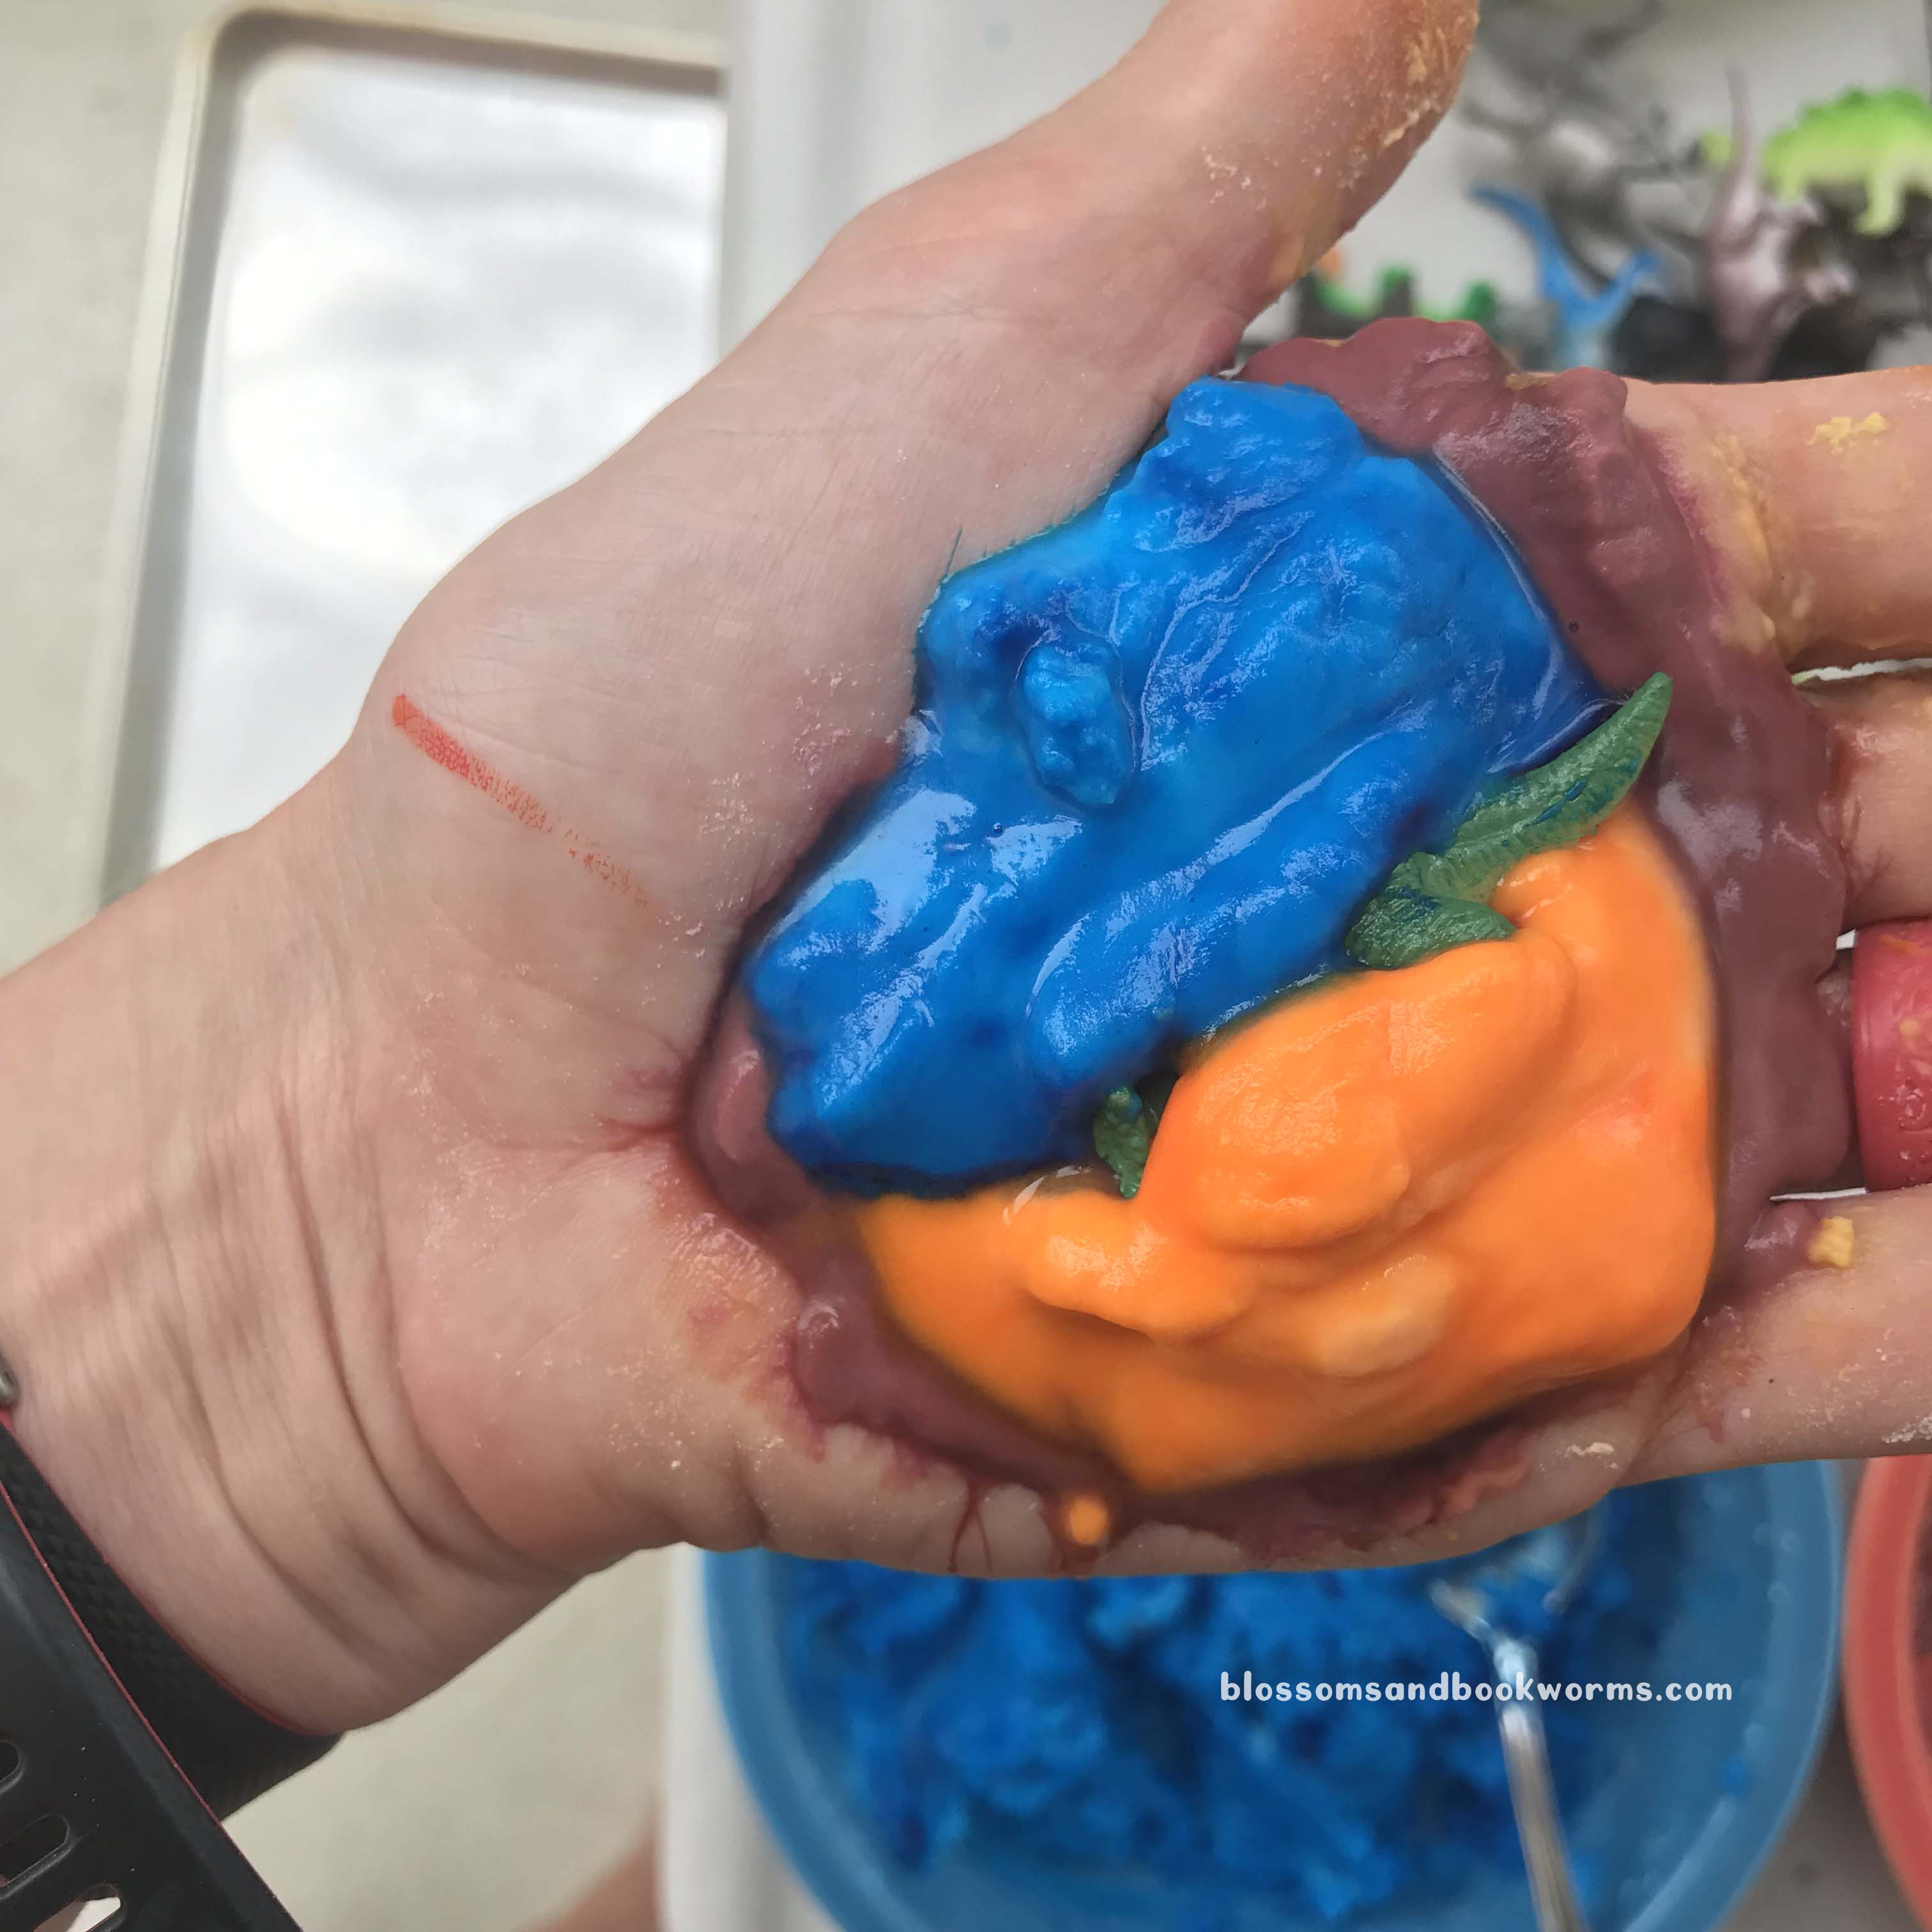
I put a TBS of paste on the palm of my hand, added a dinosaur, then added a few more dollops of paste to cover the dino. Mold it together to cover all parts of the dinosaur.
Real Talk – my paste was a bit too liquid, so when I peeled the egg from my hand, I rolled it in extra loose baking soda on a sheet tray. As soon as my sticky, gooey egg touched the loose baking soda, it set up and was easy to handle.
I absolutely love all the colors!
Notice that my eggs are not 100% smooth or oblong or anything else “perfect”. But I am totally fine with that and so were my kiddos. The fun is in the experience, not in the perfection for photos. So give yourself a little grace if they don’t come out a perfect shape!
Move your eggs to a cool, dry place for several hours – or overnight – to finish drying out. It is worth the wait, because the reaction will be better when they are fully dry!
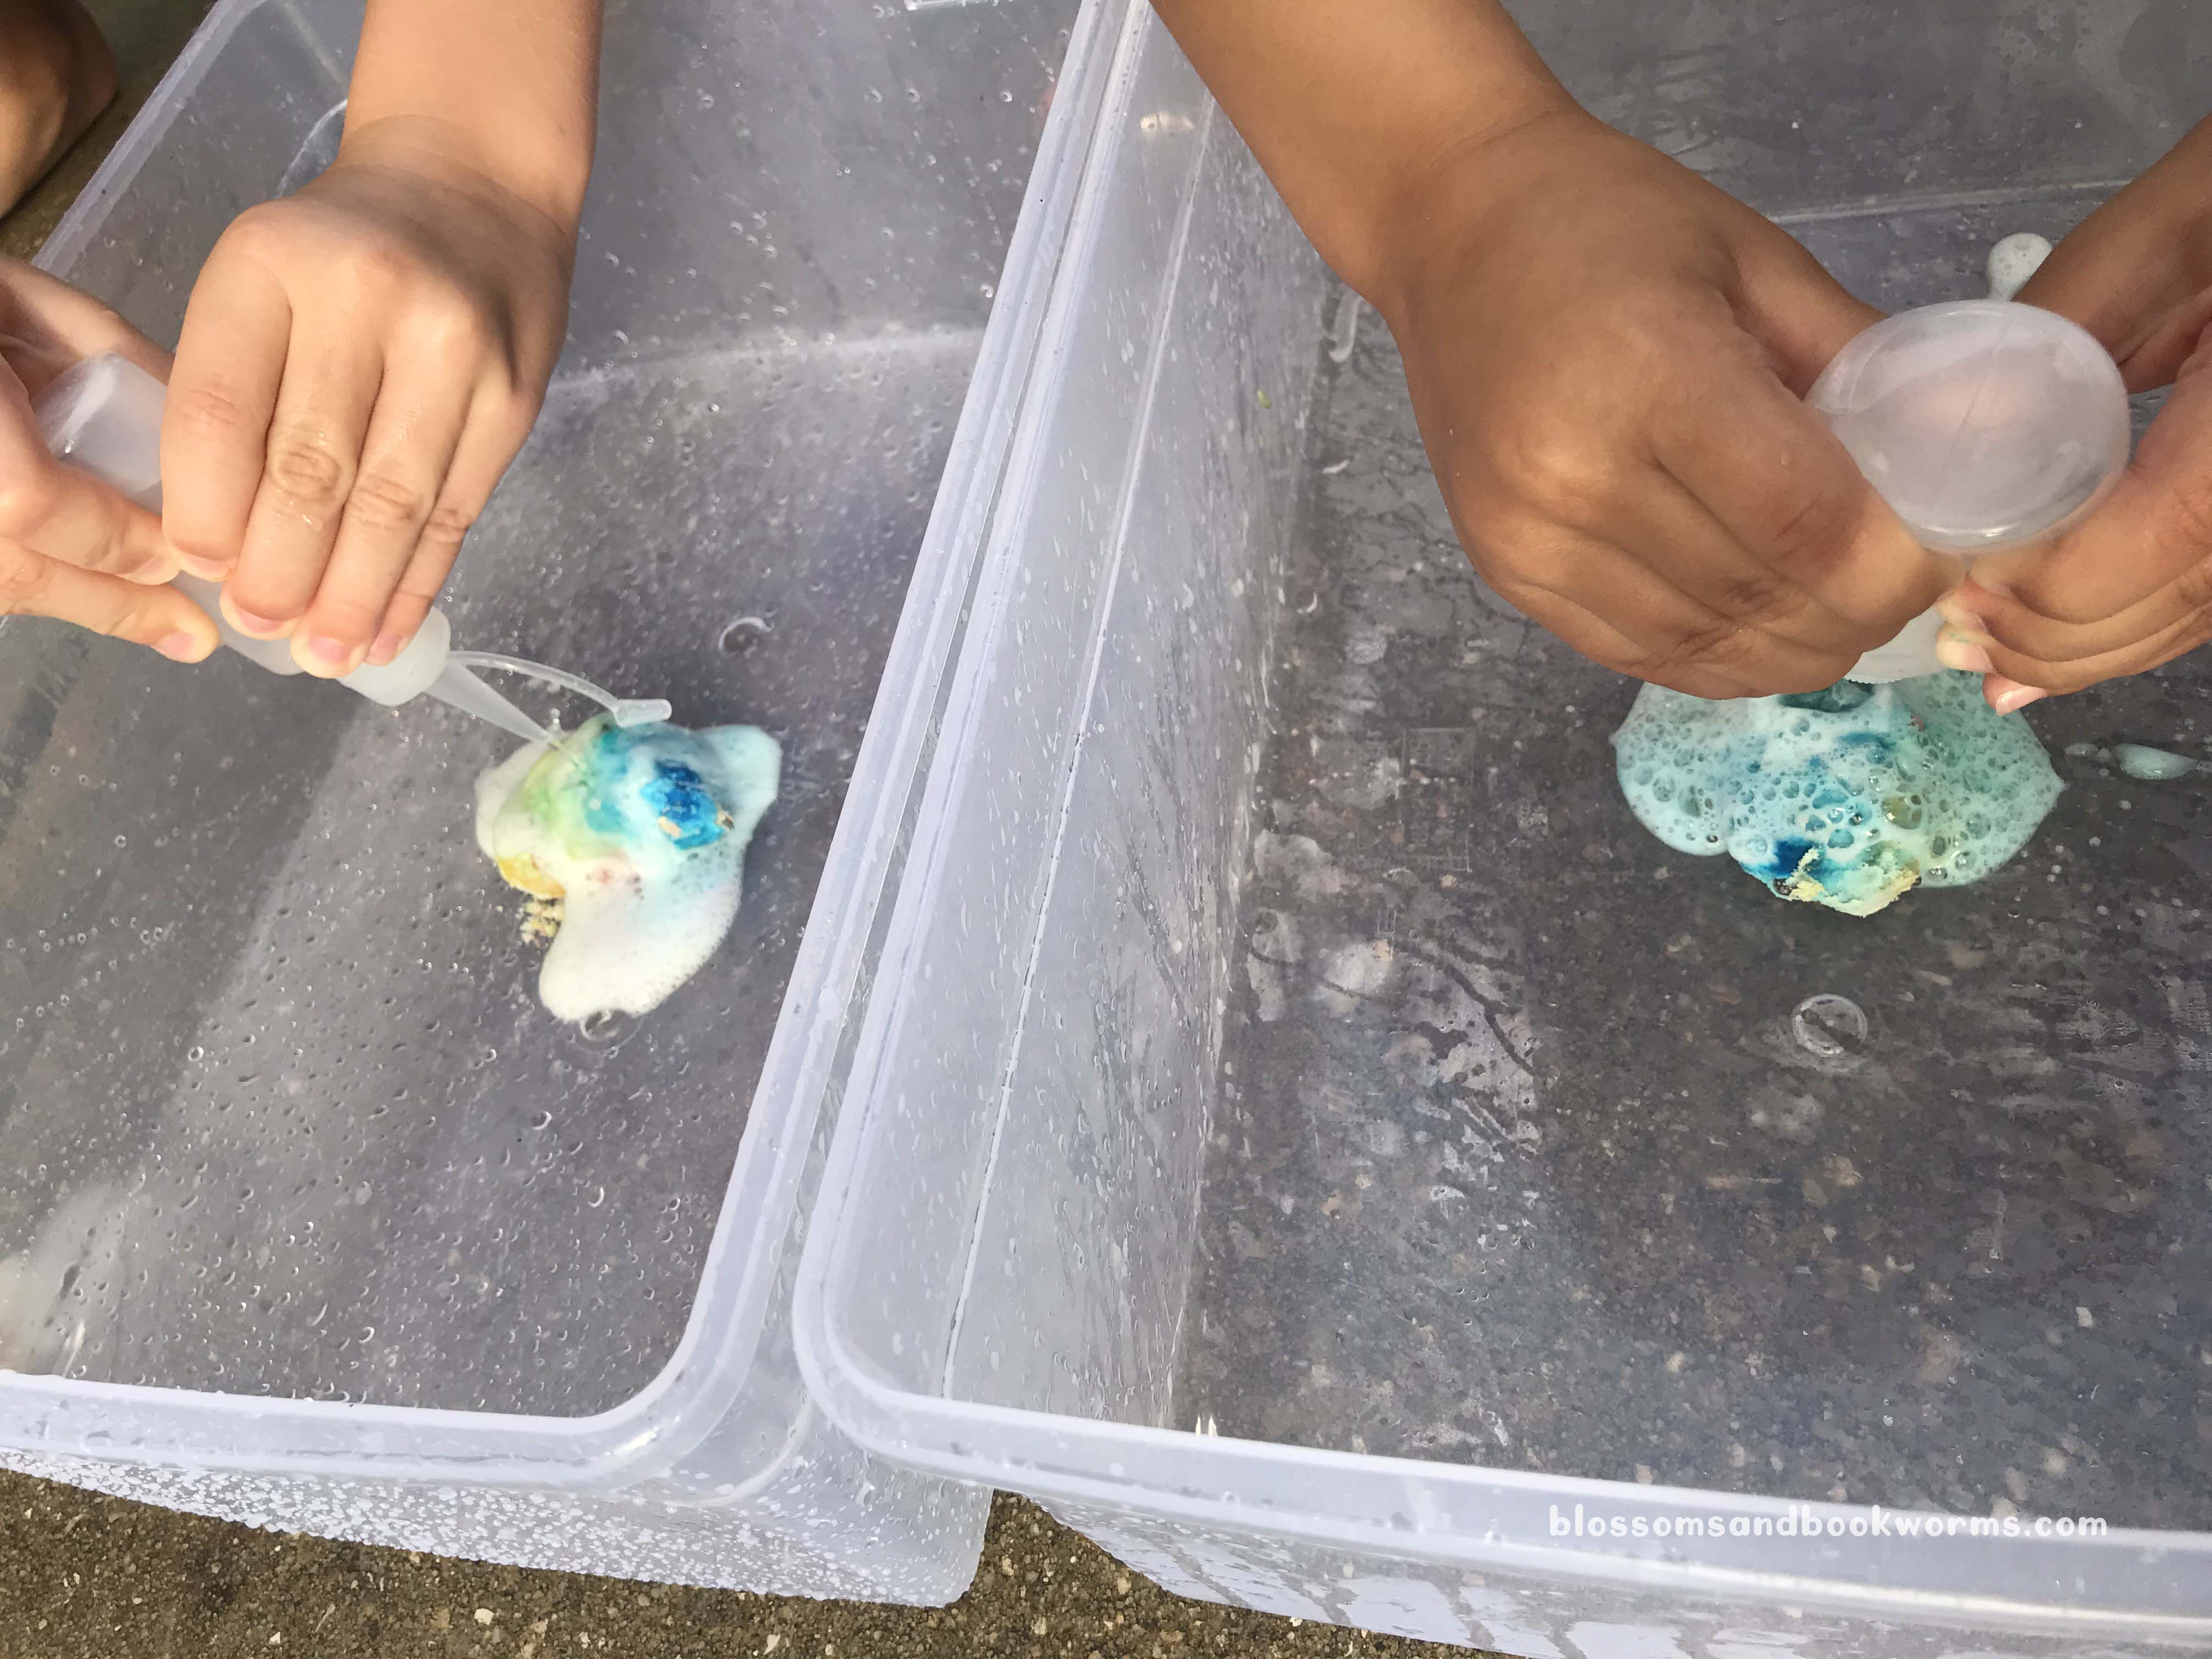
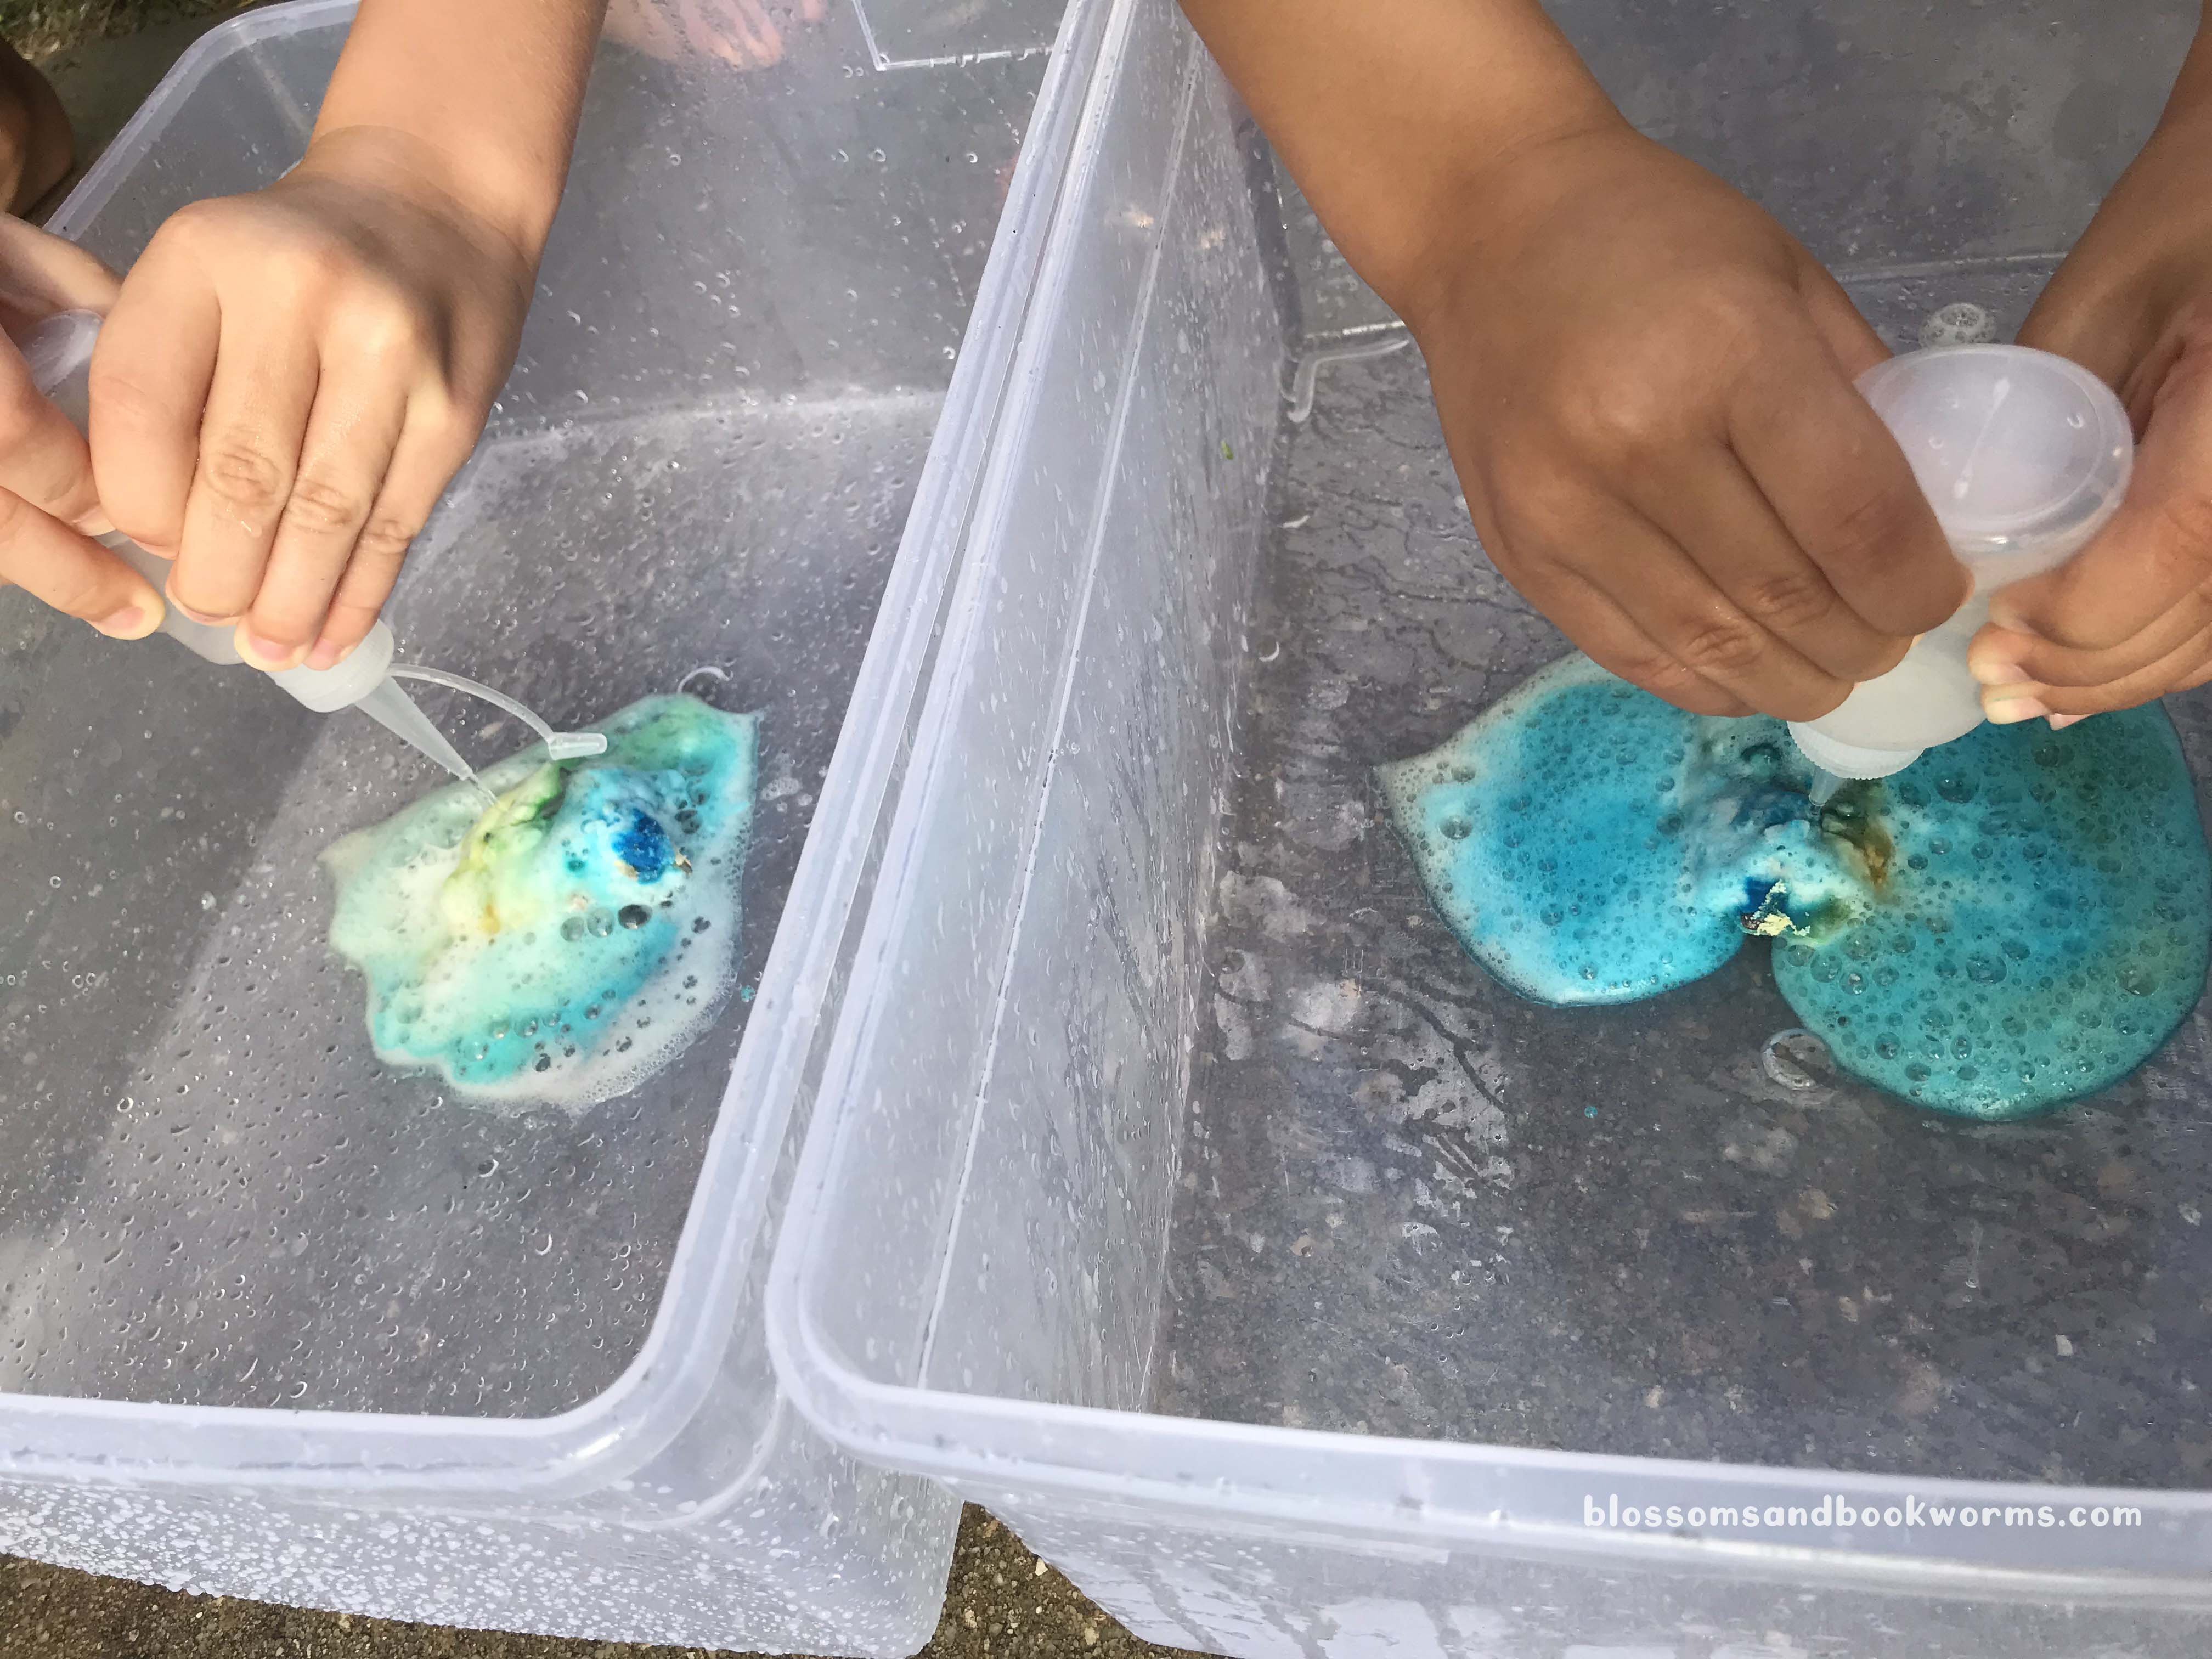
Now for the fun part! I added vinegar to squirt bottles and let my kiddos go to town. The reaction and “WOAH, its exploding” moment is totally worth it!
Since we used food coloring the reaction can make a mess. I recommend doing this part outside or in a bin – or both!
Check out that dinosaur exploding out of that egg!!
I know, I know, this looks too messy for you… but do not fear! I actually did this activity with 20 kiddos at story time – age range from 1-9 – and NONE of them ended up with stained hands or clothes.
BONUS – ALL of them LOVED the experiment!
You can totally make this work for your readers too!!
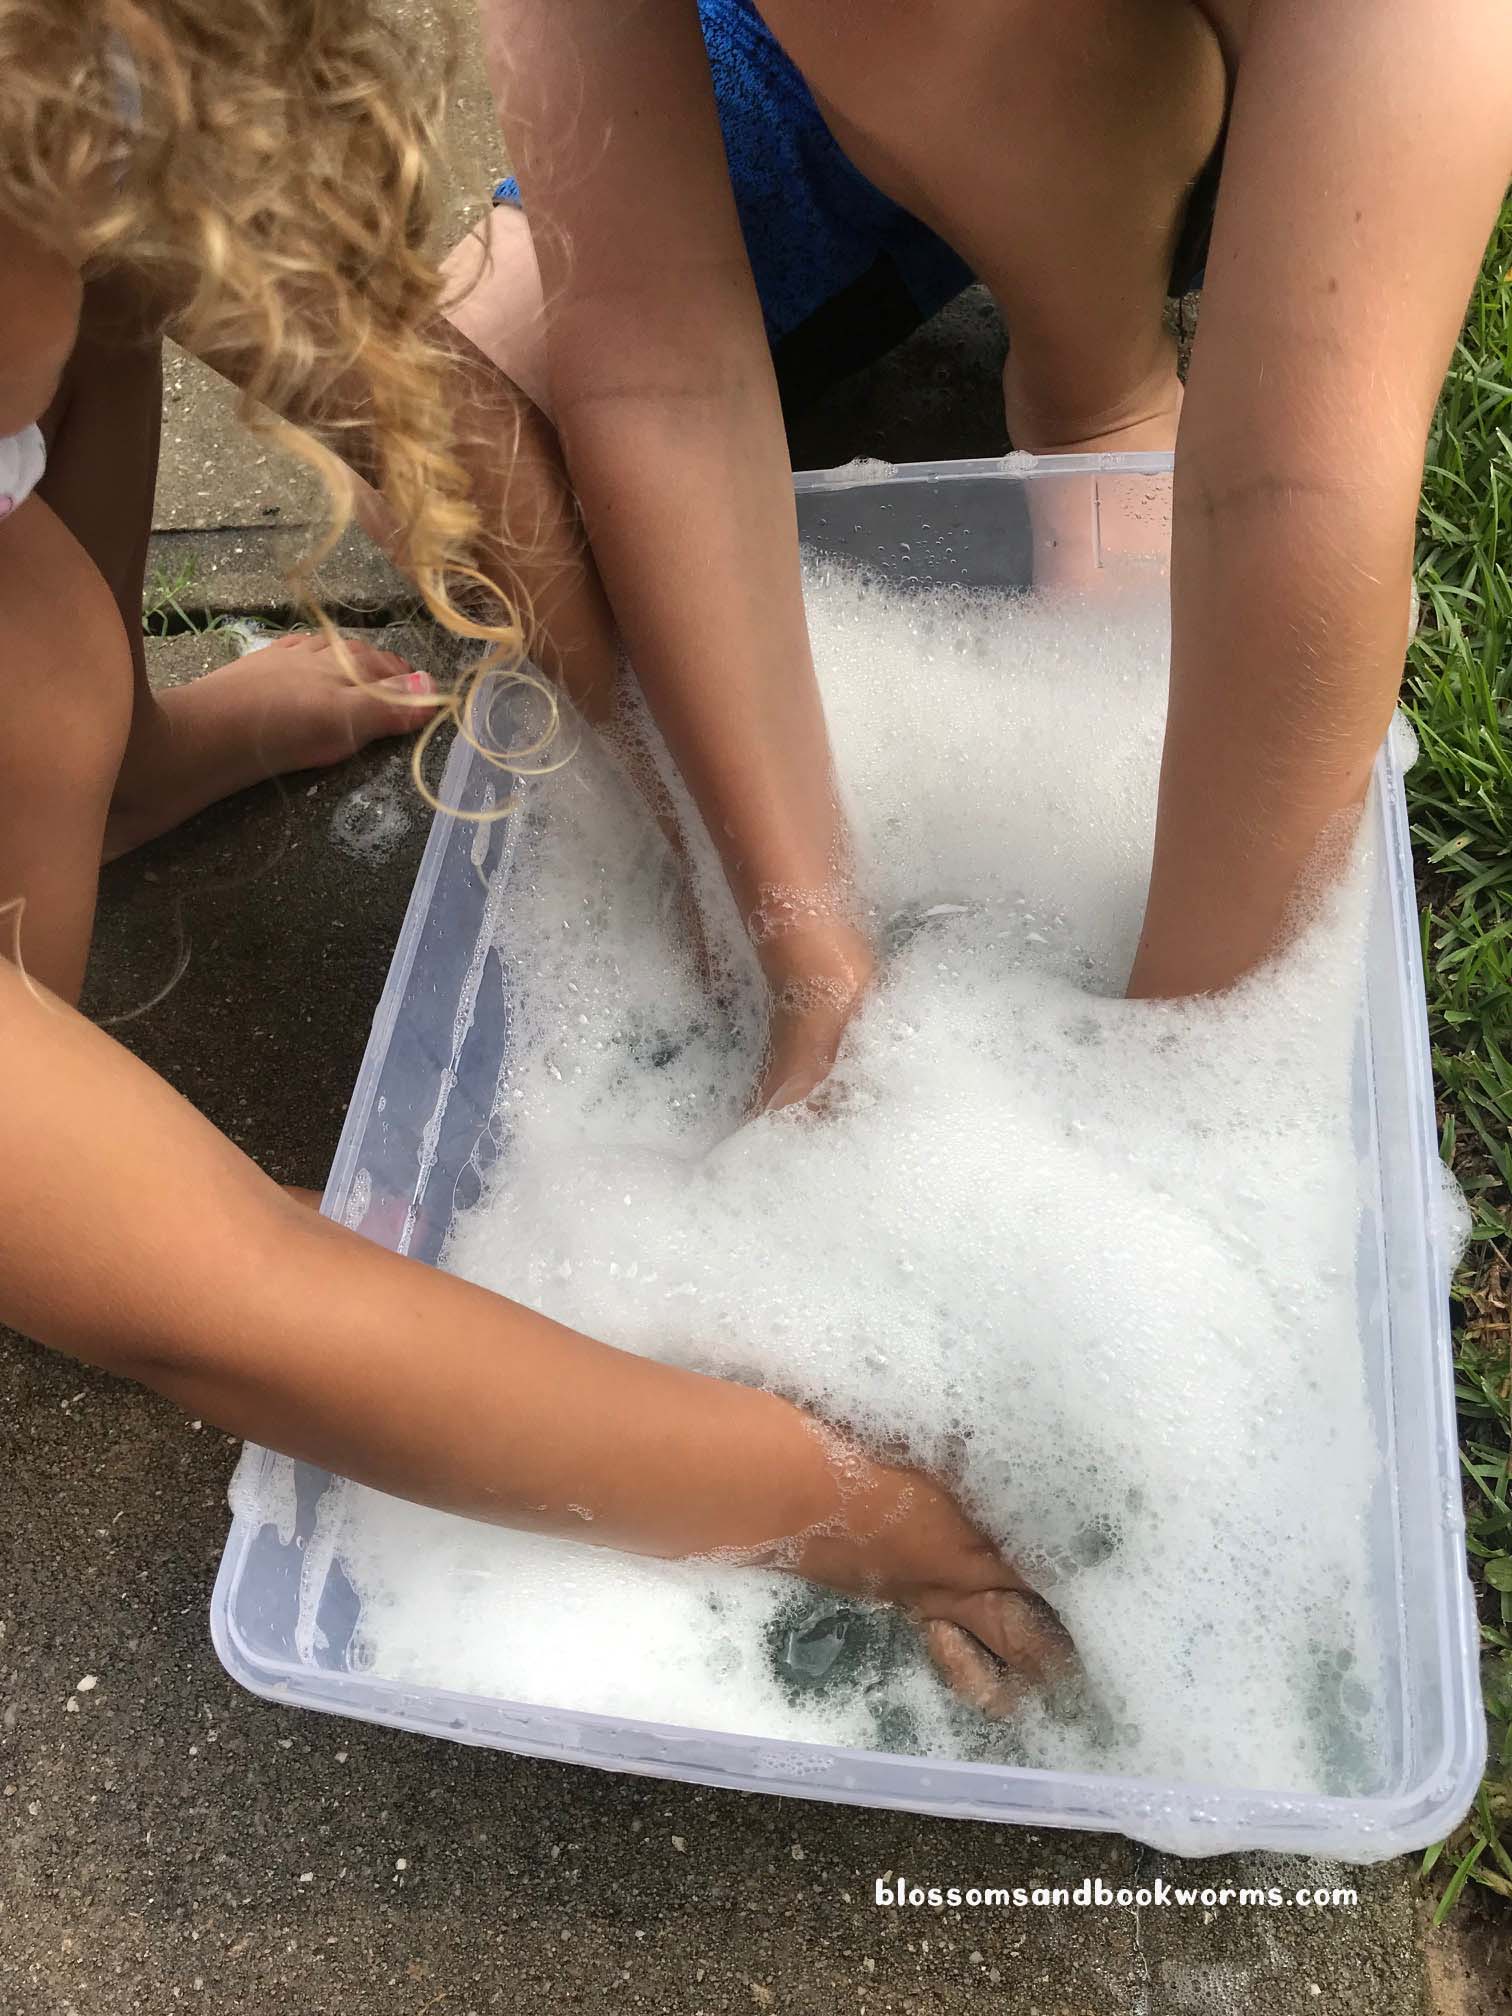
Don’t forget to have a “Dino Wash” bucket handy – plain water to rinse them off would be plenty, but bubbles amp up the fun factor! My kids loved washing the dinosaurs as much as hatching them!
I love that my youngest is working on matching, counting, and pen control all at the same time! And she loves that she is able to do it with a “special marker”! 😁