Growing a Flower Garden Playdough Mat

Playdough play is a wonderfully fun activity full of developmental benefits, including these:

  • Playdough play aids in fine motor skills development while littles build muscles needs for prewriting, cutting, and more.
  • It is calming and therapeutic while they squash, shape, and squeeze away any tension or extra energy.
  • Playdough play inspires creativity and imagination while also emphasizing hand-eye coordination.
  • It also can aid in social skill development as children plan and problem solve with others, play collaboratively, and talk and discuss their creations.

I have loved playdough since I was a tiny tot so anytime my kiddos want to dive into those cans of salt dough, I am game! The addition of playdough mats has really encouraged my kiddos to get more creative with the dough as they try to form and shape it into the “right” shape for their specific work. They seem to work harder at conceptualizing what they want to make and then molding it to fit their vision when they have a mat as a background.

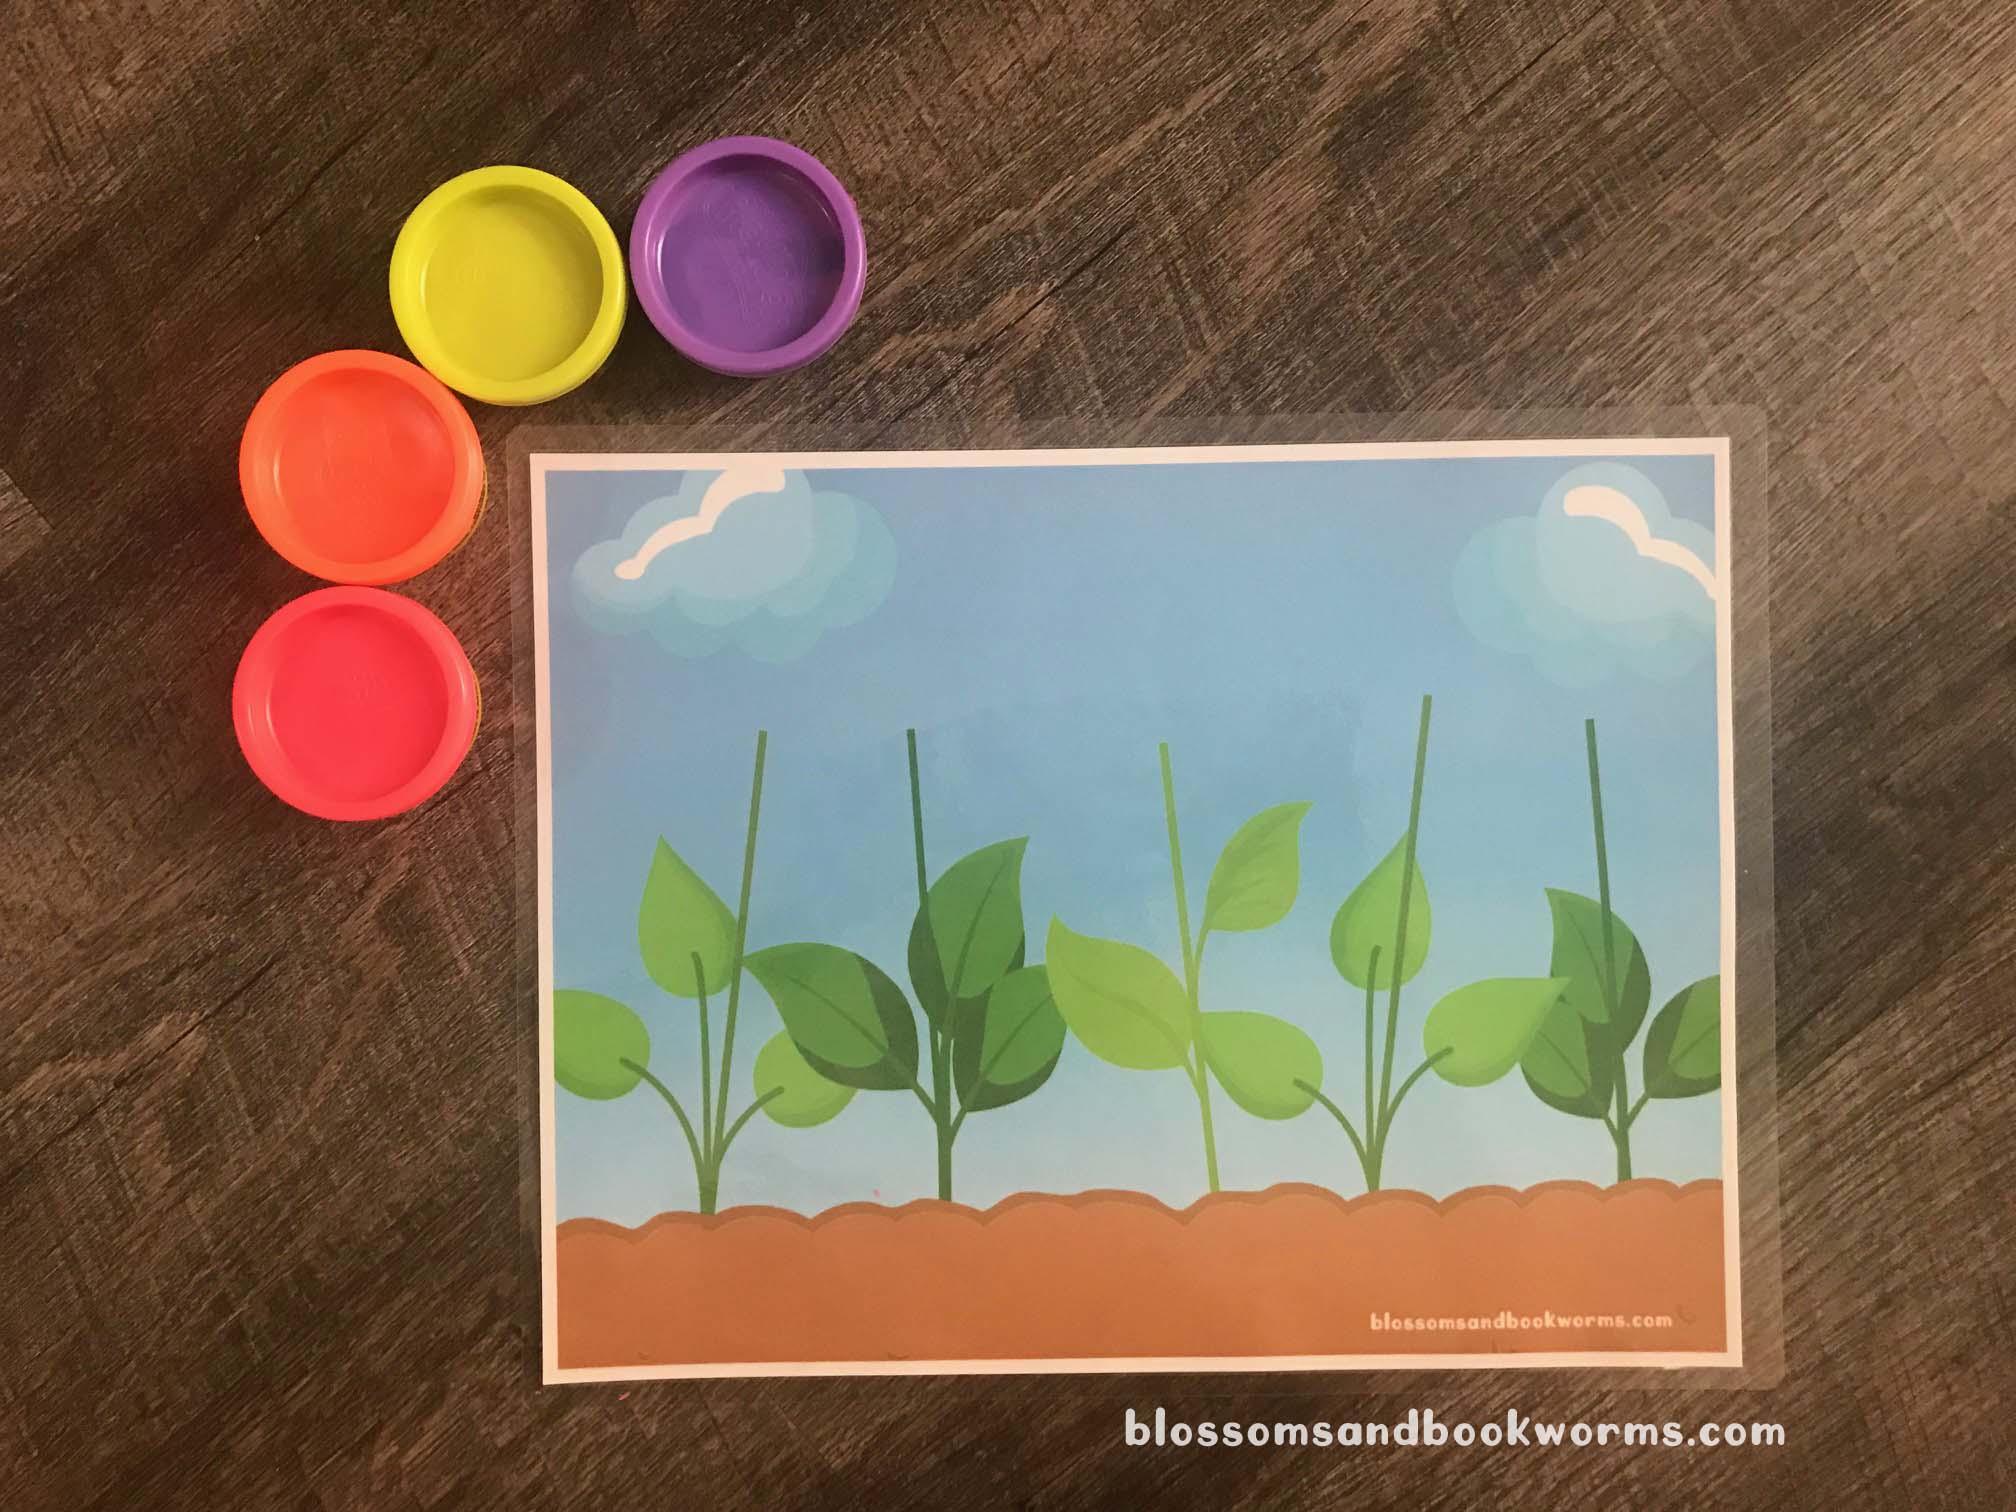
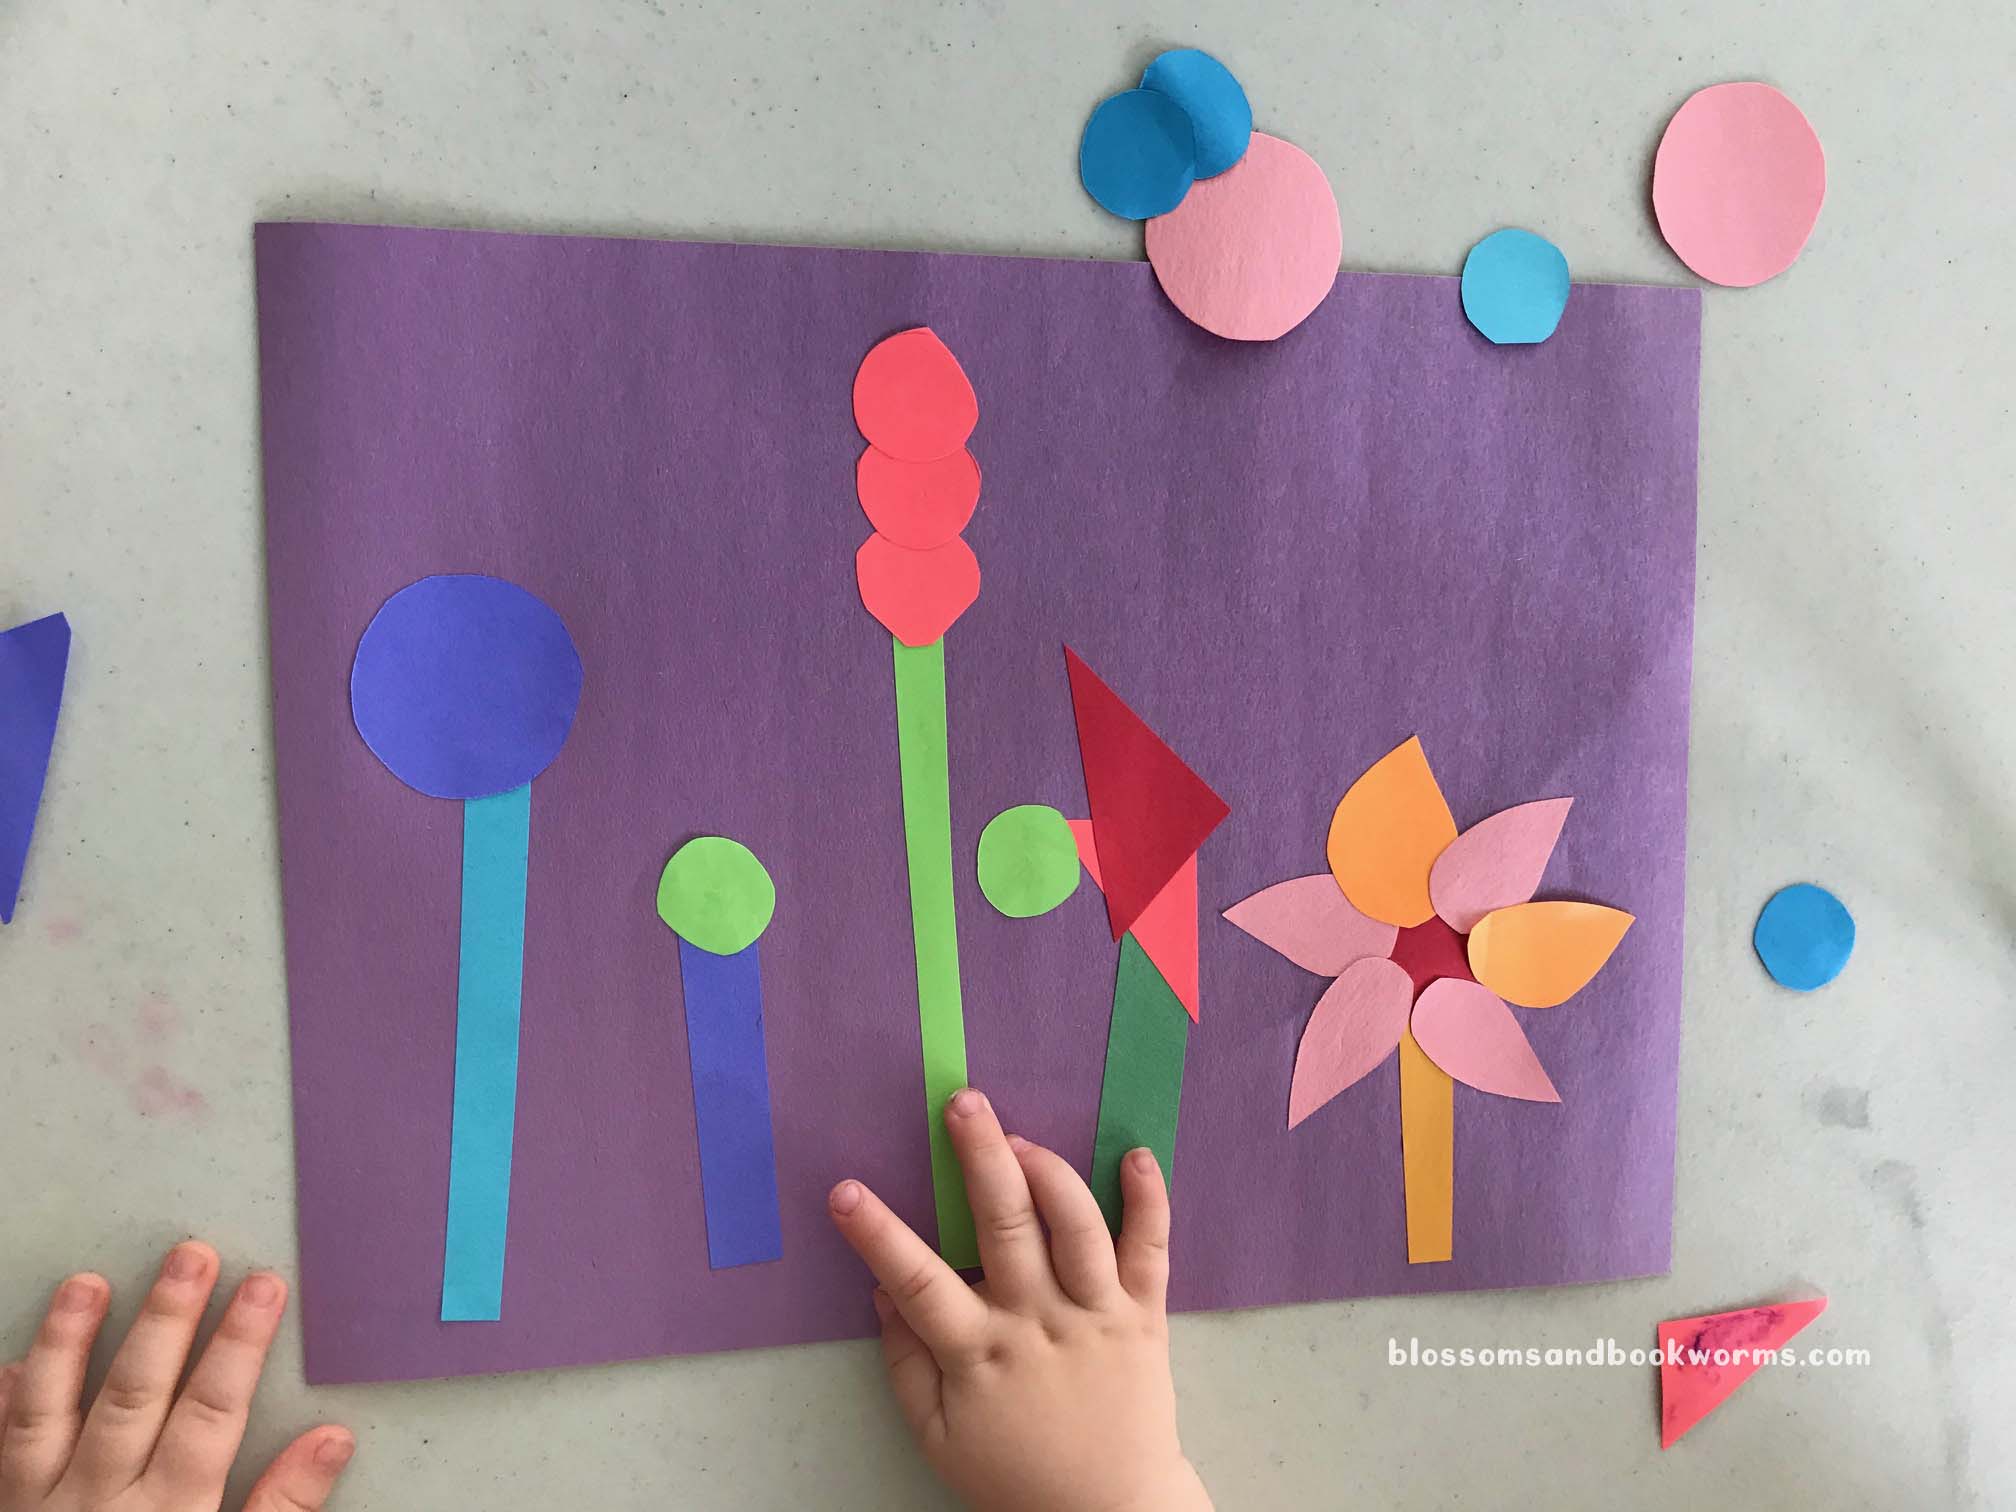
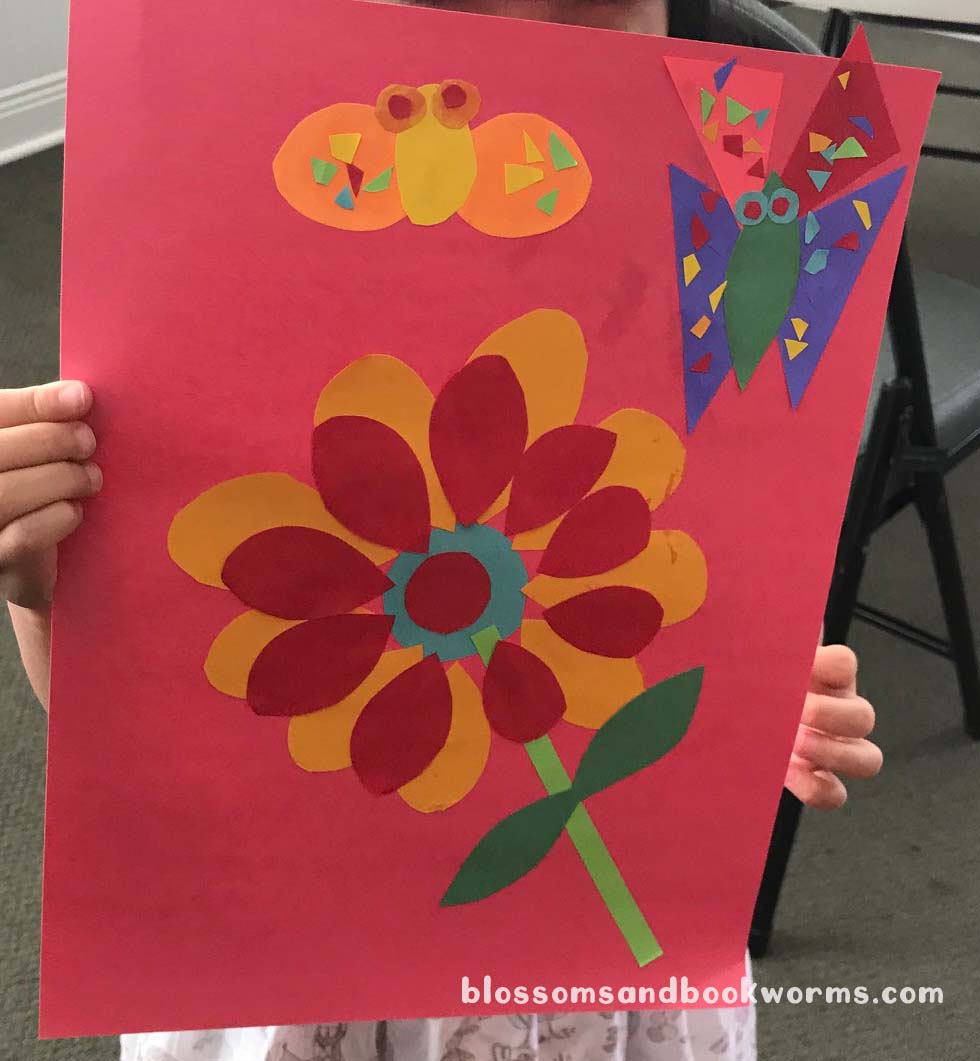
For #GardenWeek, I just knew we needed to grow a playdough garden! Right now we have tons of flowers blooming with riotous color that make perfect inspiration for our creations. However, this activity would also be fantastic to pull out during the winter doldrums while we are all dreaming of spring.

You can grab the FREE printable, print, and laminate it and have your kiddos creating while you make dinner! I found myself focused on flower making, but I think that dirt really needs a worm or two! Maybe even a butterfly or the sun could be peeking in the sky!

I love all the color, dimension, and variations that can be created. If you pull this mat out 100 times, I am willing to be 100 different masterpieces will be created!

Don’t forget to grab the FREE printable HERE.

I cannot wait to see what creations your littles come up with!

Happy Growing!

Why Do We Need Bees?

A Hands-On Learning Activity

We can’t have #GardenWeek without talking about the, dare I say, most important insects in the garden – BEES!

Why do we need bees? It is a great question!

Without bees we couldn’t grow lots of the fruits and vegetables that we eat! When a bee visits a flower or plant to sip the sweet nectar, they spread pollen that helps plants grow fruit and vegetables.

My kiddos have so many questions about bees and I am so thankful that we found this book to answer them all (and MORE!) in an age-appropriate, relatable way. I was learning right alongside my kiddos while reading it!

For instance, do you know how many bees make one jar of honey? Around TWENTY THOUSAND!! 😳 I will never look at that honey bear the same way again!

Our fun hands-on learning activity helps illustrate how bees travel to flowers, collect nectar, and carry it back to the hive to turn it into thick, sweet honey.

The first step is to make the hexagonal hive. First, cut strips of cardstock or other thick paper into 1-inch strips. Then begin folding the strip into a hexagon. I found it easiest to fold down the first side and then continue folding the paper strip on itself until the entire strip was folded up. Unfold the paper and then tape into a 6-sided hexagon.

Repeat with the remaining strips to make more hexagons. Then, tape them together into a larger honeycomb pattern.

Now your little will become the bees and use tongs (or their fingers) to move the pollen from the flower to the honeycomb.

This activity is very simple, but it can be used to emphasize various concepts:

  • Shapes – hexagon is a super fun word and shape!
  • Colors – what colors are the flowers? the pom-poms?
  • Numbers & Counting – how many pom-poms are inside each hexagon? on each flower?
  • Fine Motor Skills – can you squeeze the tongs to pick up just one pom?

I hope your little ones enjoy learning all about bees with this activity! And now that you know why we need bees, can you spot them hard at work outside in your environment?

Happy Bee Spotting!

Create Your Own Flower Garden

I love open-ended activities!

I host a weekly community story time and the kiddos who attend are from a wide range of ages (age 1-12) and interests. I am always on the lookout for activities that can be fun for that entire range.

This fun activity is basically free to put together – especially if you have paper and glue on hand! – and it can be fun for any ability level.

Speaking of materials – I used construction paper and some neon copy paper. Any paper you have on hand, even scrap paper, would be great for this activity. I also handed out glue sticks because they are so easy for little hands to use successfully.

TIP – if you only have white paper on hand, have your little one color all over the paper before you cut out the shapes! The effect would be so special!

I spent a little time before story time cutting out shapes. This is not the time for perfection! 😉 I went with triangles in various sizes, rectangles and narrow strips, small and large circles, leaf shapes, and tear drop shapes.

Honesty moment – I started out tracing circles and cutting each one out but I highly recommend tracing one shape and then folding the paper so you can cut multiple shapes at once.

Keep in mind that this is an open-ended activity. That means that nothing needs to be perfect and you don’t need a set number of shapes or specific colors to make it work. I loved the variety created from the paper I had on hand, but it would be wonderful with far less colors, too!

Now the fun part – start gluing and sticking!

For story time, I made an example page to show everyone before they got started. Sometimes seeing an example helps get creative juices flowing. However, I was super clear that they were free to create and explore as they wanted.

I loved seeing how diverse the flower gardens turned out. They were all unique – no 2 flowers came out the same. It was wonderful!

If you look closely you will find some extra creative kiddos even made bugs, rain, and a garden shed on their pages! I wouldn’t have ever thought of doing that, but I LOVE it!

This activity can be adapted in so many ways to suit your group and supplies. BONUS – it is perfect for encouraging hand-eye coordination and fine motor skills.

I cannot wait to see what creations you come up with!!

Happy Creating!

Chlorophyll Painting

👦🏻 “Mama, why are all leaves green?”

👩🏼 “The chlorophyll inside the leaves makes them green.”

👦🏻 “Chloro….what did you say???”

👩🏼 “Chlorophyll sweet boy, chlorophyll. “

HA! Not an easy word to say but it is super fun to demonstrate!

Gather up some leaves to test the chlorophyll inside. Kiddos can gather them up from outside or even from your refrigerator! Spinach has a very high concentration of chlorophyll and it is easy to get it to release, making it perfect for this project.

Note – leaves with a waxy or tough feel will not release the chlorophyll as easily as a soft leaf like spinach.

Print out the Chlorophyll Painting page and tape it securely or hold it down firmly as you work with the leaves.

Now get to work! My kiddos found it easiest to bunch or bundle up the leaf and then press firmly to scrub across the page. The spinach was soft enough that even my 3-year old had no trouble participating in this activity.

It is fun to see how their chlorophyll painting adds leaves to the tree on the worksheet!

The final product – a fun little tree and a crumbled up pile of leaves!

This project is great at home, but it would be even better in a classroom setting. Have each child bring in a small bag of leaves and then see what different designs and paintings they come up with!

Don’t forget to grab your FREE Printable Chlorophyll Painting page HERE!

Happy Chlorophyll Painting!

Dot A Design

Fun Pen Control Practice!

My son is a GREAT reader, but his handwriting…. oh his handwriting…. its mediocre at best. Its not that he can’t write well, he just doesn’t care enough to work at it. This summer I wanted to find ways to encourage him to work on his writing without making him write his alphabet 573 times a day. I am so glad I stumbled upon Q-Tip painting. It combines art, which my daughter LOVES, and pen control practice, which my son NEEDS! So its a WIN for both kiddos!

Grab yourself the FREE printable worksheets, some q-tips, and paint (we used washable paint!). Then get to work! I love that these designs invite them to explore colors, while also helping my son slow down enough to “dot each dot”.

We added one q-tip to each paint color and then began dotting. My kids tried scooping big globs of paint, but it really works best if you dip the end in the paint, dot 2-3 dots on the paper, and then dip it into the paint again.

I must say, my daughter was super excited that she got to dip her own “tools” for this project!

I love seeing their work progress. My daughter is much younger than her brother, but she has much more patience and calmness. She desires to make it neat and she takes a lot of time deciding on her color choices.

My son, on the other hand, tried to rush through the sheets as quickly as possible. Though I want the art to be “them”, I also want it to be solid pen control practice. Hence, I did remind him several times to take his time and make sure he was dotting and not scribbling.

Such a fun #GardenWeek activity!

My daughter was SUPER PROUD of her butterfly (on the left) and I think it is pretty great too!

Don’t forget to grab the FREE Printable HERE!

Happy Painting!

I can eat the whole plant!

A Lesson on Parts of a Plant

We are digging into #GardenWeek over here and we are already enjoying the fruits of our labor. 😉

I have had this amazing reference book for quite a while but this is the first time that we sat down and read through it. It is packed with great information. The text is all broken up into small pieces and the writing is conversational to make the topic interesting. My kiddos loved it!

As we were reading about the parts of a plant we started talking about how different foods grow differently. Much to my surprise, we turned the page and VOILA, there was a page all about which fruits and vegetables were the different parts of the plants!

Usborne Books & More never ceases to amaze me!

I love that they covered this fun topic. It truly wowed my kiddos.

To make this fun concept really sink in, we grabbed our FREE PRINTABLE and a few veggies from the fridge and started laying everything on our diagram.

The kids took turns with my oldest reading the section of text and then my youngest picking the veggies off the plate to place on the diagram.

Look how cute our “plant” turned out! 😁 Now quickly take a photo to commemorate the occasion before sneaky fingers start stealing the veggies for a snack! 😂

See! I warned you! Those sneaky fingers are super quick! I didn’t even know he liked celery, but he was determined to taste every part of our plant!

My favorite part of this activity? My youngest told her dad at dinner, “I ate a root for a snack today, daddy”. Little ears really do hear what you teach them!!

Don’t forget to grab your FREE printable so you can try out this fun activity with your kiddos!

Happy snacking!