A STEM Activity

If you follow along with this blog, you know that I love simple science experiments that are easy to set up but have a big WOW factor. These Exploding Dino Eggs definitely fit the bill.
This is a play on the basic baking soda and vinegar reaction, but with the added WOW of dinosaurs hatching!
The prep isn’t difficult but it is messy and takes a bit of time. So plan your day accordingly 😉
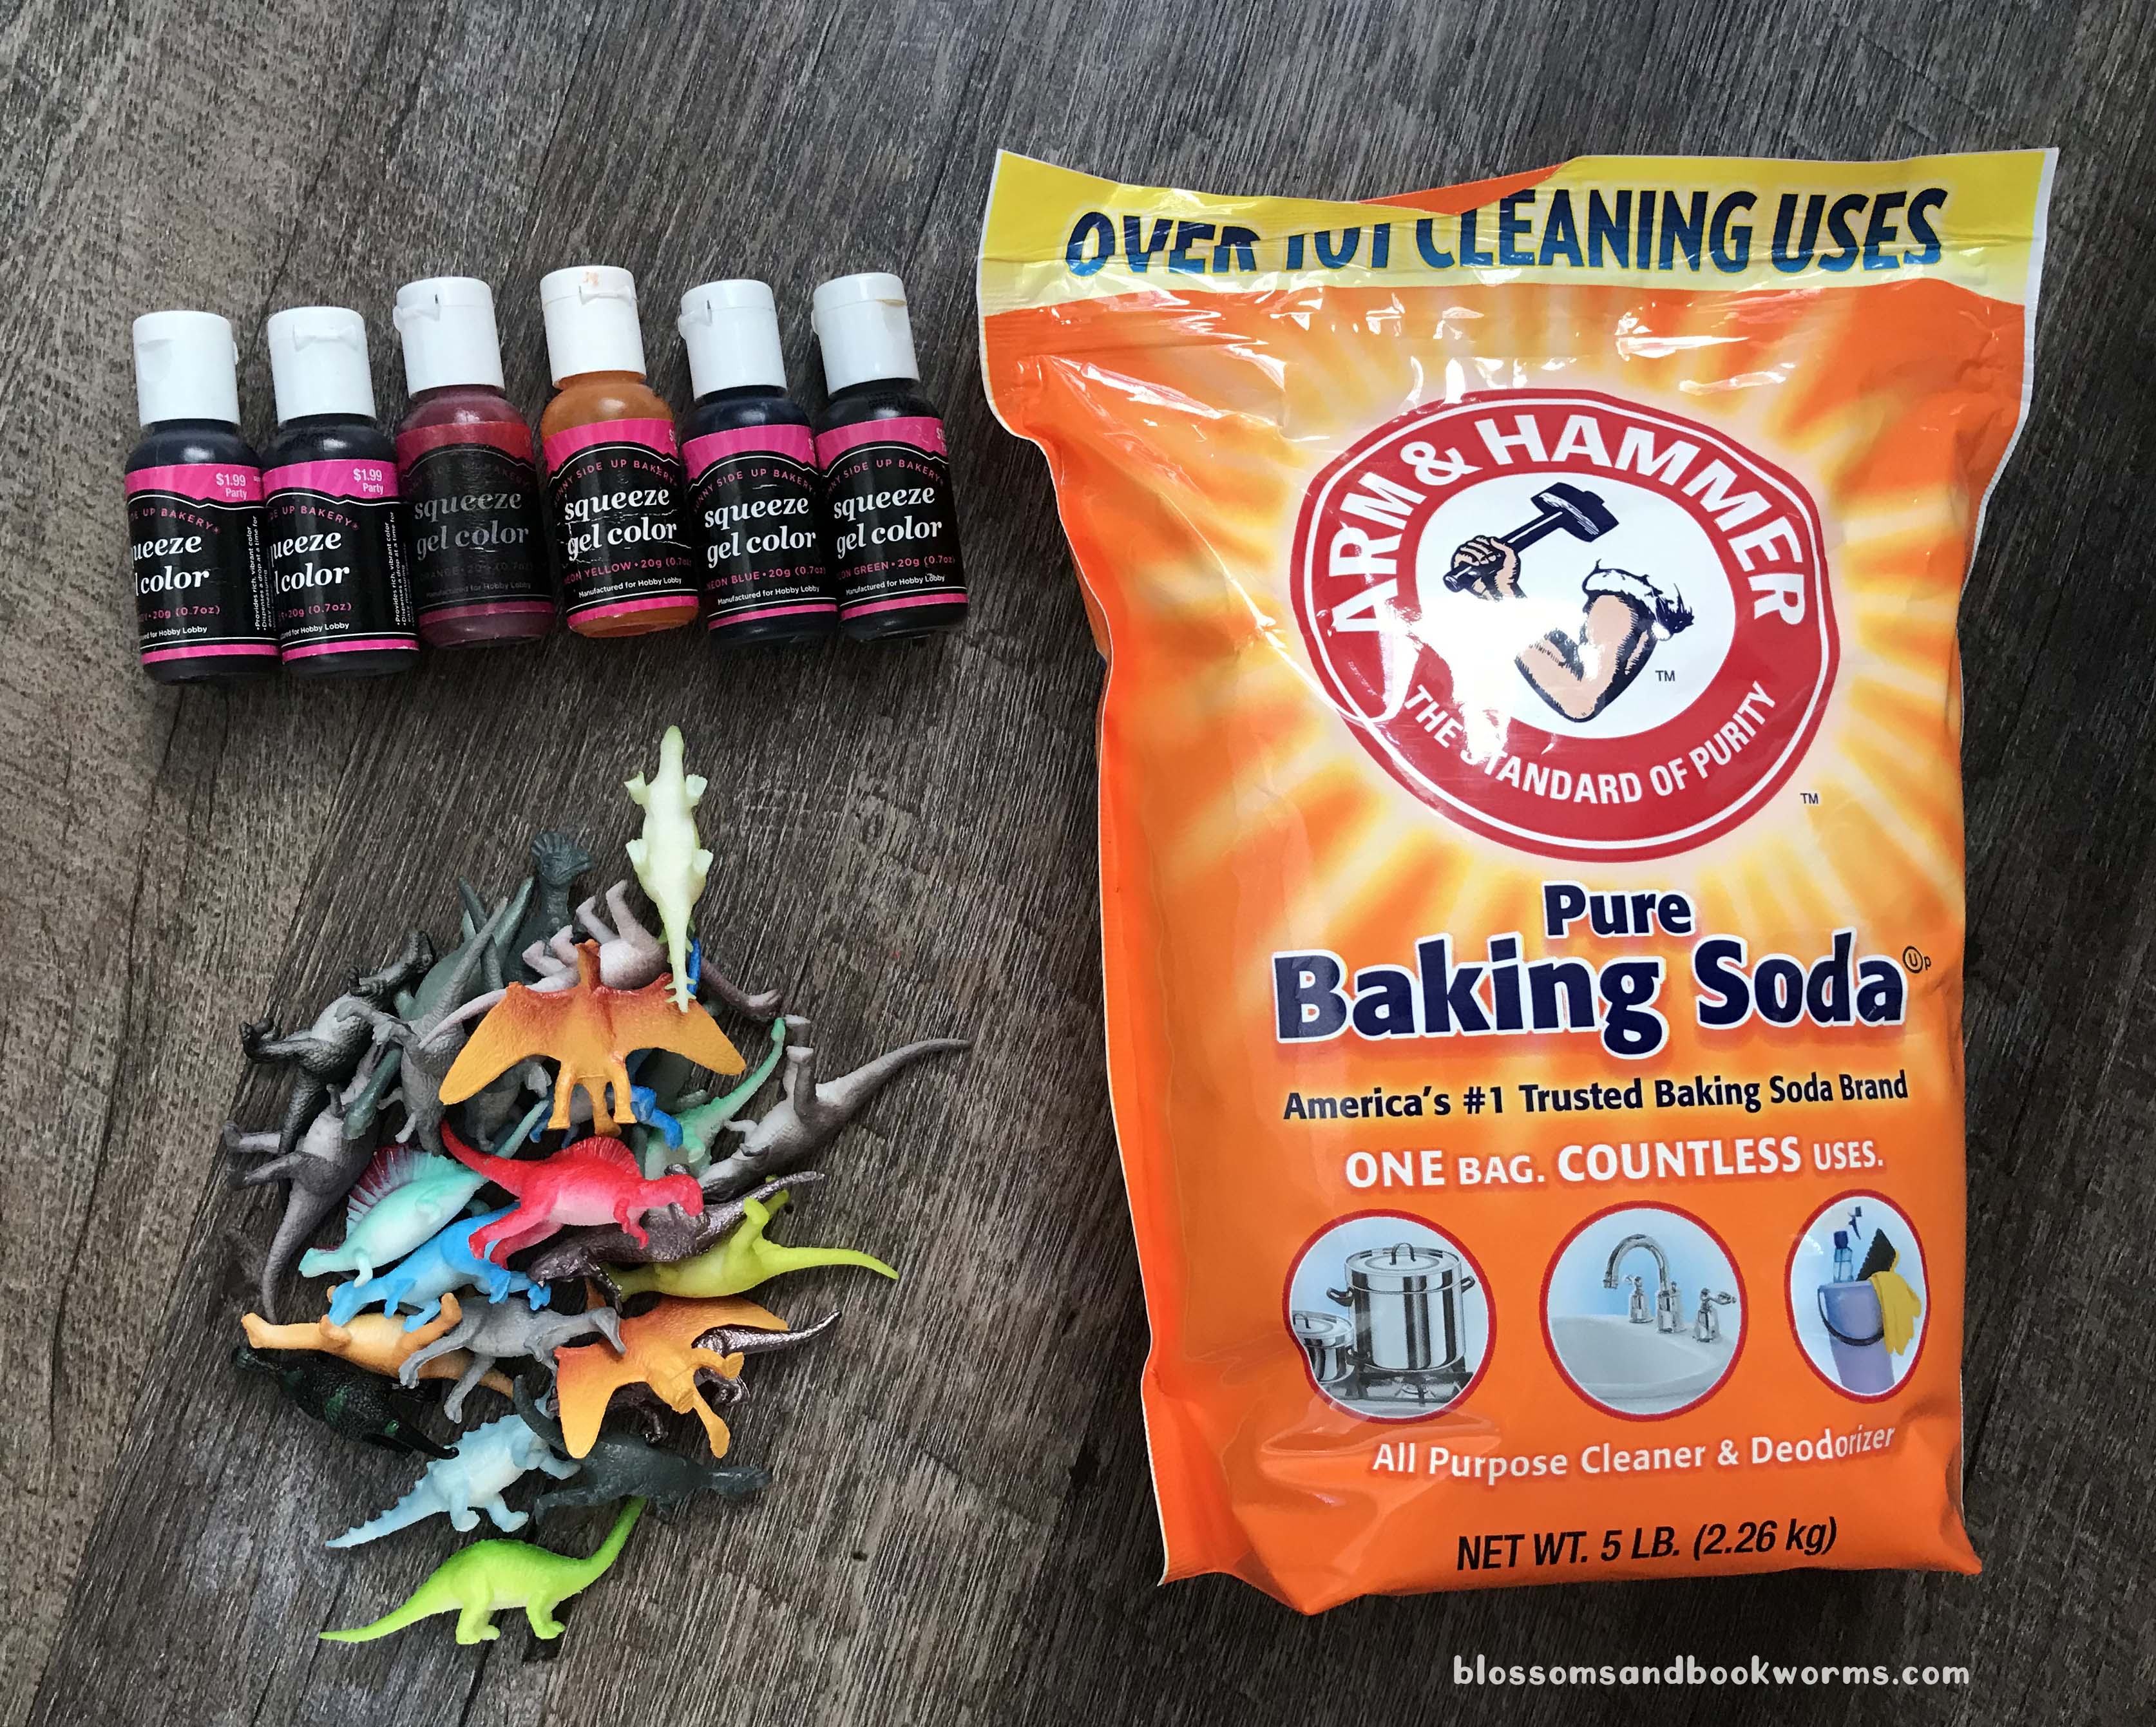
Materials:
- For the Eggs:
- Baking Soda – opt for the big bag so you can make lots of eggs 😂
- Mini Plastic Dinosaurs
- Food Color – I used gel – totally optional but it ups the WOW factor!
- Water
- Spoons and Gloves are also super helpful!
- For the Reaction:
- Vinegar – again I buy vinegar in bulk so we have plenty for experiments.
- Squirt bottles, spray bottles, or eye droppers

Grab a dish for each color you want to make, then measure out baking soda into the dishes. I was creating eggs for story time so I needed A LOT. Feel free to make less colors of reduce the recipe to fit your needs!
I used 1 cup of baking soda for each color. Then drop several drops of gel food coloring into the baking soda.
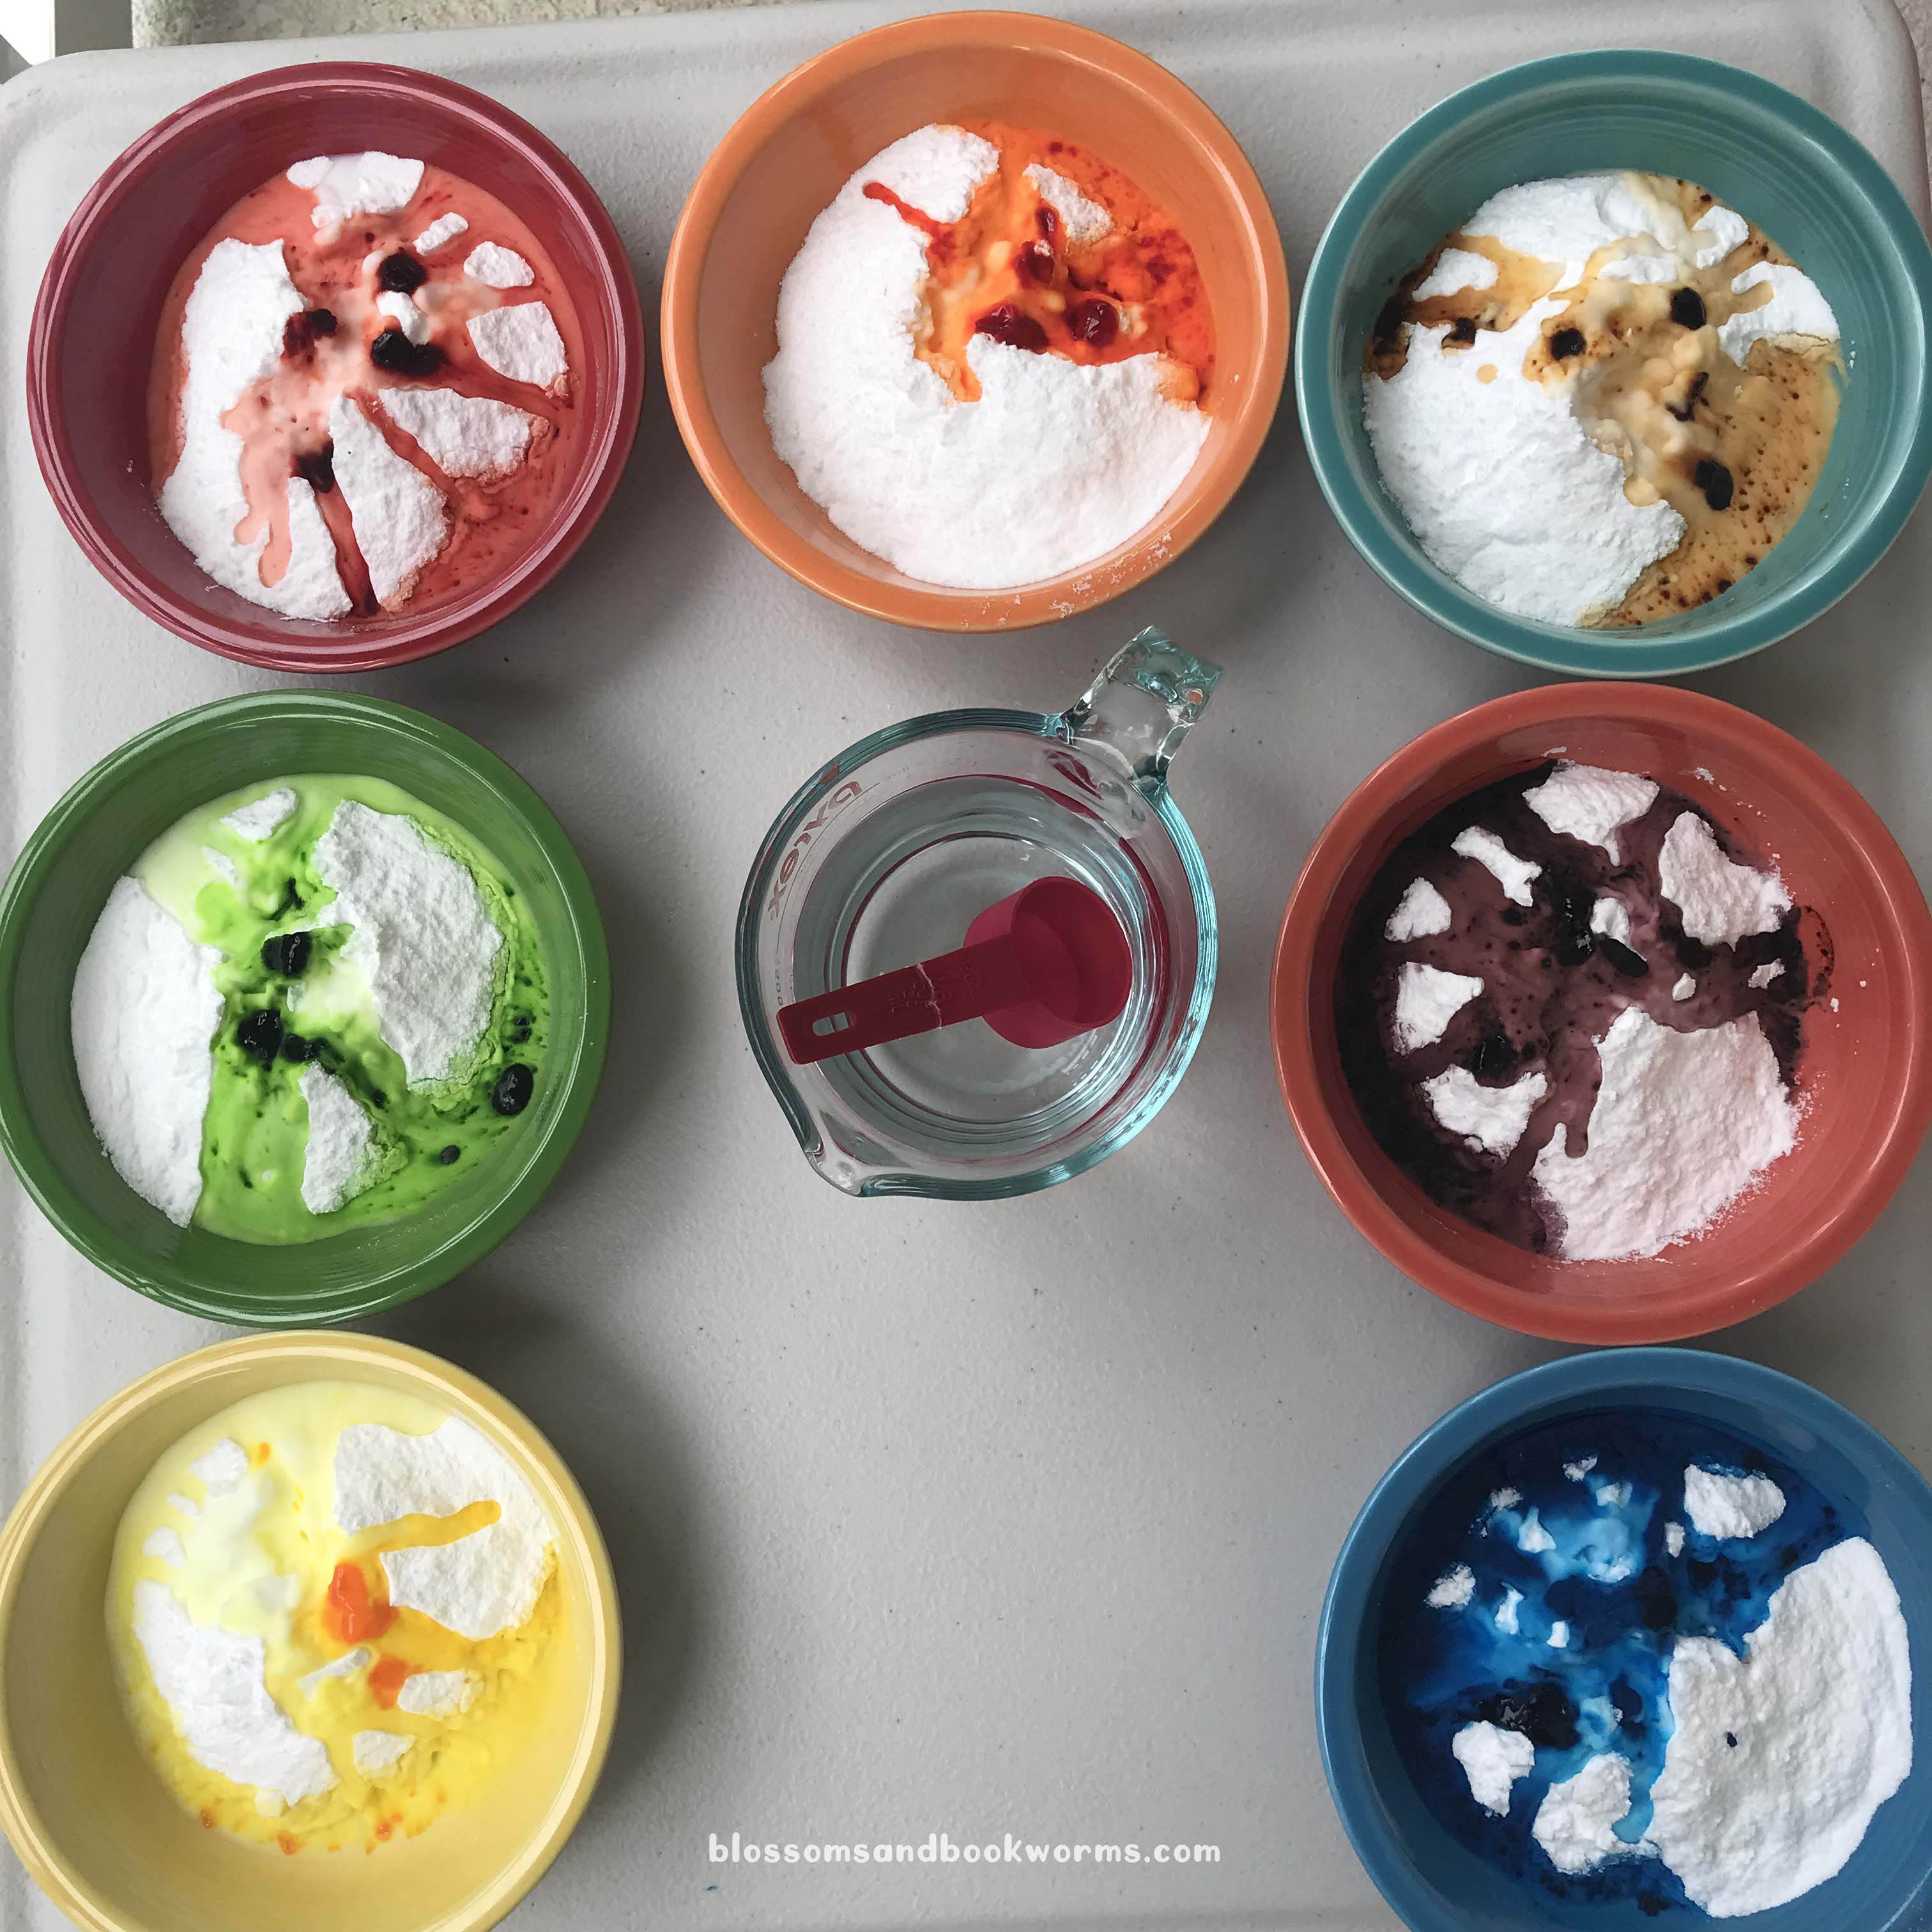
Add water, 2 TBS at a time, to make a thick paste. I used approximately 5 TBS water for each 1 Cup of baking soda.

Use spoons – or your hands if you’re a rebel 😉 – to mix the color, baking soda, and water into a thick paste.
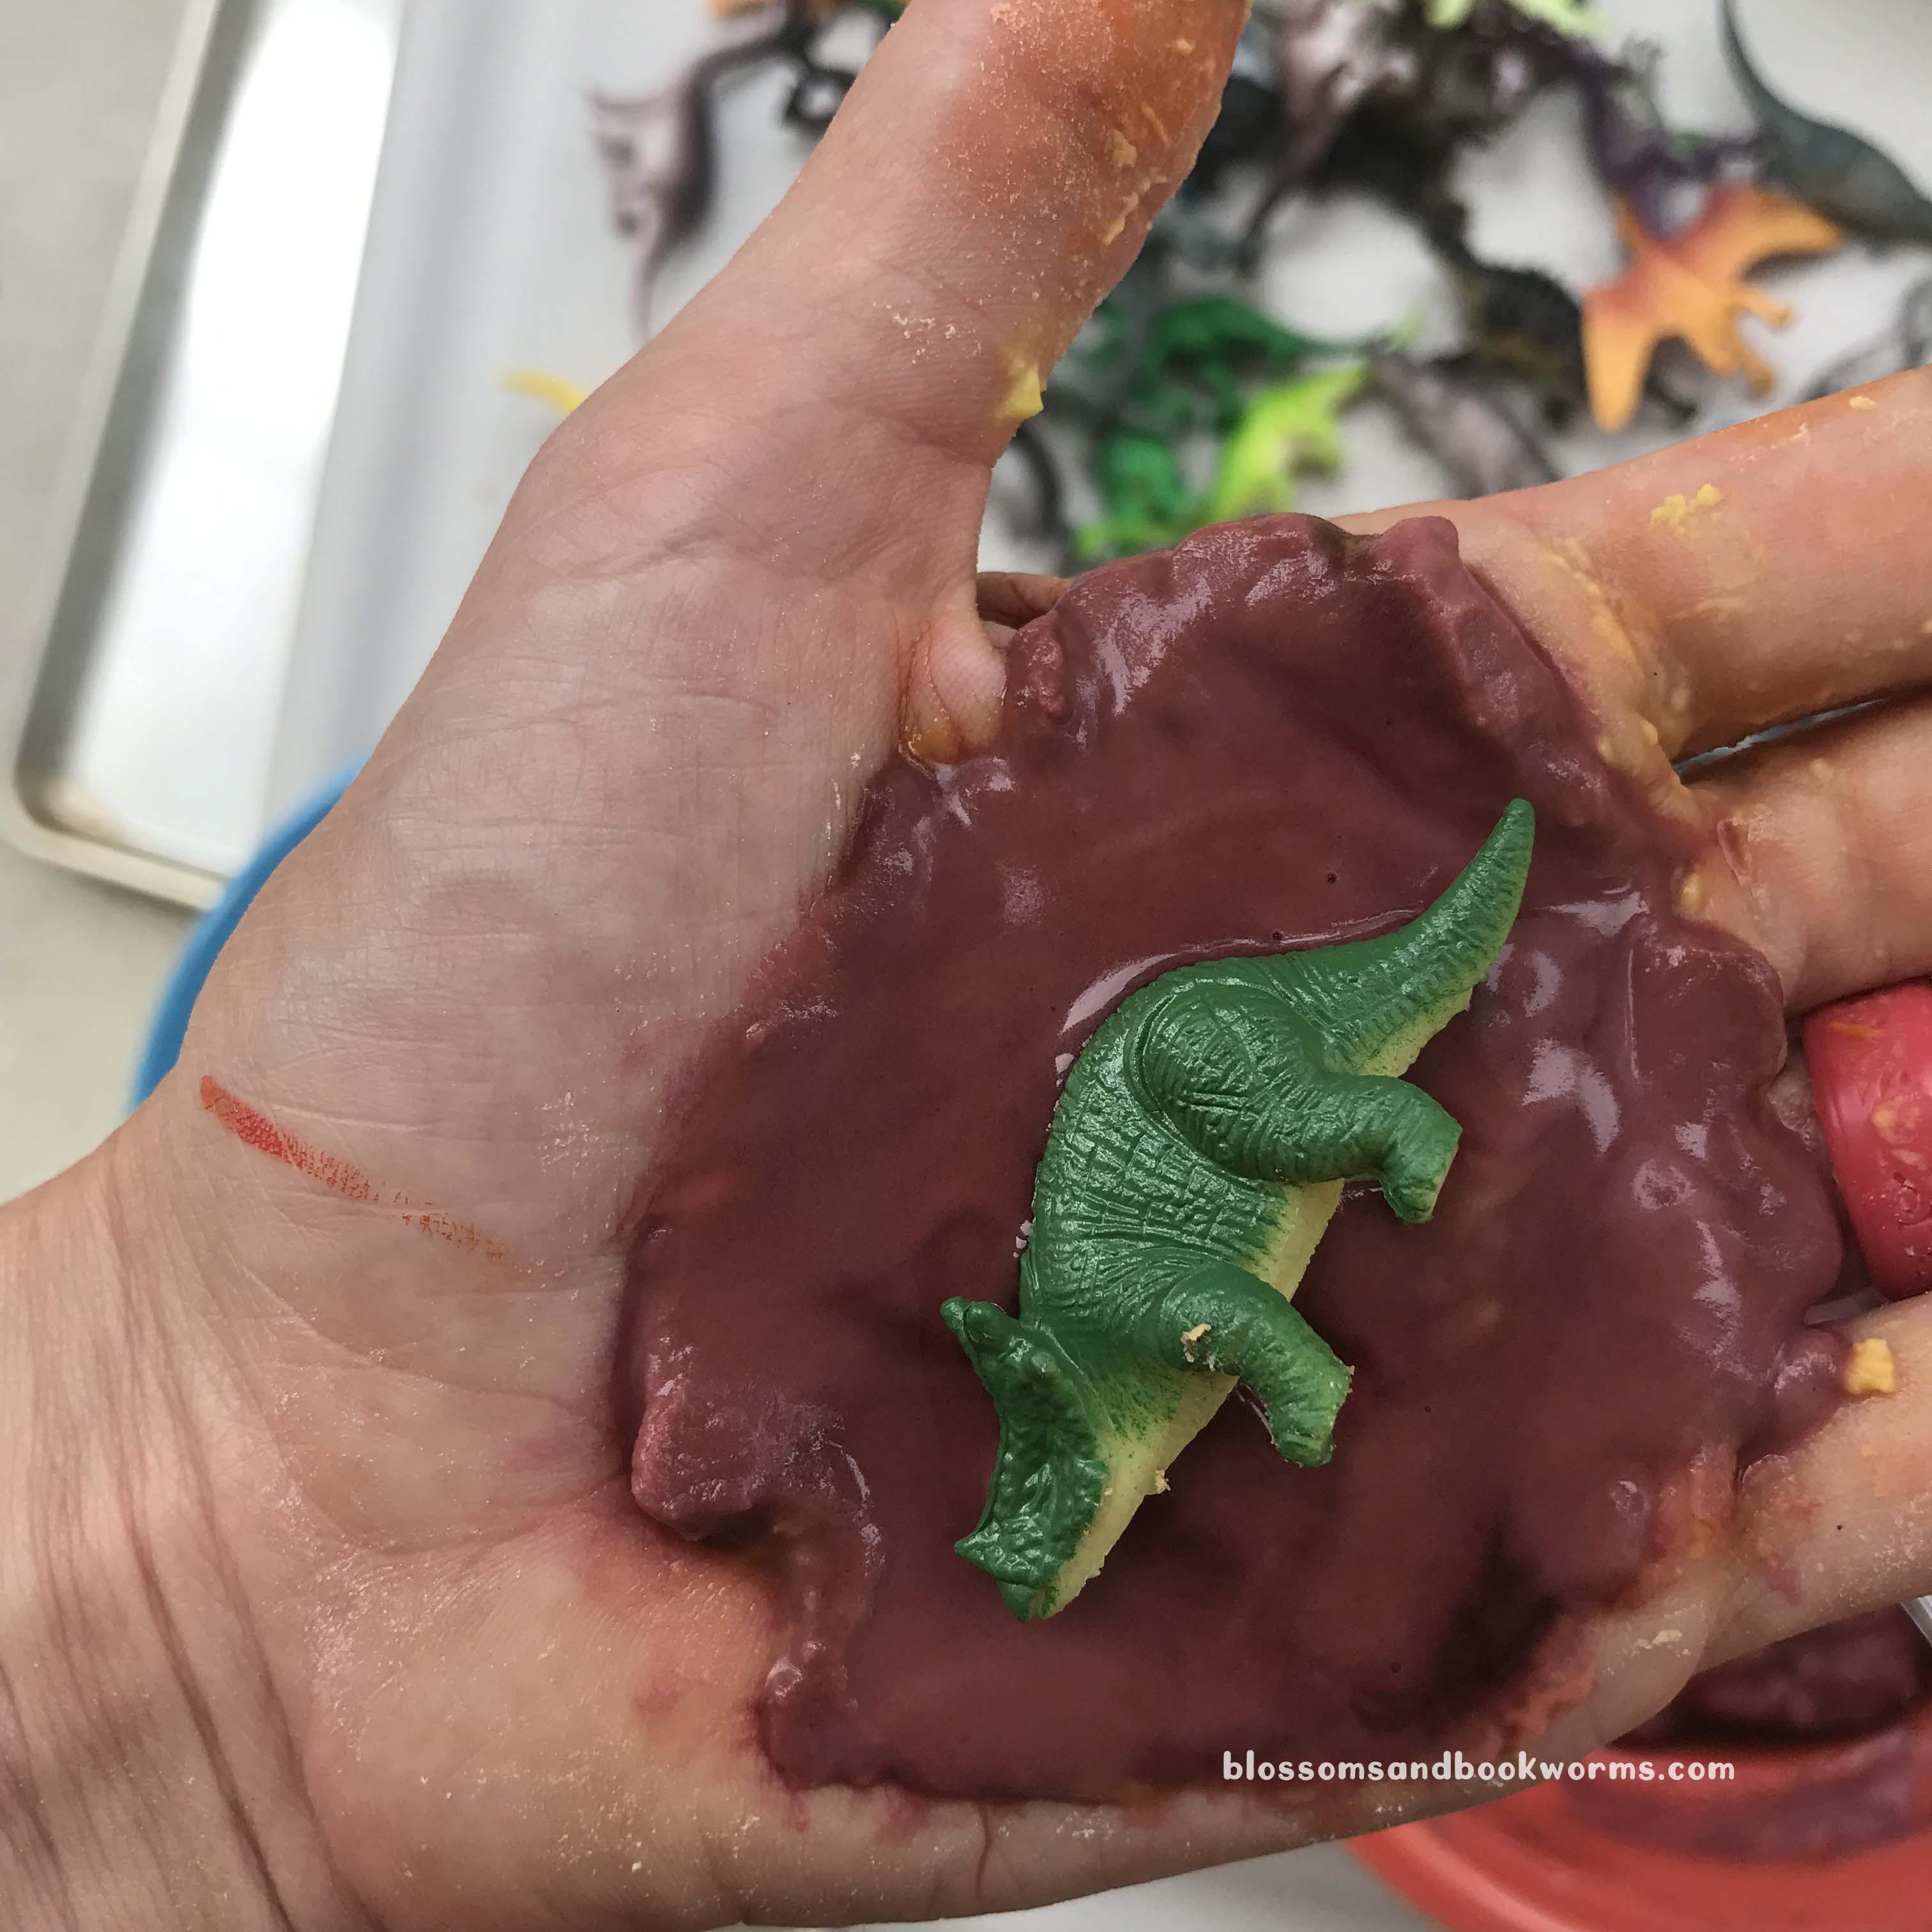
Now for the messy part – mold the paste into eggs! If you do not want your skin stained, you should definitely wear gloves for this part. Obviously, I didn’t, and my hands were a lovely shade of purplish-red for a couple days 🤣 So this is “do as I say and not as I did” situation. 🤣
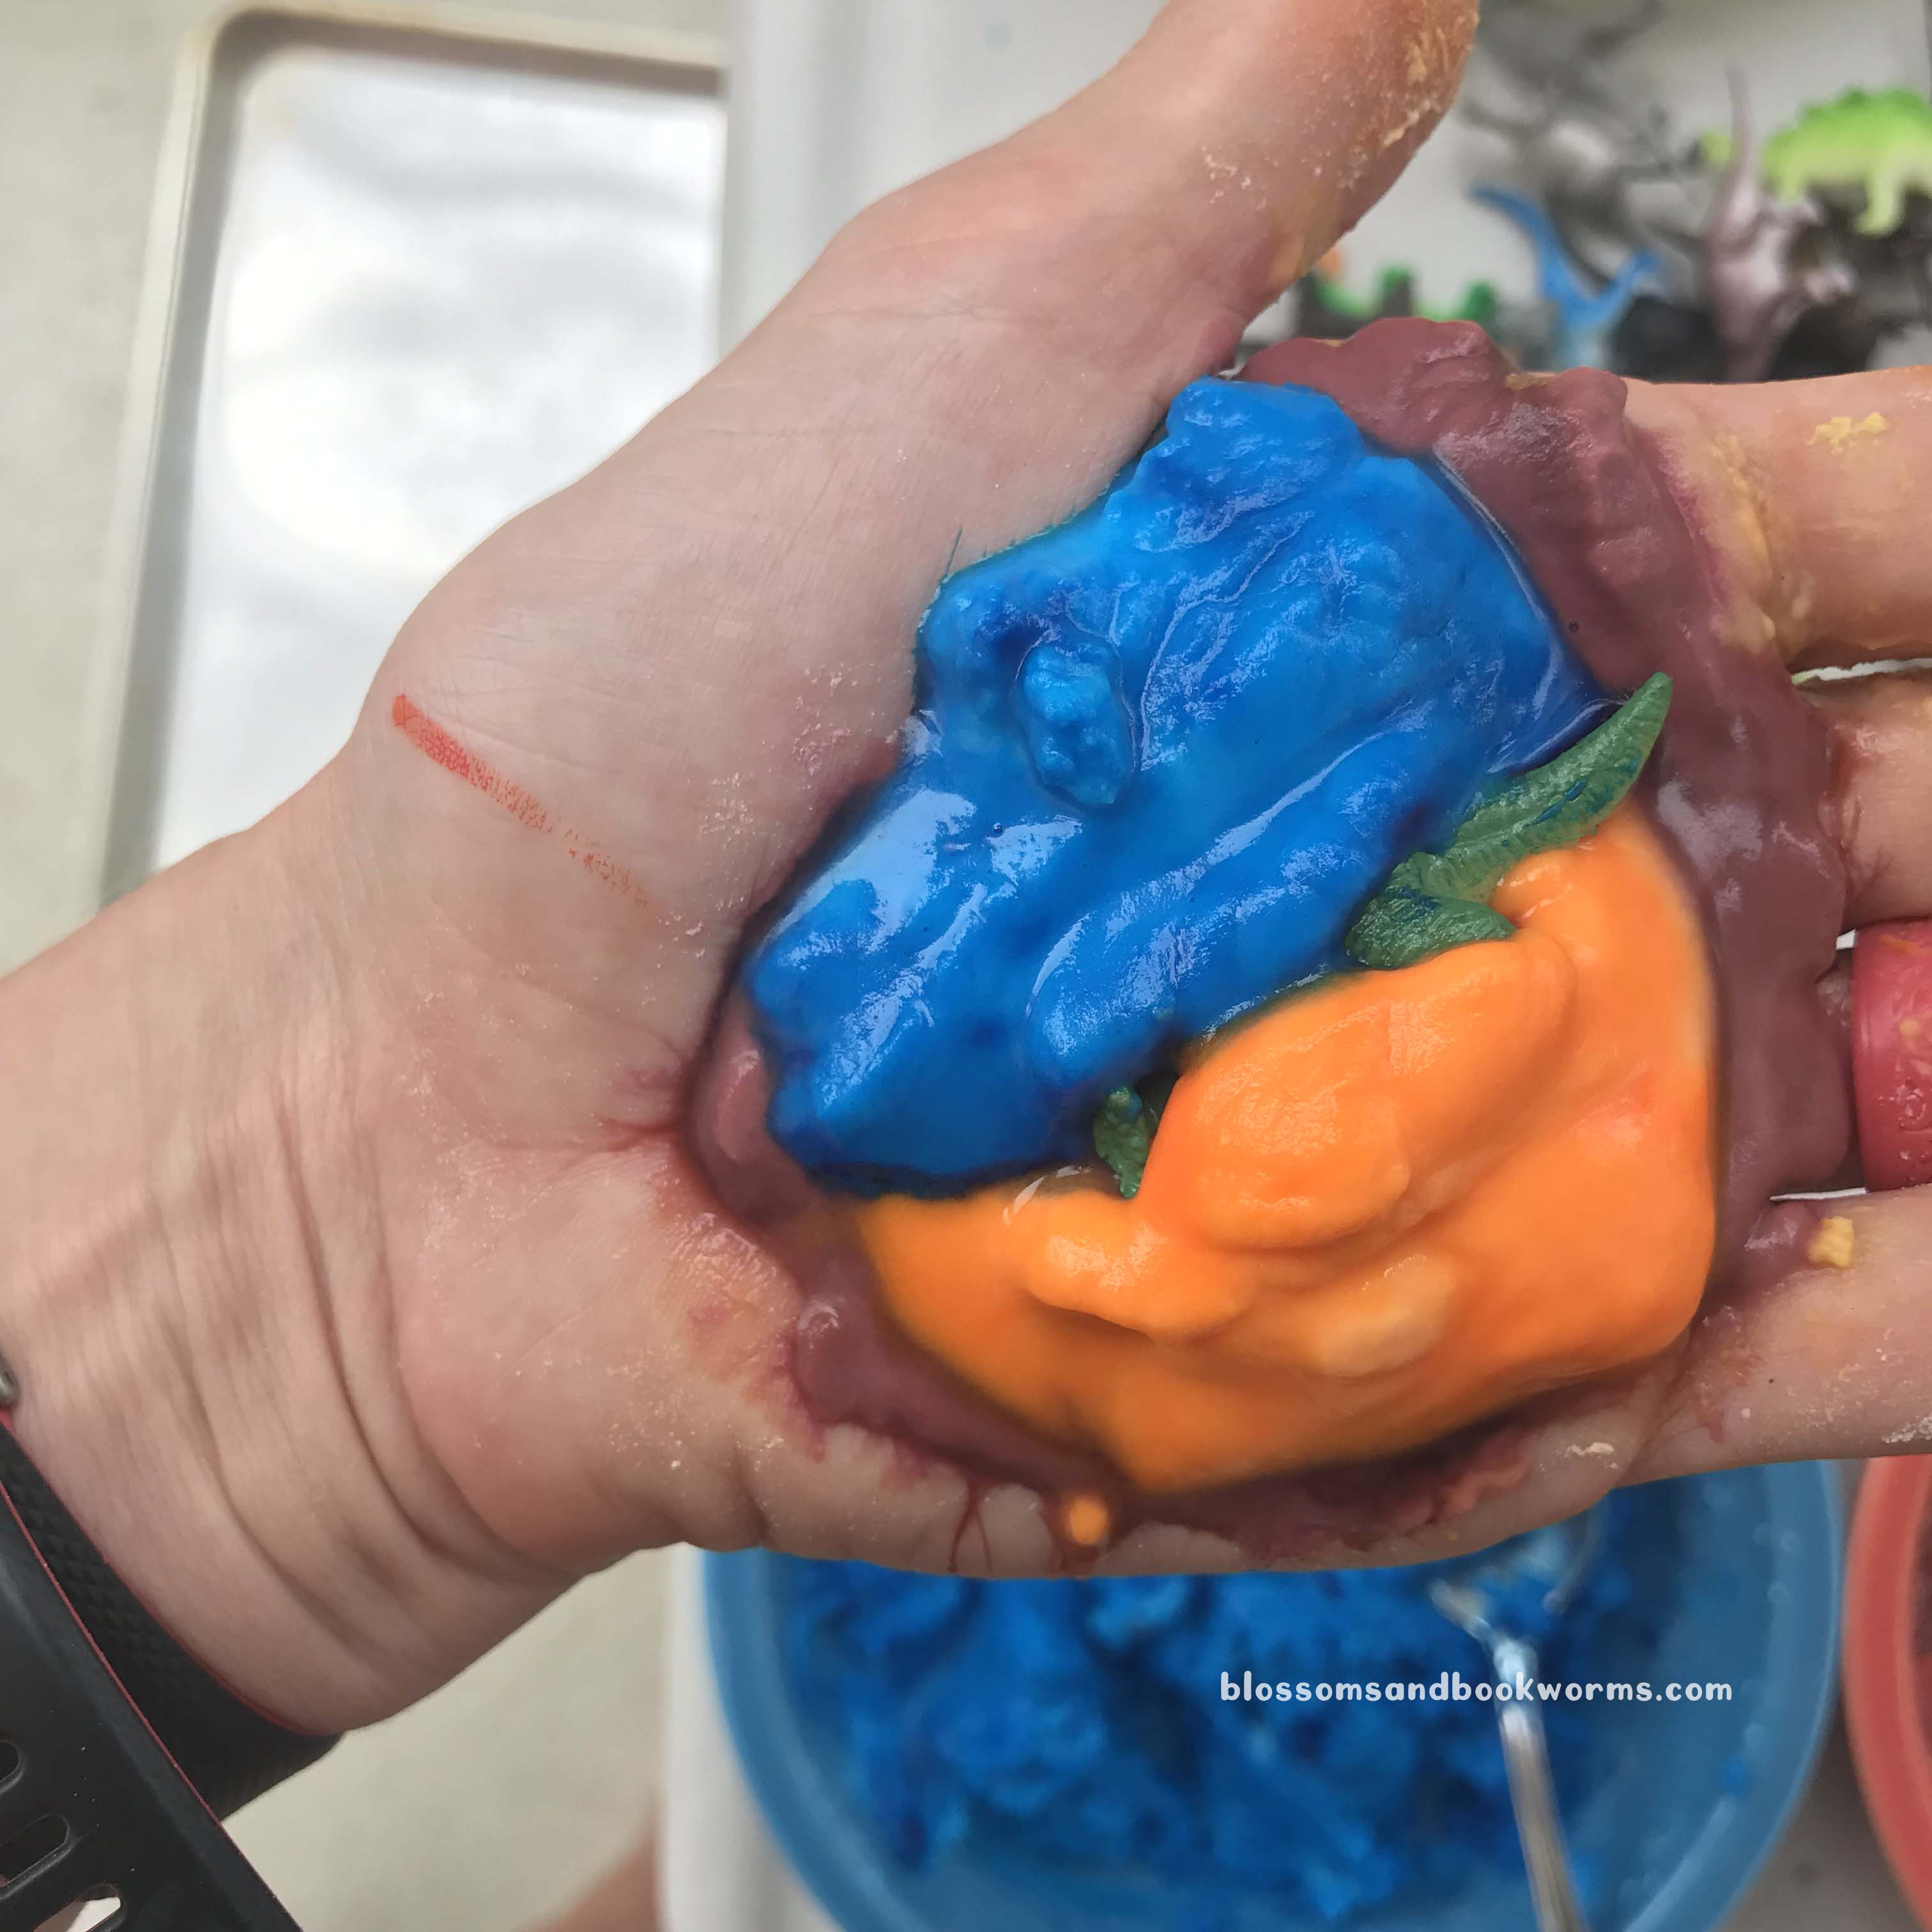
I put a TBS of paste on the palm of my hand, added a dinosaur, then added a few more dollops of paste to cover the dino. Mold it together to cover all parts of the dinosaur.
Real Talk – my paste was a bit too liquid, so when I peeled the egg from my hand, I rolled it in extra loose baking soda on a sheet tray. As soon as my sticky, gooey egg touched the loose baking soda, it set up and was easy to handle.

I absolutely love all the colors!
Notice that my eggs are not 100% smooth or oblong or anything else “perfect”. But I am totally fine with that and so were my kiddos. The fun is in the experience, not in the perfection for photos. So give yourself a little grace if they don’t come out a perfect shape!
Move your eggs to a cool, dry place for several hours – or overnight – to finish drying out. It is worth the wait, because the reaction will be better when they are fully dry!
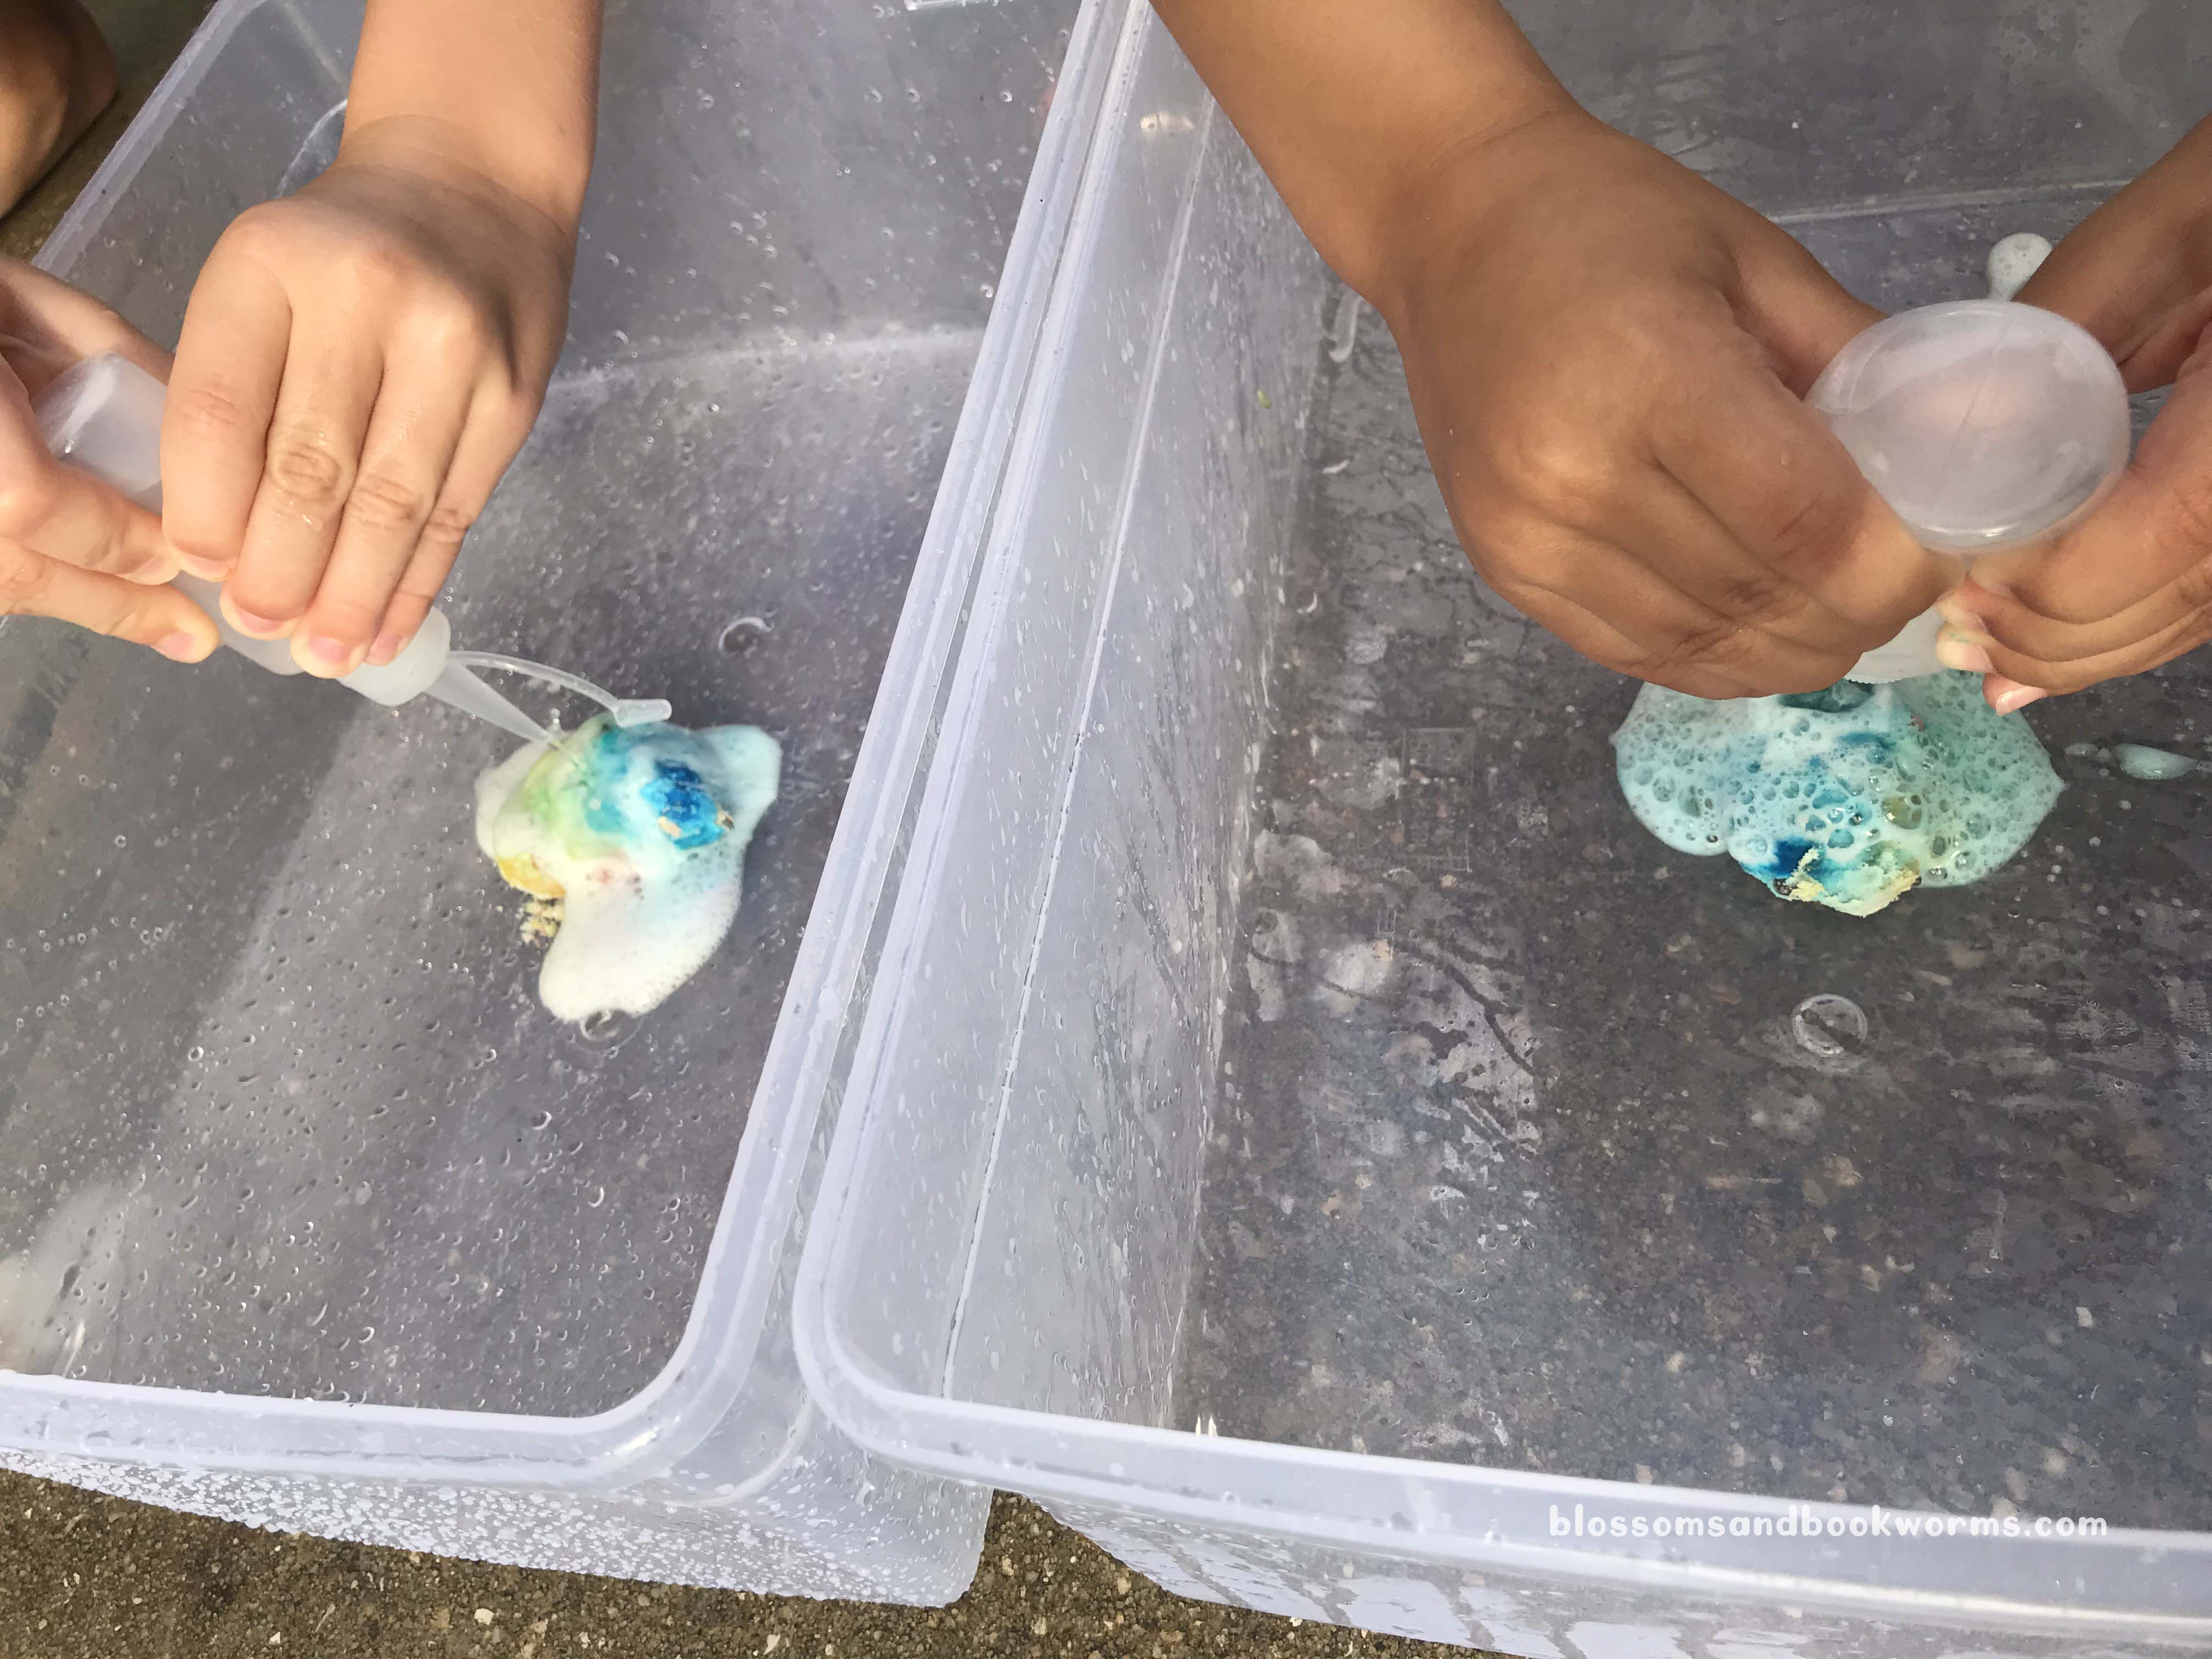
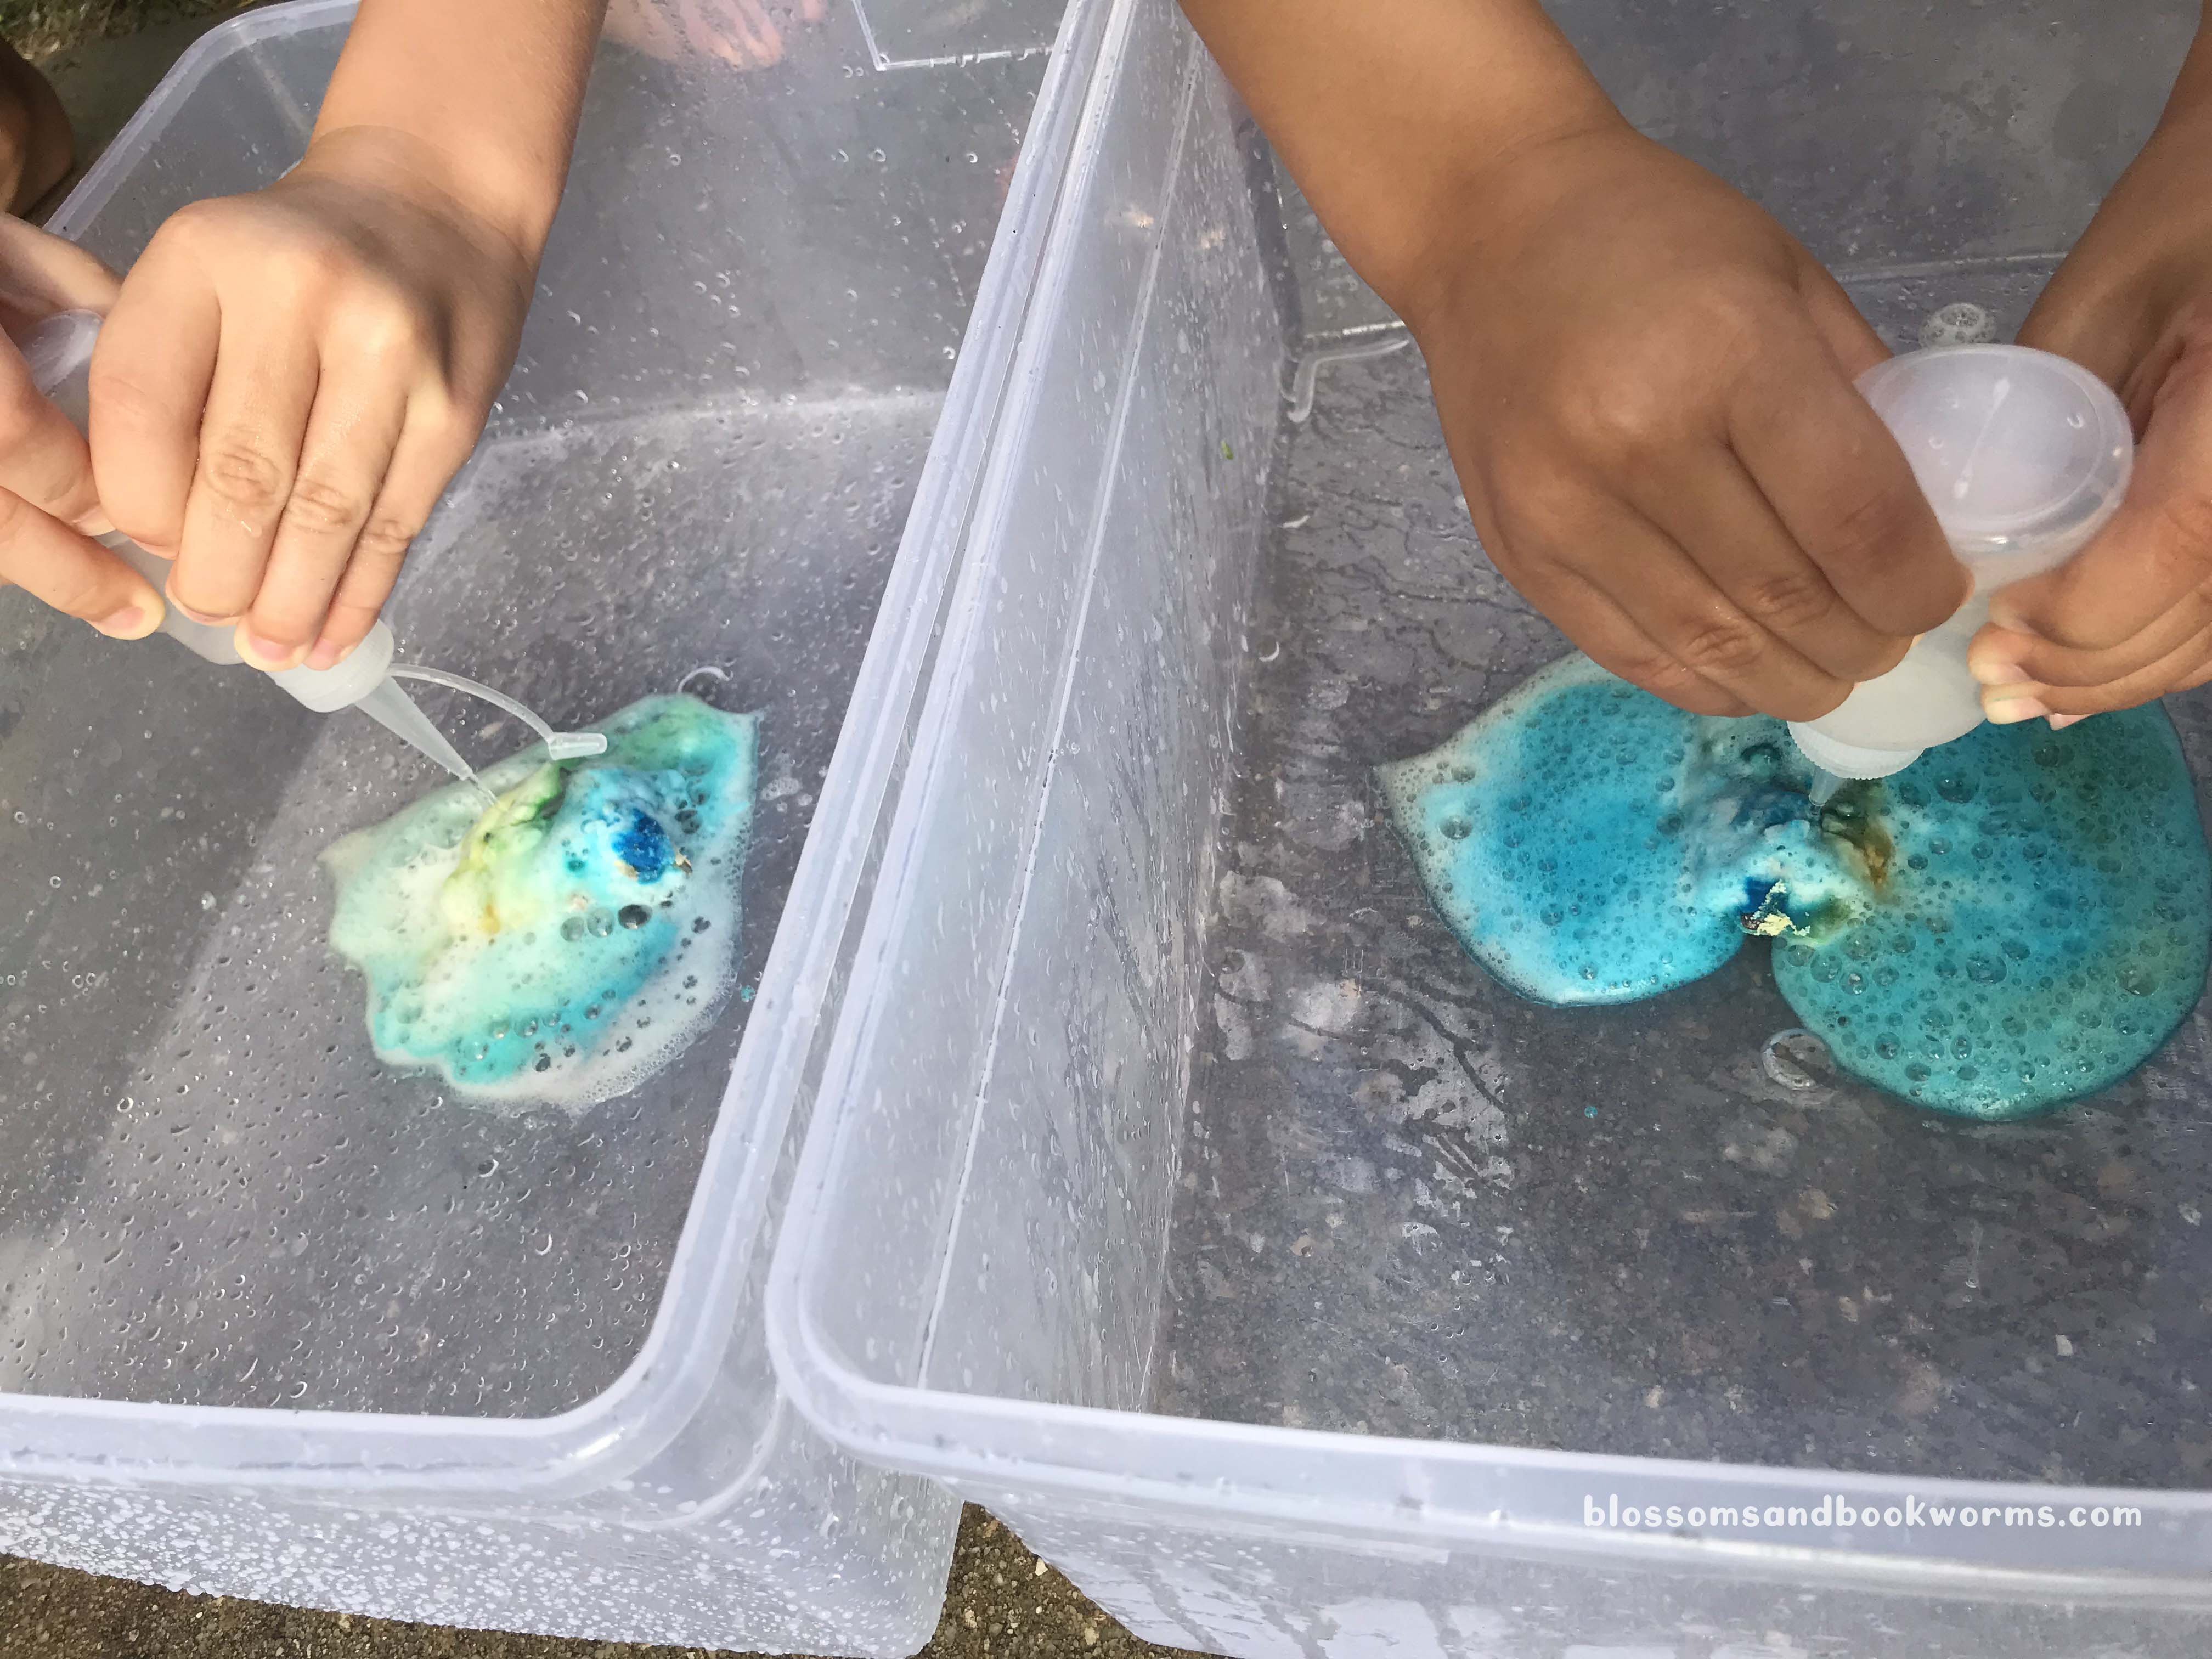

Now for the fun part! I added vinegar to squirt bottles and let my kiddos go to town. The reaction and “WOAH, its exploding” moment is totally worth it!
Since we used food coloring the reaction can make a mess. I recommend doing this part outside or in a bin – or both!

Check out that dinosaur exploding out of that egg!!
I know, I know, this looks too messy for you… but do not fear! I actually did this activity with 20 kiddos at story time – age range from 1-9 – and NONE of them ended up with stained hands or clothes.
BONUS – ALL of them LOVED the experiment!
You can totally make this work for your readers too!!
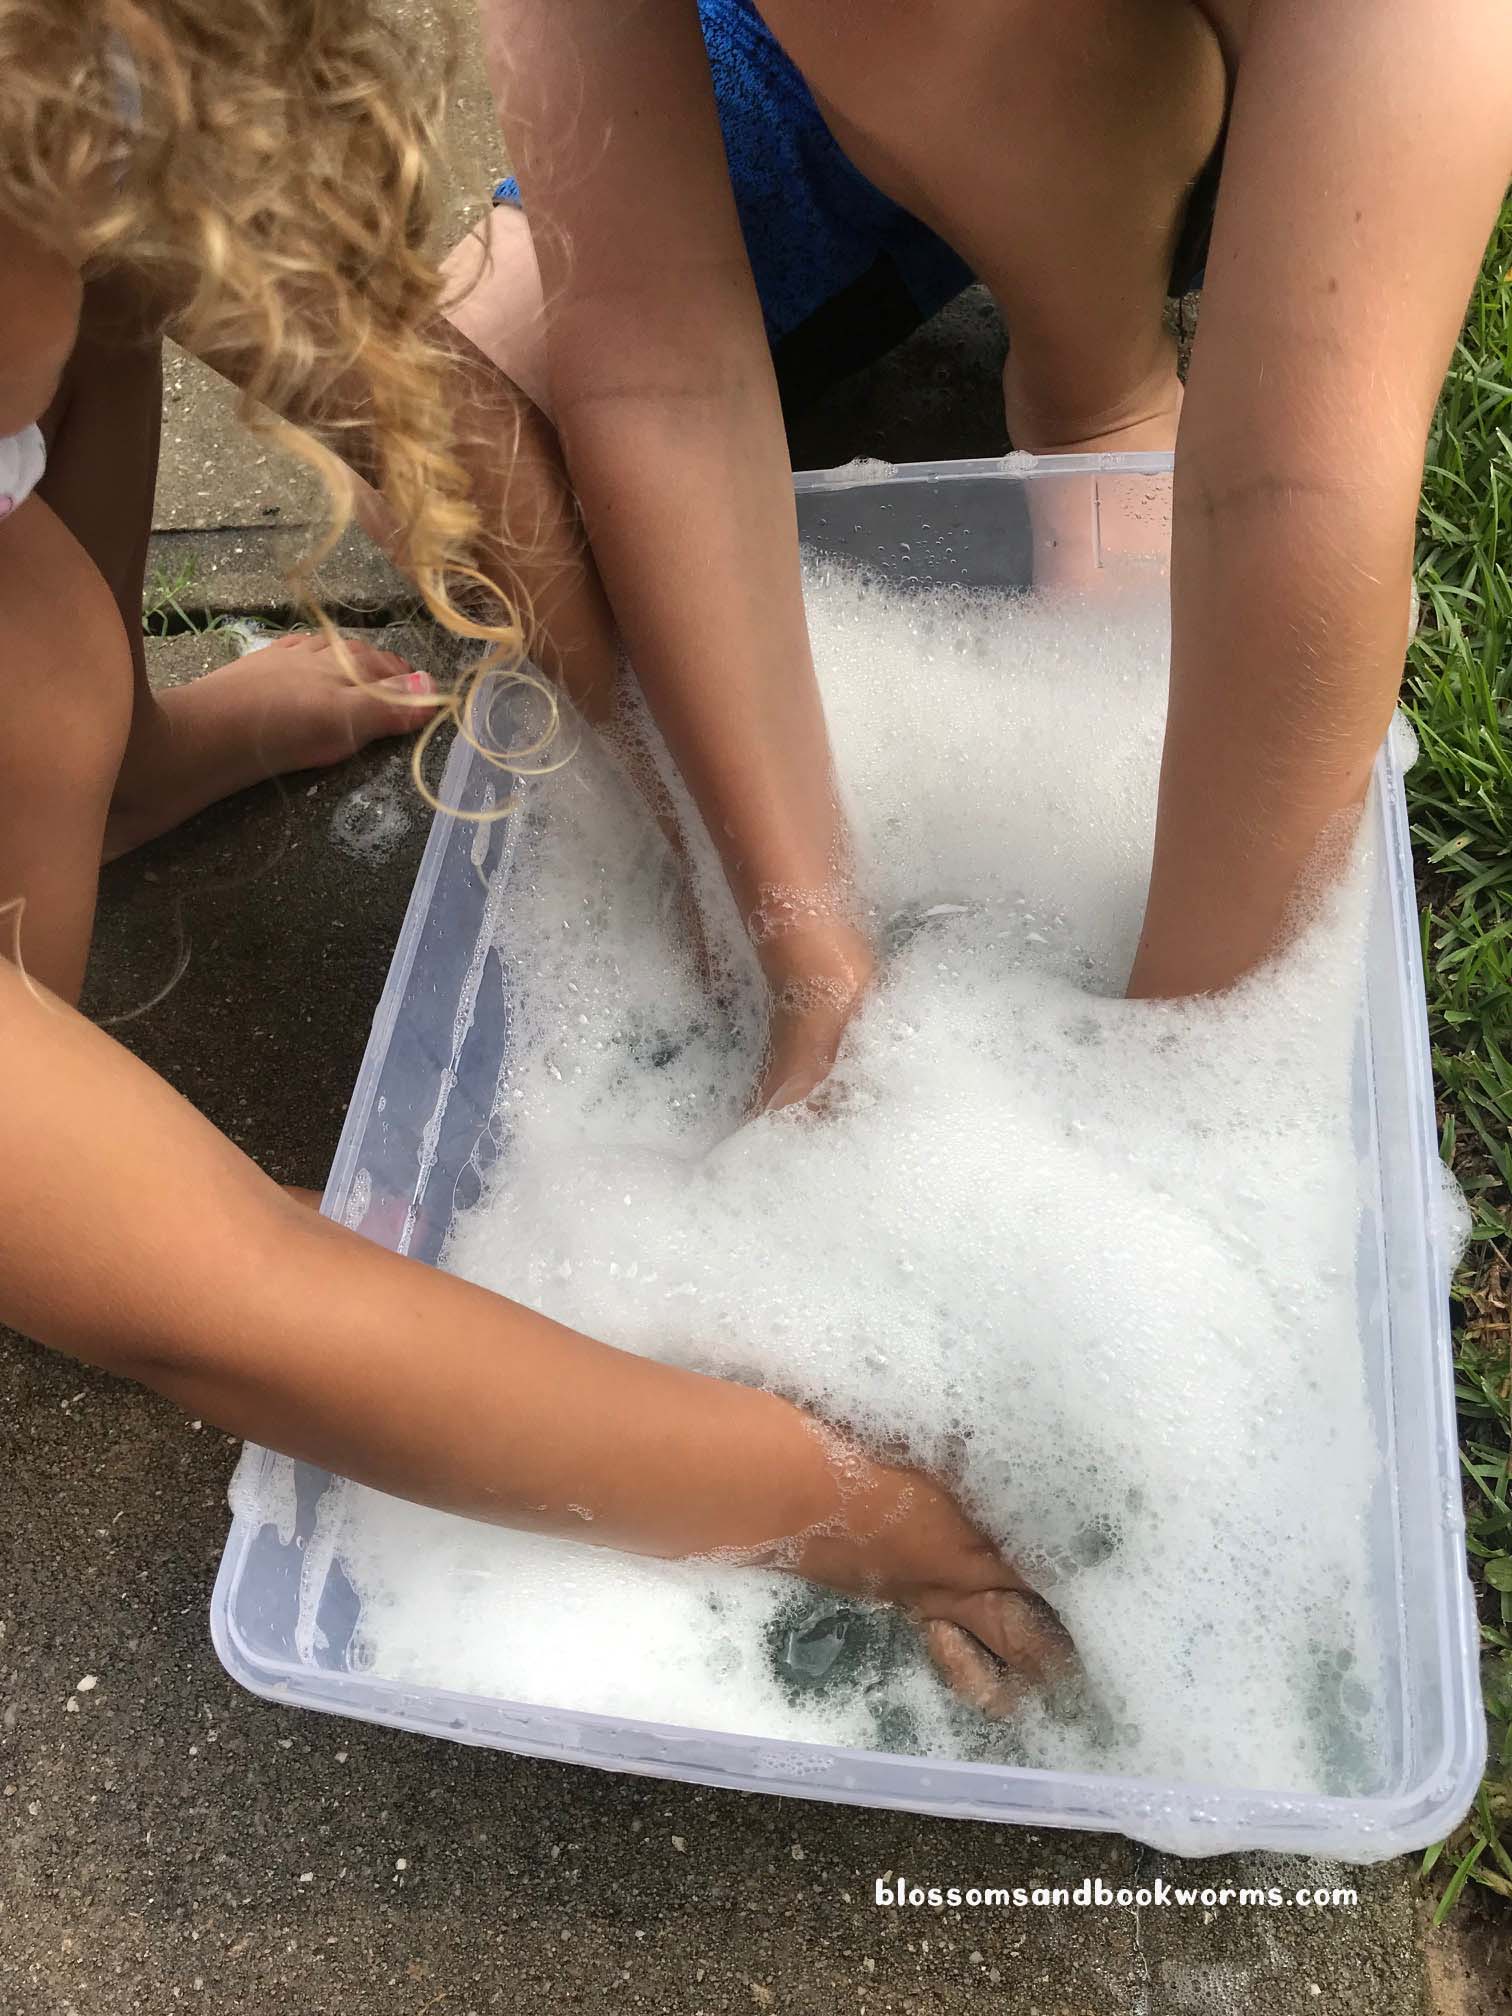
Don’t forget to have a “Dino Wash” bucket handy – plain water to rinse them off would be plenty, but bubbles amp up the fun factor! My kids loved washing the dinosaurs as much as hatching them!
Happy Experimenting!

