Sidewalk chalk is virtually synonymous with summer. There is something quintessential about little hands, faces, and bodies covered in a thin sheen of sweat and chalk dust as they embellish their latest creation in the middle of the driveway.
Chalk is relatively inexpensive to buy, but I love giving my kiddos the experience of making your own. You get to choose the colors, shapes, and, in this case, even the handle!

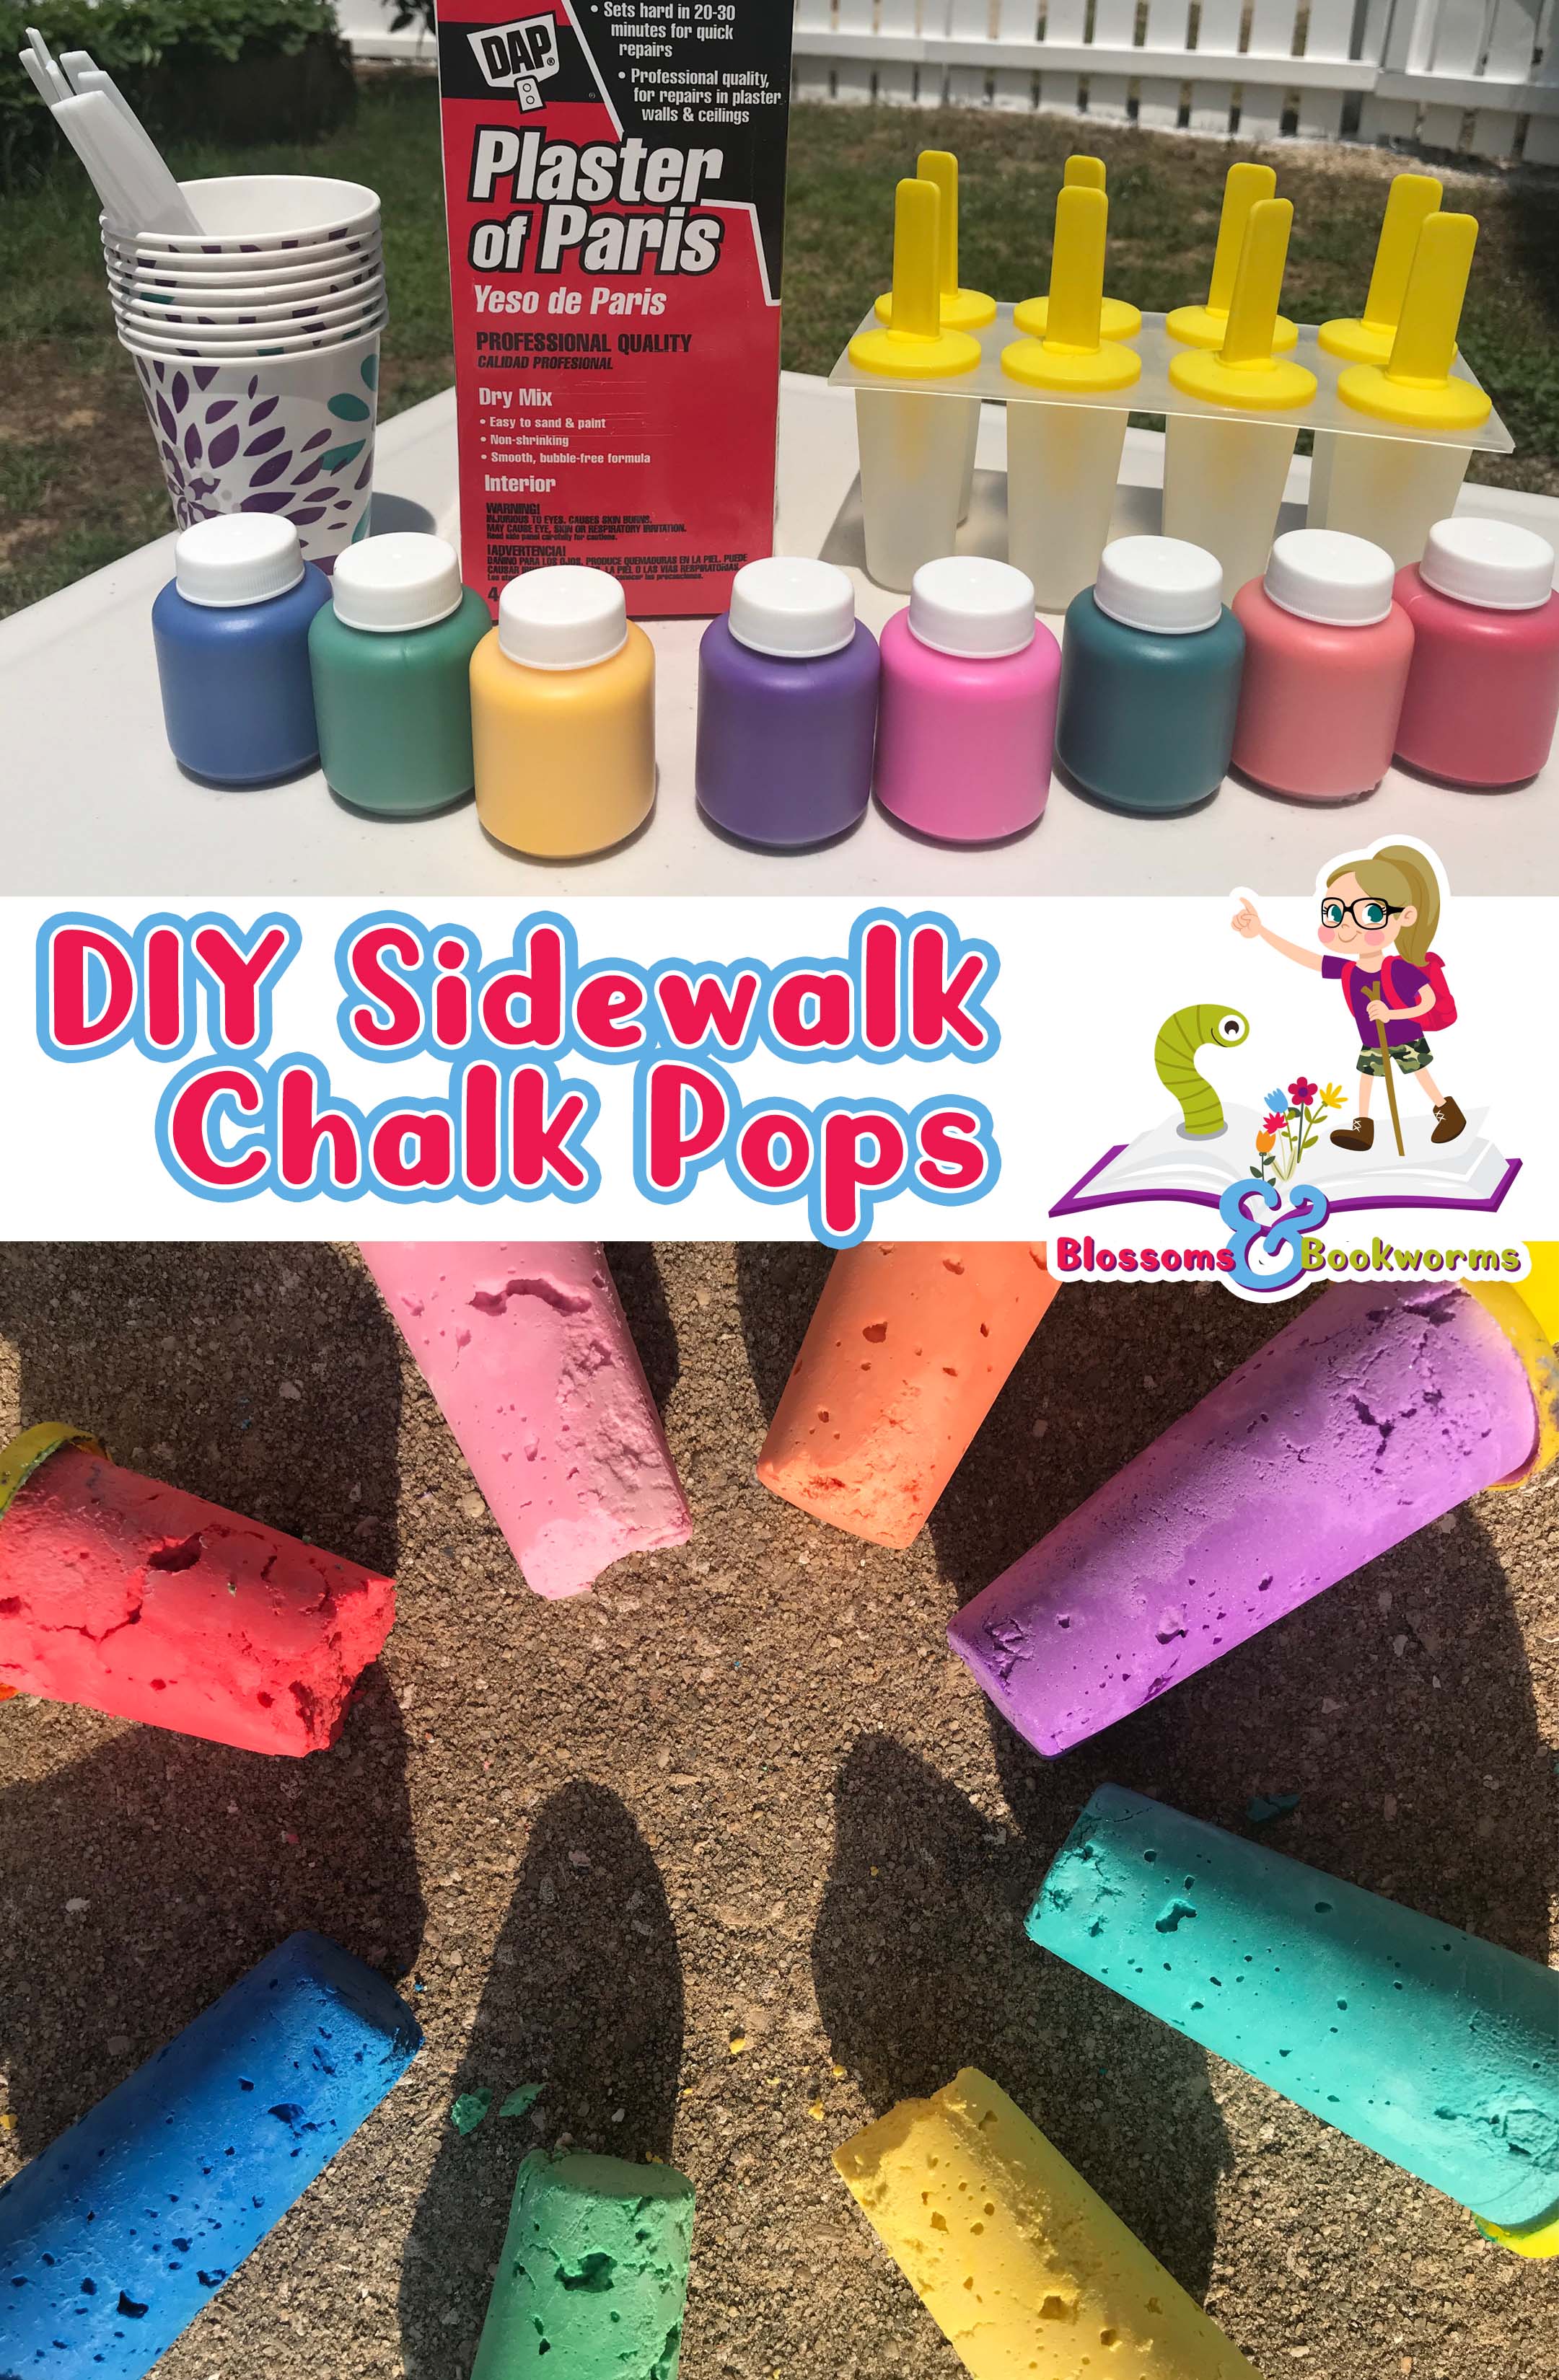
The supplies are pretty basic, except for the Plaster of Paris. However, I was actually pleasingly surprised at how many retailers had it in stock. So I am sure you won’t have trouble locating it either!
Materials:
- Plaster of Paris
- Popsicle Mold – we used an old plastic popsicle mold from our outdoor play bin but a silicone mold would work even better!
- Popsicle Sticks
- Tempera Paint – we used what we had but neon would be even more fun!
- Paper cups and plastic spoons
- Cold water and measuring cups – not pictured

A few important notes:
- Plaster of Paris should NOT under any circumstances be put down your drain! It will harden in your pipes and cause damage. That is why we are using disposable cups and spoons for this activity.
- Cold water needs to be between 40-50 degree F. Yes, it matters. 😁 We chilled ours in a picture in the refrigerator before getting started.
- This can be messy and you do not want Plaster of Paris dust getting spread around your interior space. I would highly recommend taking this activity outside!
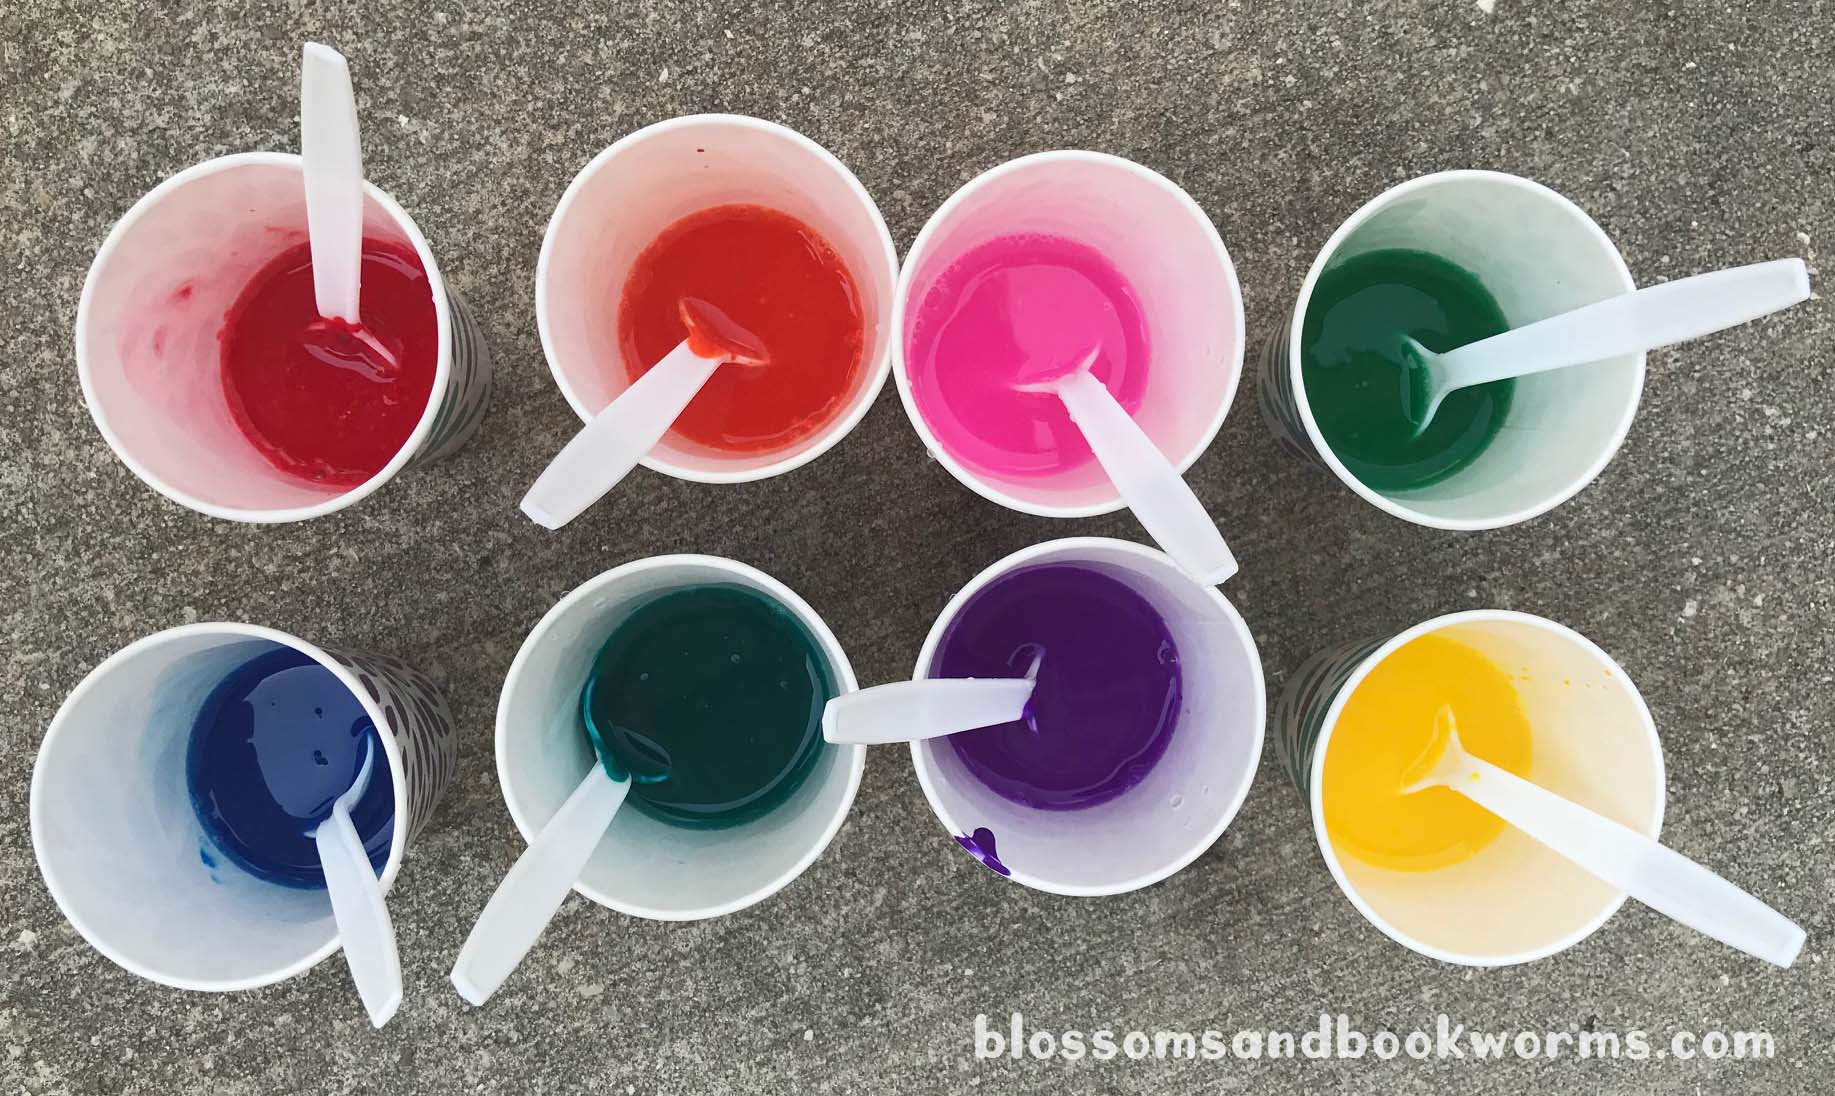
You will start by getting out one paper cup for each color you are going to make. Then measure about 3 TBS of tempera paint into the bottom of the cup – I really wanted a colorful POP. Add 1/3 cup of cold water to each cup and gently stir with a plastic spoon to combine. Getting things perfect in this step is not necessary. The color blobs will smooth out in the next step 😉

Measure 2/3 cup of Plaster of Paris into each paper cup. This is where it can start to get messy. Make sure your paper cups are big enough to contain this much picture and still stir things together.

Stir until the Plaster of Paris, paint, and water mixture is thoroughly combined. Mine was a bit thicker than I anticipated but still loose enough to easily stir with a plastic spoon.
Note: Some of the colors look super dull and washed out at this point. I was honestly nervous that they would end up pastel. However, wait for the final product, they are vibrant, bold, and just the right amount of color!
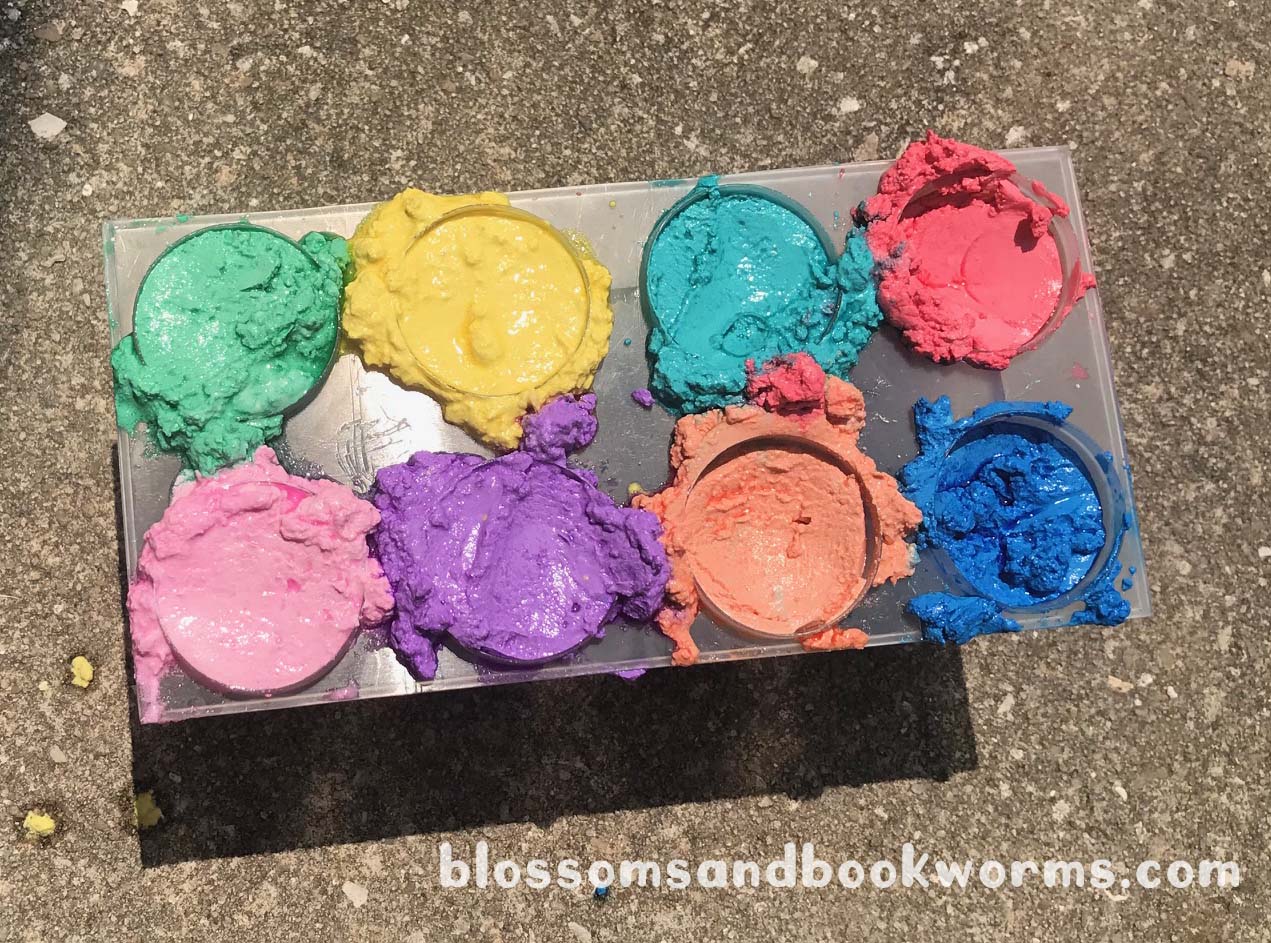
Carefully spoon mixture into the mold. Obviously this is a “do as I say and not as I do” moment because my mold is definitely less than “carefully” filled 🤣 Gently tap on the work surface (aka the sidewalk) to release air bubbles.
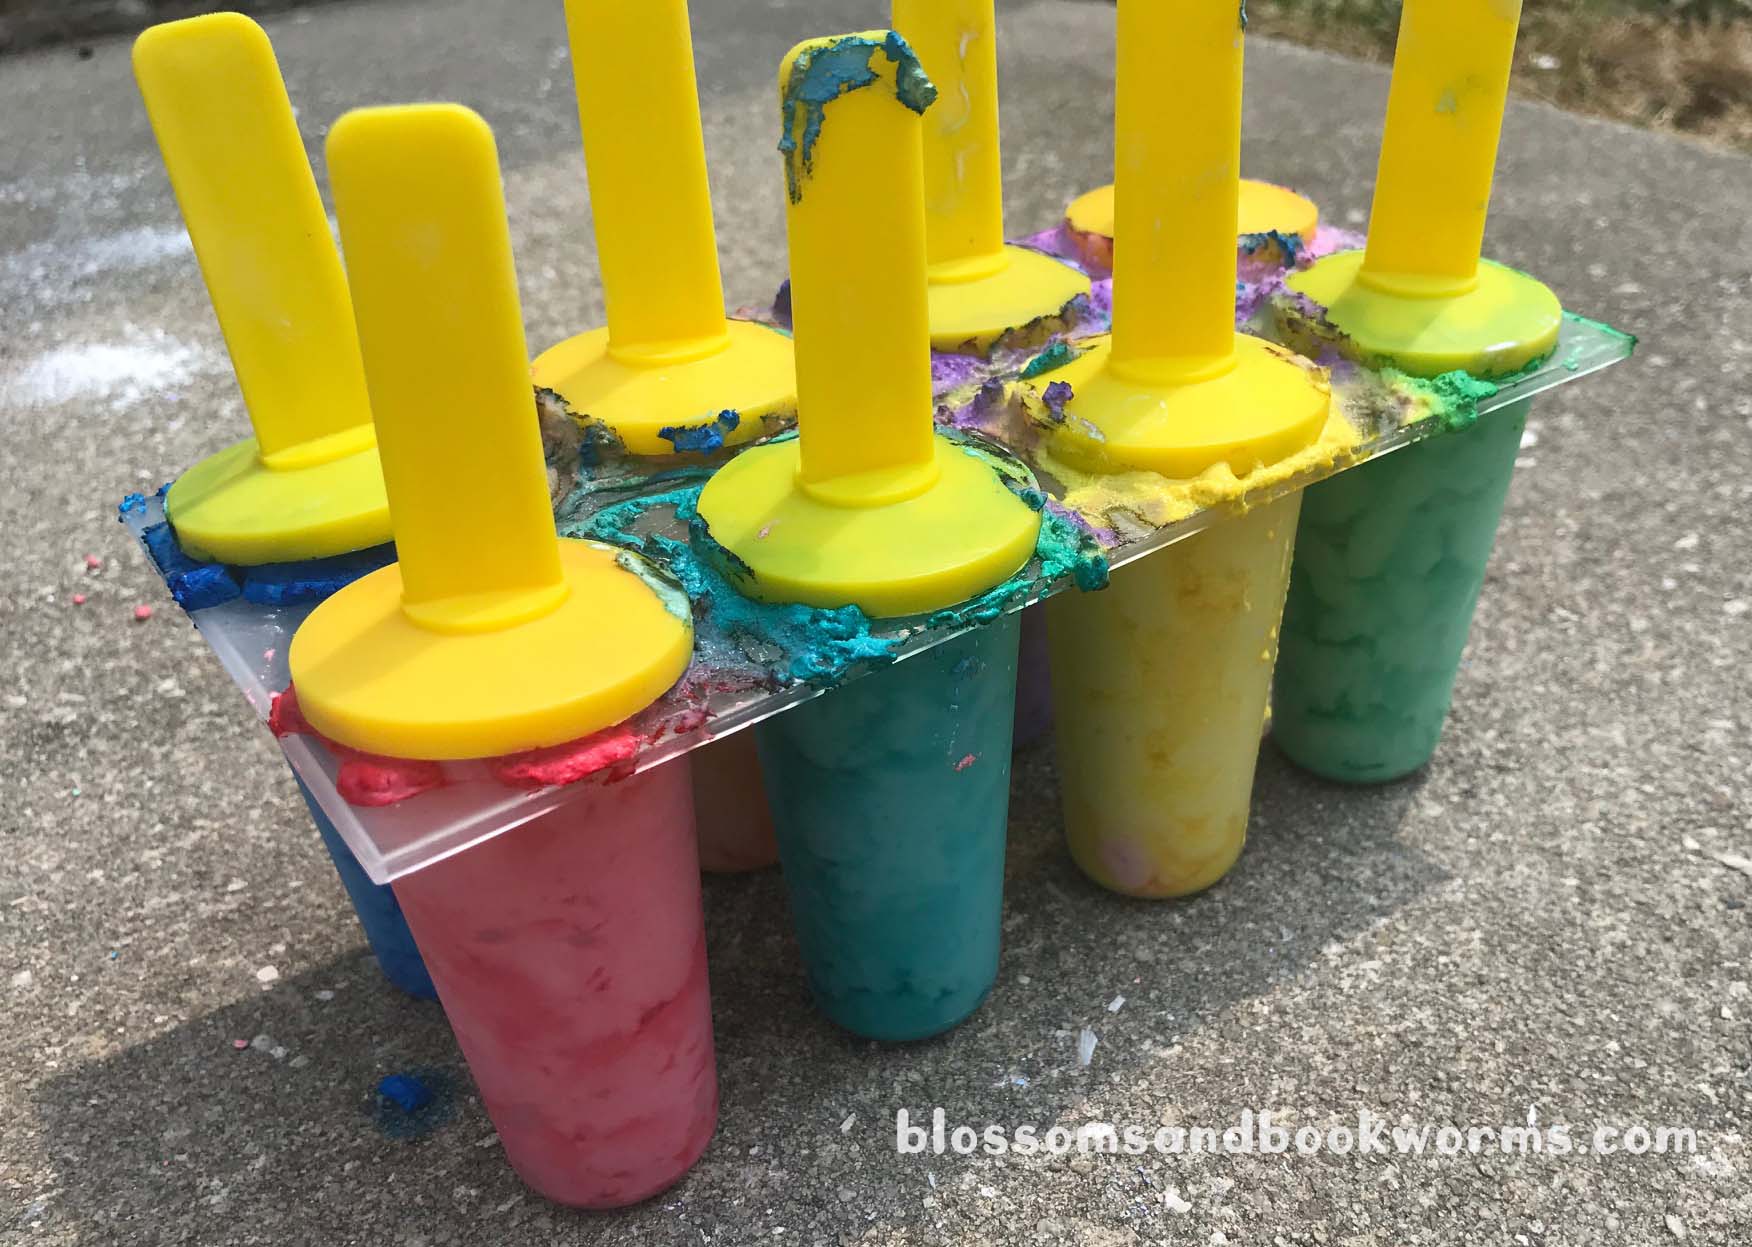
After about 2 minutes the plaster will begin to firm up. Insert your popsicle stick into the middle of the wet chalk “pops”. They should be easy to place. You will not have to push hard or hold them up.
Note – I used the popsicles sticks that came with my mold and in hindsight I would not have done this. The little cap part creates a barrier that doesn’t allow the chalk to properly set. Using regular popsicle or craft sticks would have been a much better option.
Leave them to set in the hot sun for about an hour before carefully removing from the mold. Then leave them out in the sun to continue drying.

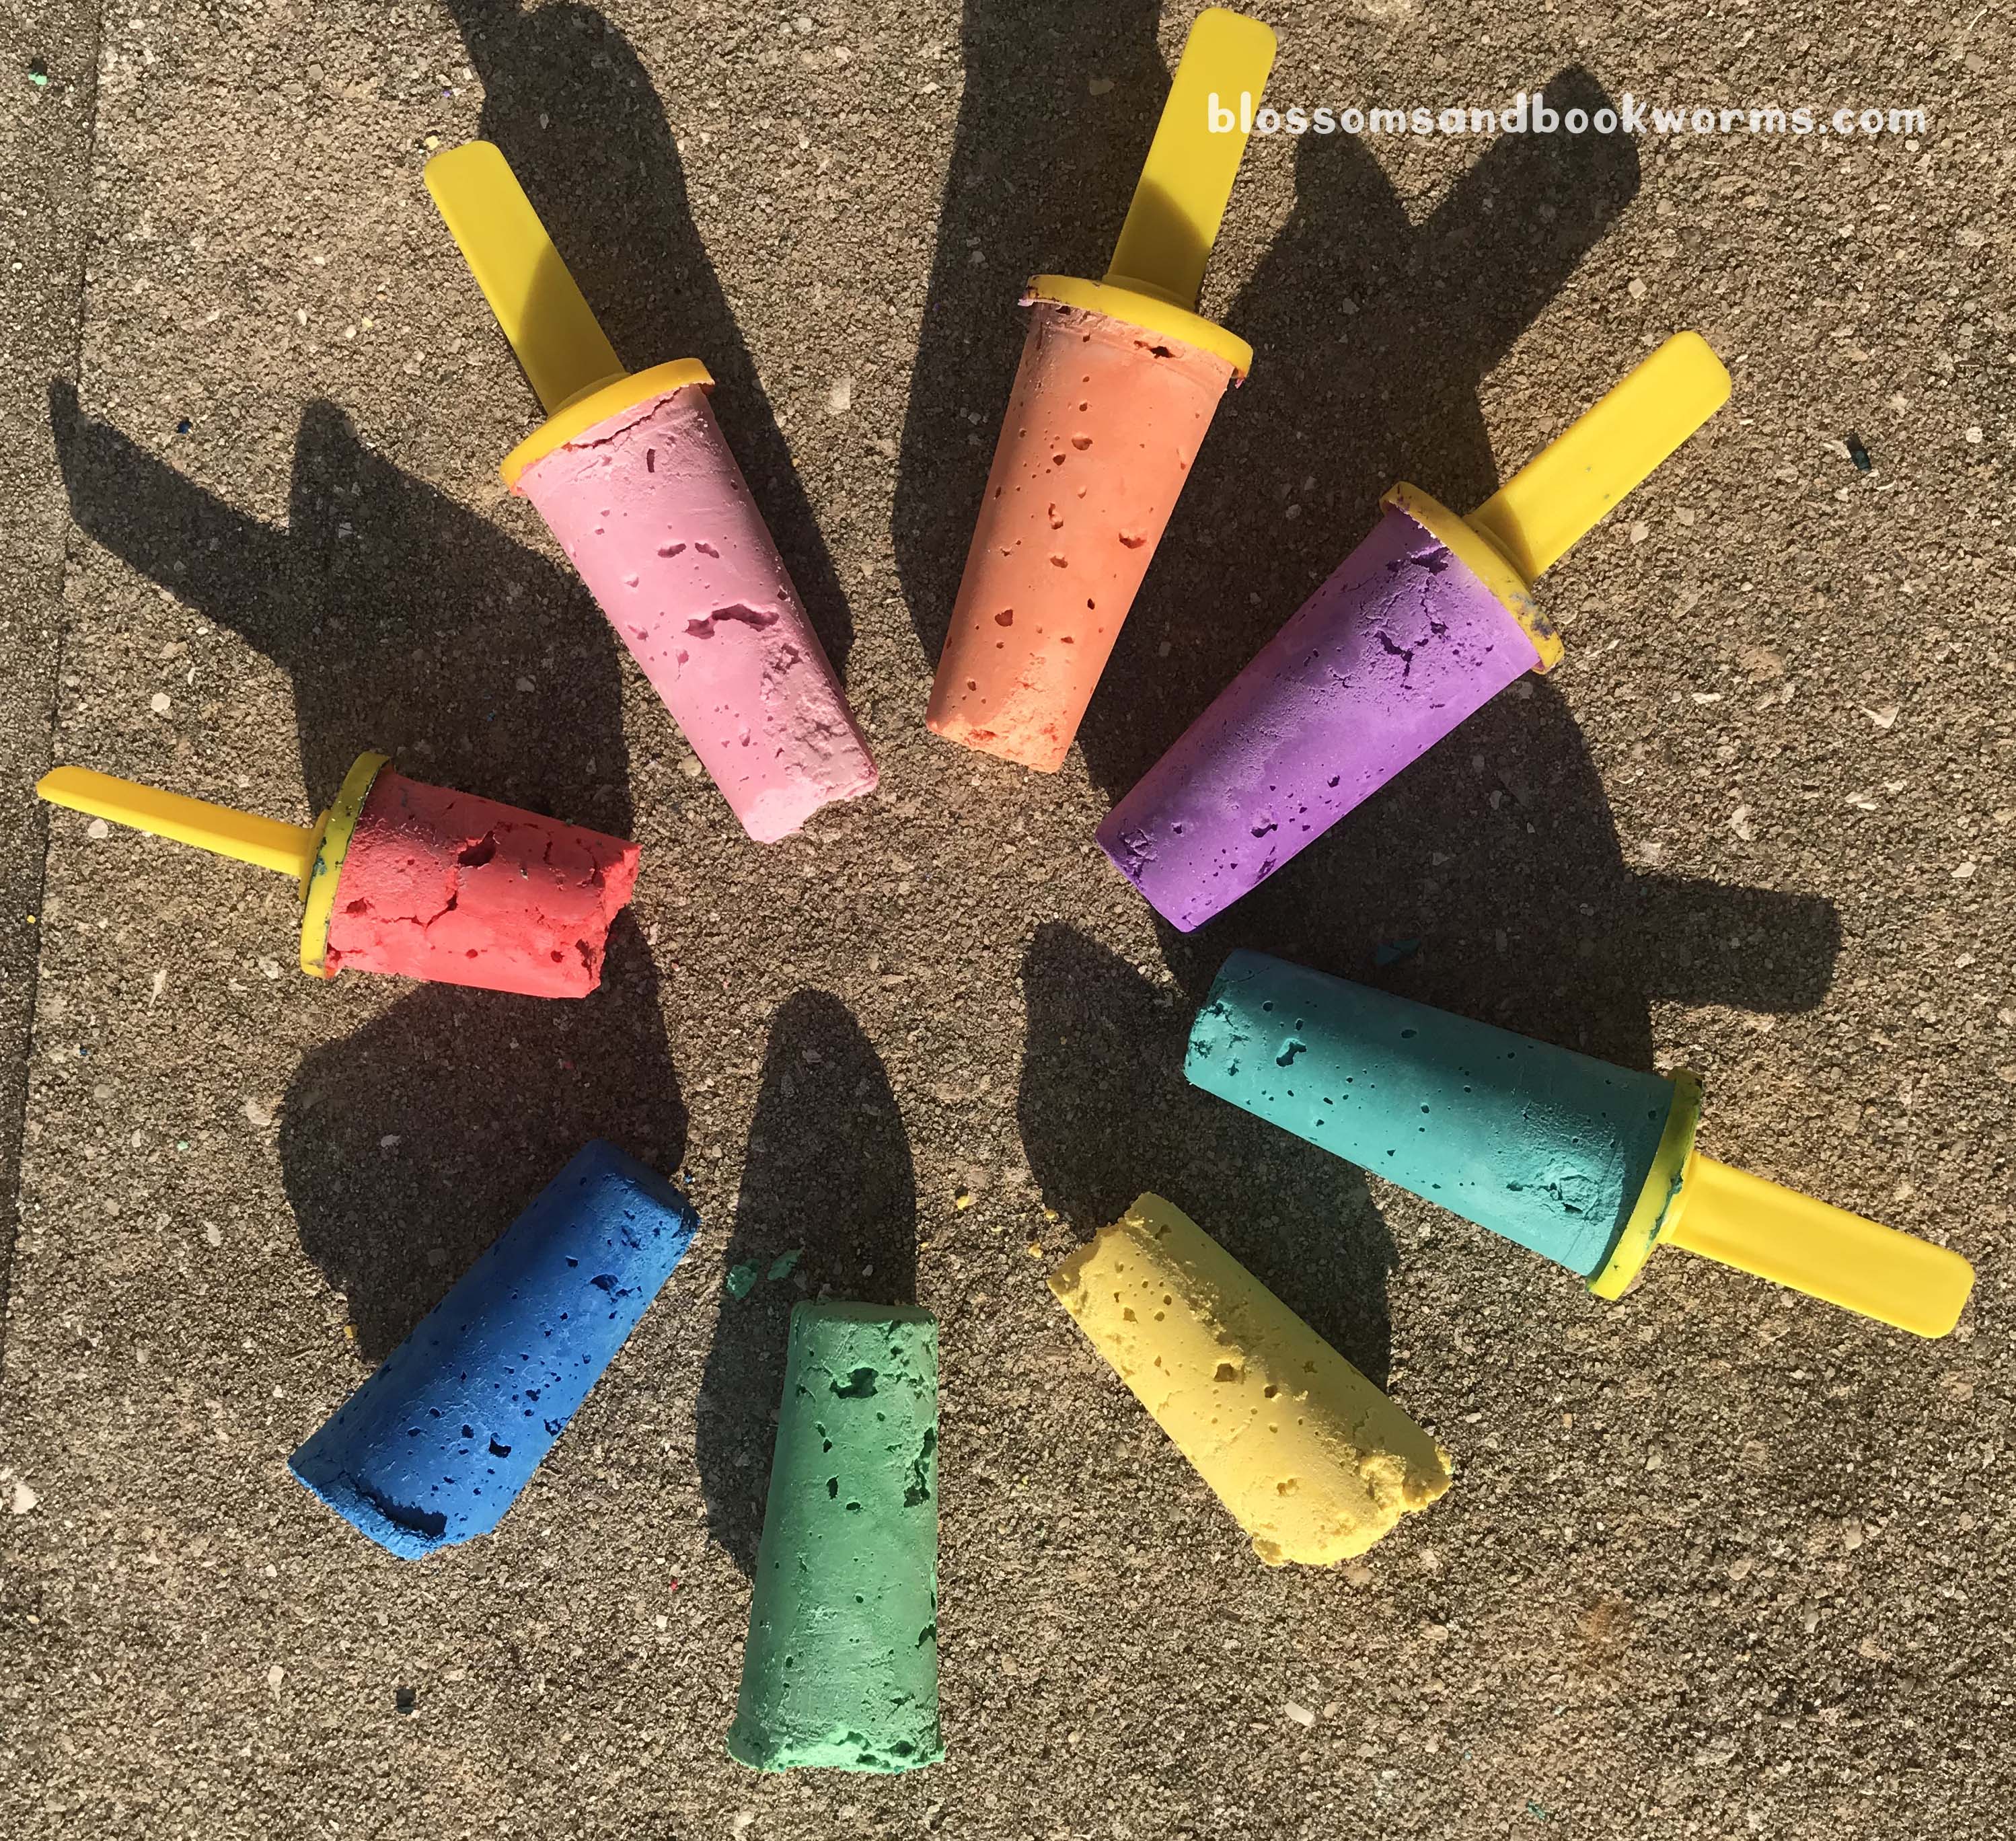
Look at all those bubbles I didn’t tap out. 🤣 But aren’t the colors vibrant?!
These sidewalk chalk pops actually made it 24 hours before my kids started experimenting with them. I was super impressed at the vibrant colors and the easy-to-hold popsicle handle. No more scraping knuckles on the rough concrete as you color!
.
.
.
Want to know a little secret? Things do not always go as planned…. check out the zoomed out version of the photo above 👇
HA! 4 perfect chalks. 1 broken chalk. 3 missing sticks. That, my friends, is real life.
Lessons Learned: My mixture should have been a bit runnier. I should have tapped a bit more firmly to get the bubbles out. I definitely should have used regular popsicle sticks.
But you know what?! It was still super fun and I would totally do it again – with a silicone mold this time!!!
DIY sidewalk chalk pops would make amazing party favors for a summer party or birthday. You could even make them more special by layering or swirling the colors!
Happy Experimenting!