Catch the Birdie

Making a brain bending whirligig!

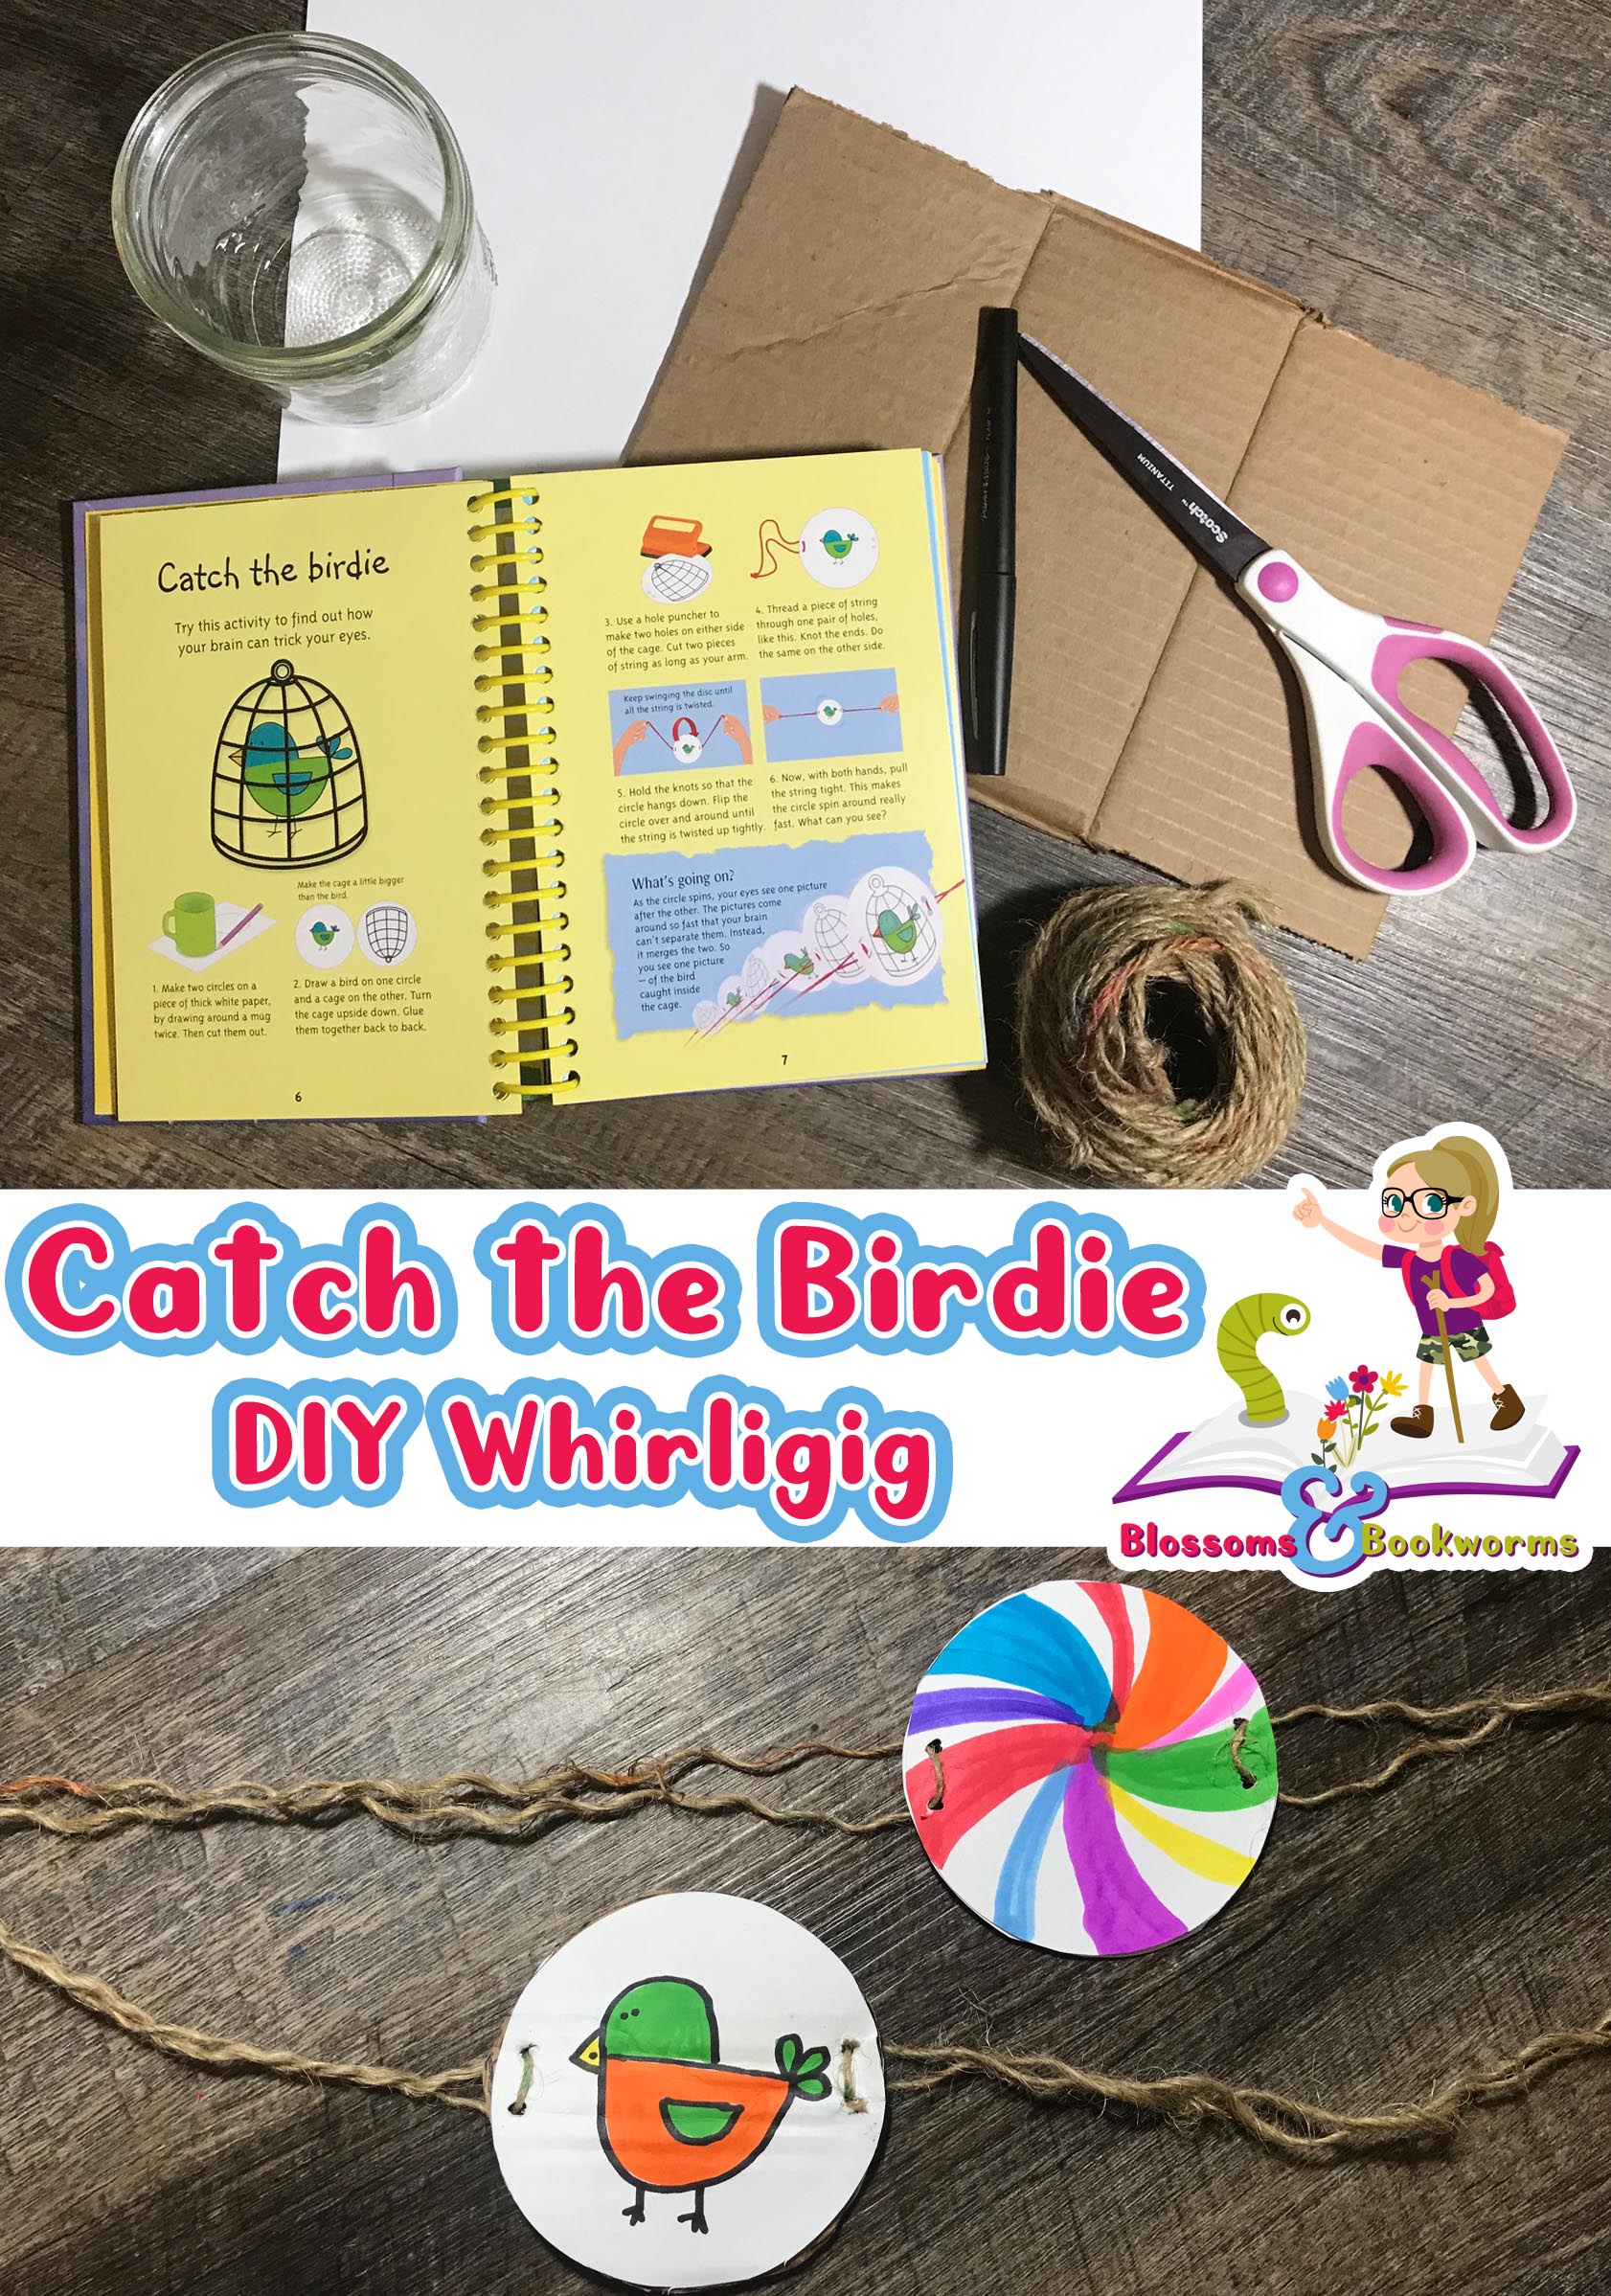
This super fun brain bender is brought to you by our amazing 50 Science Things to Make and Do. We come back to this book time and time again. There are so many fun activities with fun outcomes that take very little prep. You can find out more about this fun title HERE.

Whirligigs are great fun for kiddos of all ages. They don’t take a lot of work to put together, they are fully customizable, and you can even use them to trick your brain!
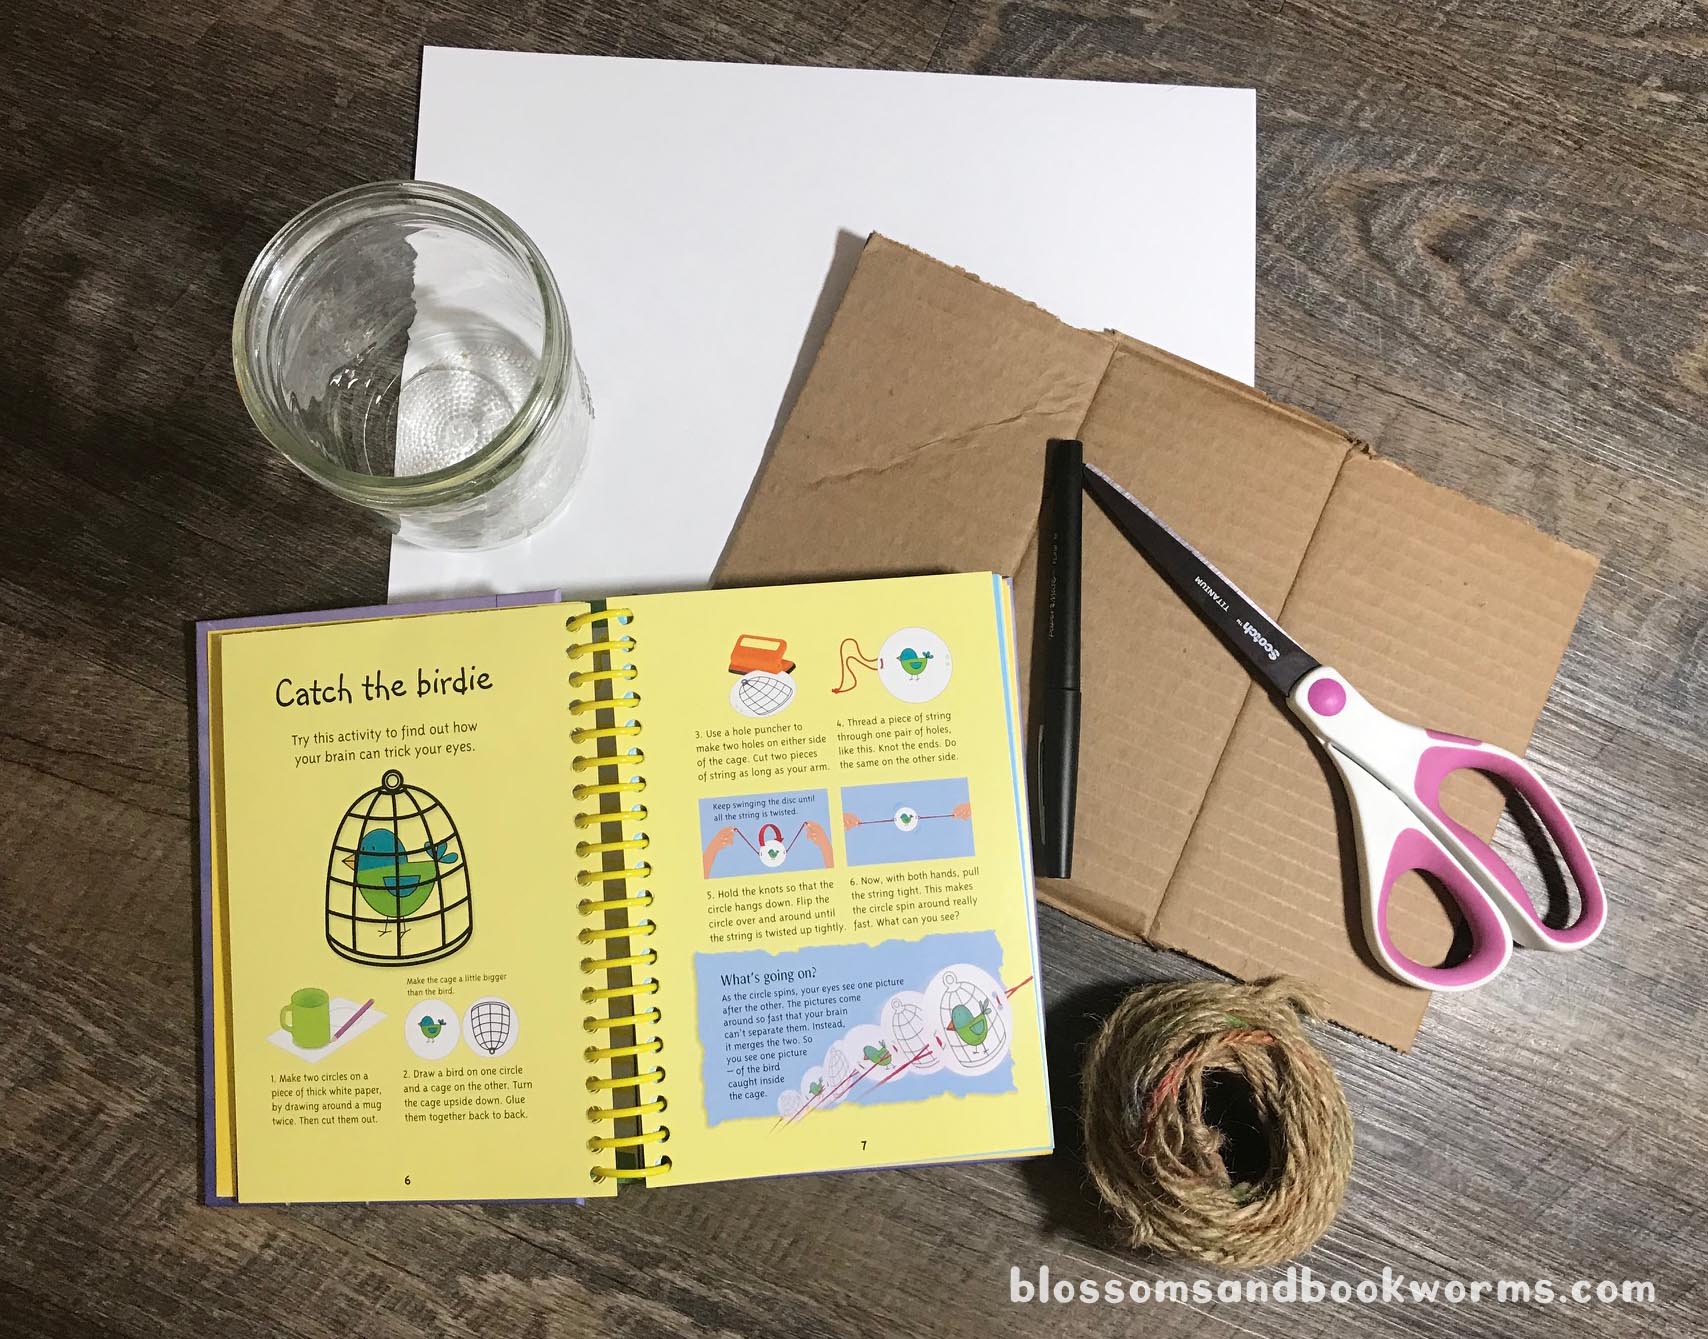
Materials:

  • Card Stock or other sturdy paper
  • Jar or cup to make circle outlines
  • Scissors, Pen, Markers to decorate your whirligig, glue to put the pieces together, and twine or yarn for twirling.
  • Optional: Cardboard to reinforce the whirligig

Begin by using the jar to trace circles for whirligig onto the card stock. We used 2 circles for each whirligig. By gluing the front and back together you get a stronger whirligig.

Next, color your circles! I followed instruction in the book to create a little birdie and a simple cage drawing. But, my kiddos had so much fun creating different creations on their circles!

Now you will glue the front circle to the back circle. Notice that the birdie is right side up but the cage is glued upside down to the back. To make the brain teaser work, the cage has to be upside down! 😁

Note – I reinforced the birdie and cage by sandwiching a piece of cardboard in between to 2 layers of card stock. I did not reinforce the colorful whirligig, so it is only 2 pieces of card stock. Both whirligigs worked very well. However, the reinforced birdie was easier for the younger kiddos to use because it was heavier and easier to twirl.

To reinforce or not to reinforce…. that is the question… 🤣

Next, you will poke or punch 2 small holes on either side of your design. Then, cut a length of twine as long as your arm and loop the twine through the holes as shown. Finally, tie a knot to secure the 2 loose ends of the twine.

Holding the knots you will twist up the whirligig, pull taught, and watch the magic!

Want to see the birdie in action?? Check out this short clip:

Did you see it? The birdie gets caught inside the cage! How does that happen?? Lucky for me – and YOU! – the book explains the phenomenon.

“As the circle spins, your eyes see one picture after the other. The pictures come around so fast that your brain can’t separate them. Instead, it merges the two. So you see one picture – of the bird caught inside the cage.”

So fascinating!

What other creations can you make where something get “caught” inside the other design?? I cannot wait to see what you come up with!

Happy Experimenting!

DIY Pom-Pom Catapult

#ScienceWeek continues at our house… and so does the rain…

Since we are stuck inside I needed a fun, easy to assemble, and potentially genius experiment that both of my kiddos would adore… not a small order by any means! Lucky for me – and you! – I found these incredibly cool catapults and I had all the items to assemble them on hand.

Check out all the bright fun colors! I love colorful craft sticks and we have pom-poms galore for various projects and sorting activities. Just by adding the colorful items, my 3 year old was sure to love this experiment.

Materials:

  • Craft Sticks – we used 10 all together to create 2 catapults using our basic model. But you may want more craft sticks to try out different configurations.
  • Plastic Spoons – the cheap ones with a little more flex in them work best for this experiment
  • Rubber Bands
  • Pom-Poms – we tried out various sizes but any you have on hand will work

The catapult is very simple to construct. A few stacks of craft sticks and a few rubber bands to secure and you are good to go!

Note: In each of these photos you see duplicates for each step. That is because I have 2 kids and, of course, they each needed their own catapult. However, you could easily make just one or make 5 to suit your needs!

You begin by layering 2 craft sticks together and securing with a rubber band on only one end (e.g. see the orange and purple sticks). Then you layer a stack of 3 craft sticks together and secure with rubber bands at both ends (e.g. see the blue and red craft stick stacks).

Next, you insert the stack of 3 craft sticks in between the 2 craft sticks from the 2-stick bundle. The closer the 3 stick bundle gets to the edge of the 2-stick bundle, the more leverage the catapult will have. Use a rubber band to secure the 3 craft stick bundle to the top craft stick from the 2-stick bundle.

Using a rubber band, secure the plastic spoon to the top of your catapult.

Finally, add the pom-pom, pull back, and….. LAUNCH!

We found that our catapult worked best if you placed a finger on the 2 stick bundle to hold it in place before pushing down on the spoon.

Our 6 year old was all about adjusting and reconfiguring the basic model to see what would happen. The scientific discovery – and complete focus on the activity – were so much fun to observe!

There are so many variations and adjustments that you can try during this experiment:

  • Try changing the number of crafts sticks in the 3-stick bundle. Try more sticks to give your catapult even more leverage. How far does your catapult launch an object with 7 craft sticks bundled together?
  • Try launching different items. Do marshmallows fly farther than the pom-poms? Can your catapult launch a small ball or plastic toy?
  • What happens if you move the spoon farther off the end of the catapult?

The possibilities are endless!!

Happy Experimenting!

DIY Sidewalk Chalk Pops

Sidewalk chalk is virtually synonymous with summer. There is something quintessential about little hands, faces, and bodies covered in a thin sheen of sweat and chalk dust as they embellish their latest creation in the middle of the driveway.

Chalk is relatively inexpensive to buy, but I love giving my kiddos the experience of making your own. You get to choose the colors, shapes, and, in this case, even the handle!

The supplies are pretty basic, except for the Plaster of Paris. However, I was actually pleasingly surprised at how many retailers had it in stock. So I am sure you won’t have trouble locating it either!

Materials:

  • Plaster of Paris
  • Popsicle Mold – we used an old plastic popsicle mold from our outdoor play bin but a silicone mold would work even better!
  • Popsicle Sticks
  • Tempera Paint – we used what we had but neon would be even more fun!
  • Paper cups and plastic spoons
  • Cold water and measuring cups – not pictured

A few important notes:

  • Plaster of Paris should NOT under any circumstances be put down your drain! It will harden in your pipes and cause damage. That is why we are using disposable cups and spoons for this activity.
  • Cold water needs to be between 40-50 degree F. Yes, it matters. 😁 We chilled ours in a picture in the refrigerator before getting started.
  • This can be messy and you do not want Plaster of Paris dust getting spread around your interior space. I would highly recommend taking this activity outside!

You will start by getting out one paper cup for each color you are going to make. Then measure about 3 TBS of tempera paint into the bottom of the cup – I really wanted a colorful POP. Add 1/3 cup of cold water to each cup and gently stir with a plastic spoon to combine. Getting things perfect in this step is not necessary. The color blobs will smooth out in the next step 😉

Measure 2/3 cup of Plaster of Paris into each paper cup. This is where it can start to get messy. Make sure your paper cups are big enough to contain this much picture and still stir things together.

Stir until the Plaster of Paris, paint, and water mixture is thoroughly combined. Mine was a bit thicker than I anticipated but still loose enough to easily stir with a plastic spoon.

Note: Some of the colors look super dull and washed out at this point. I was honestly nervous that they would end up pastel. However, wait for the final product, they are vibrant, bold, and just the right amount of color!

Carefully spoon mixture into the mold. Obviously this is a “do as I say and not as I do” moment because my mold is definitely less than “carefully” filled 🤣 Gently tap on the work surface (aka the sidewalk) to release air bubbles.

After about 2 minutes the plaster will begin to firm up. Insert your popsicle stick into the middle of the wet chalk “pops”. They should be easy to place. You will not have to push hard or hold them up.

Note – I used the popsicles sticks that came with my mold and in hindsight I would not have done this. The little cap part creates a barrier that doesn’t allow the chalk to properly set. Using regular popsicle or craft sticks would have been a much better option.

Leave them to set in the hot sun for about an hour before carefully removing from the mold. Then leave them out in the sun to continue drying.

Look at all those bubbles I didn’t tap out. 🤣 But aren’t the colors vibrant?!

These sidewalk chalk pops actually made it 24 hours before my kids started experimenting with them. I was super impressed at the vibrant colors and the easy-to-hold popsicle handle. No more scraping knuckles on the rough concrete as you color!

.
.
.

Want to know a little secret? Things do not always go as planned…. check out the zoomed out version of the photo above 👇

HA! 4 perfect chalks. 1 broken chalk. 3 missing sticks. That, my friends, is real life.

Lessons Learned: My mixture should have been a bit runnier. I should have tapped a bit more firmly to get the bubbles out. I definitely should have used regular popsicle sticks.

But you know what?! It was still super fun and I would totally do it again – with a silicone mold this time!!!

DIY sidewalk chalk pops would make amazing party favors for a summer party or birthday. You could even make them more special by layering or swirling the colors!

Happy Experimenting!