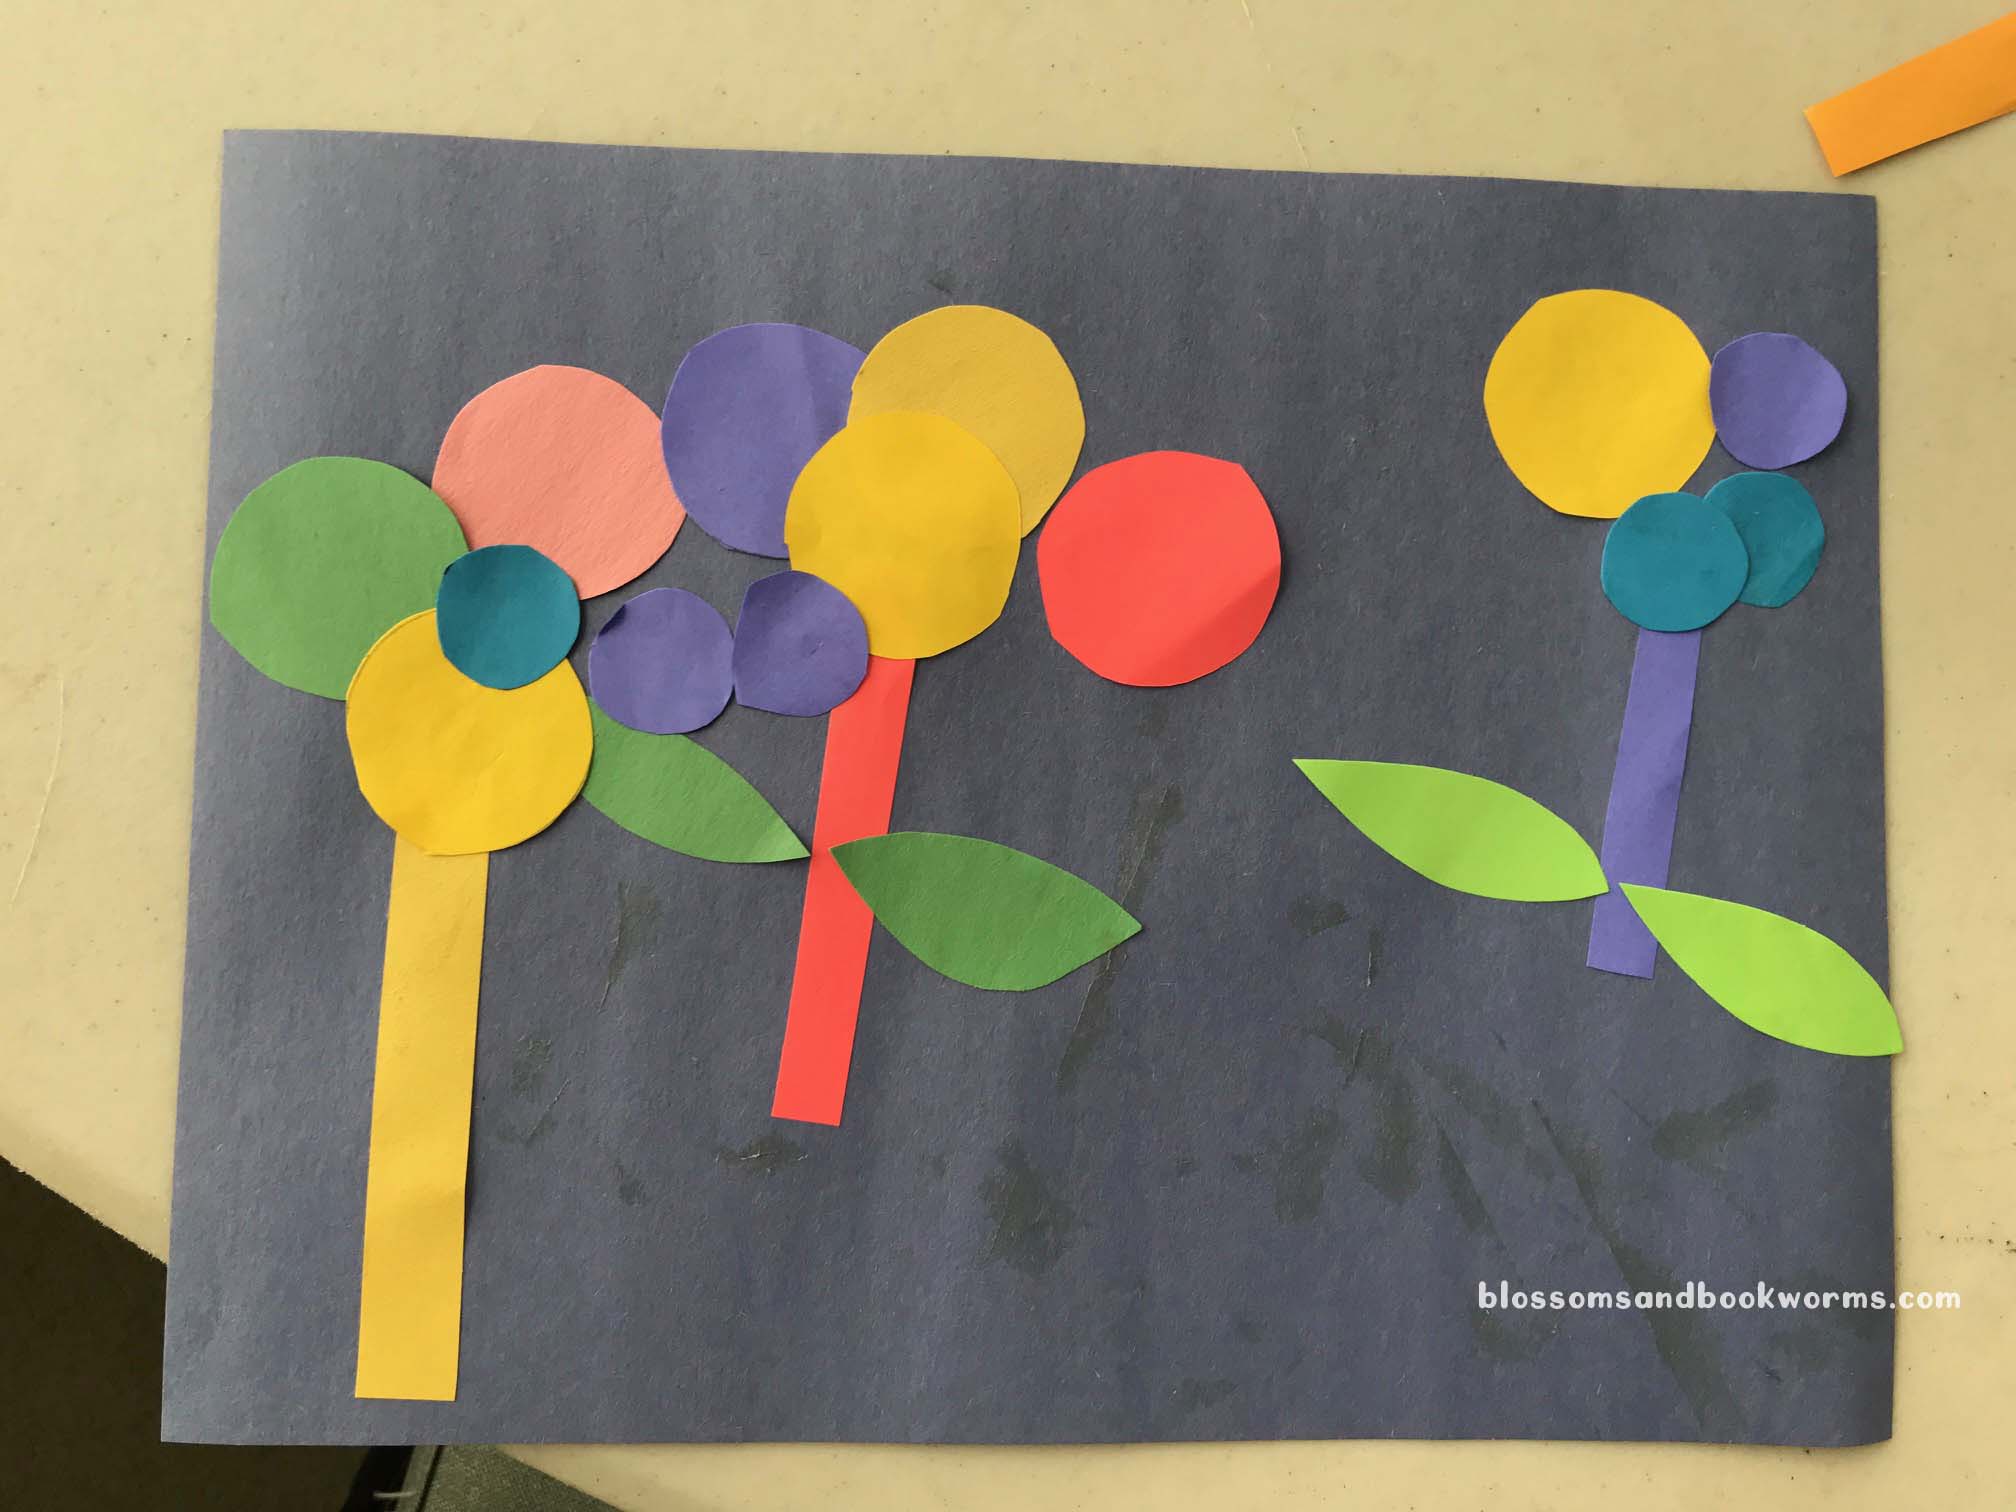
I love activities that let creativity and imagination bloom!
Check out this super fun Christmas activity! Your readers can decorate their own Christmas tree and let their own creativity run wild all while developing their hand-eye coordination and fine motor skills. In fact, you can even sneak in a little color and shape learning!

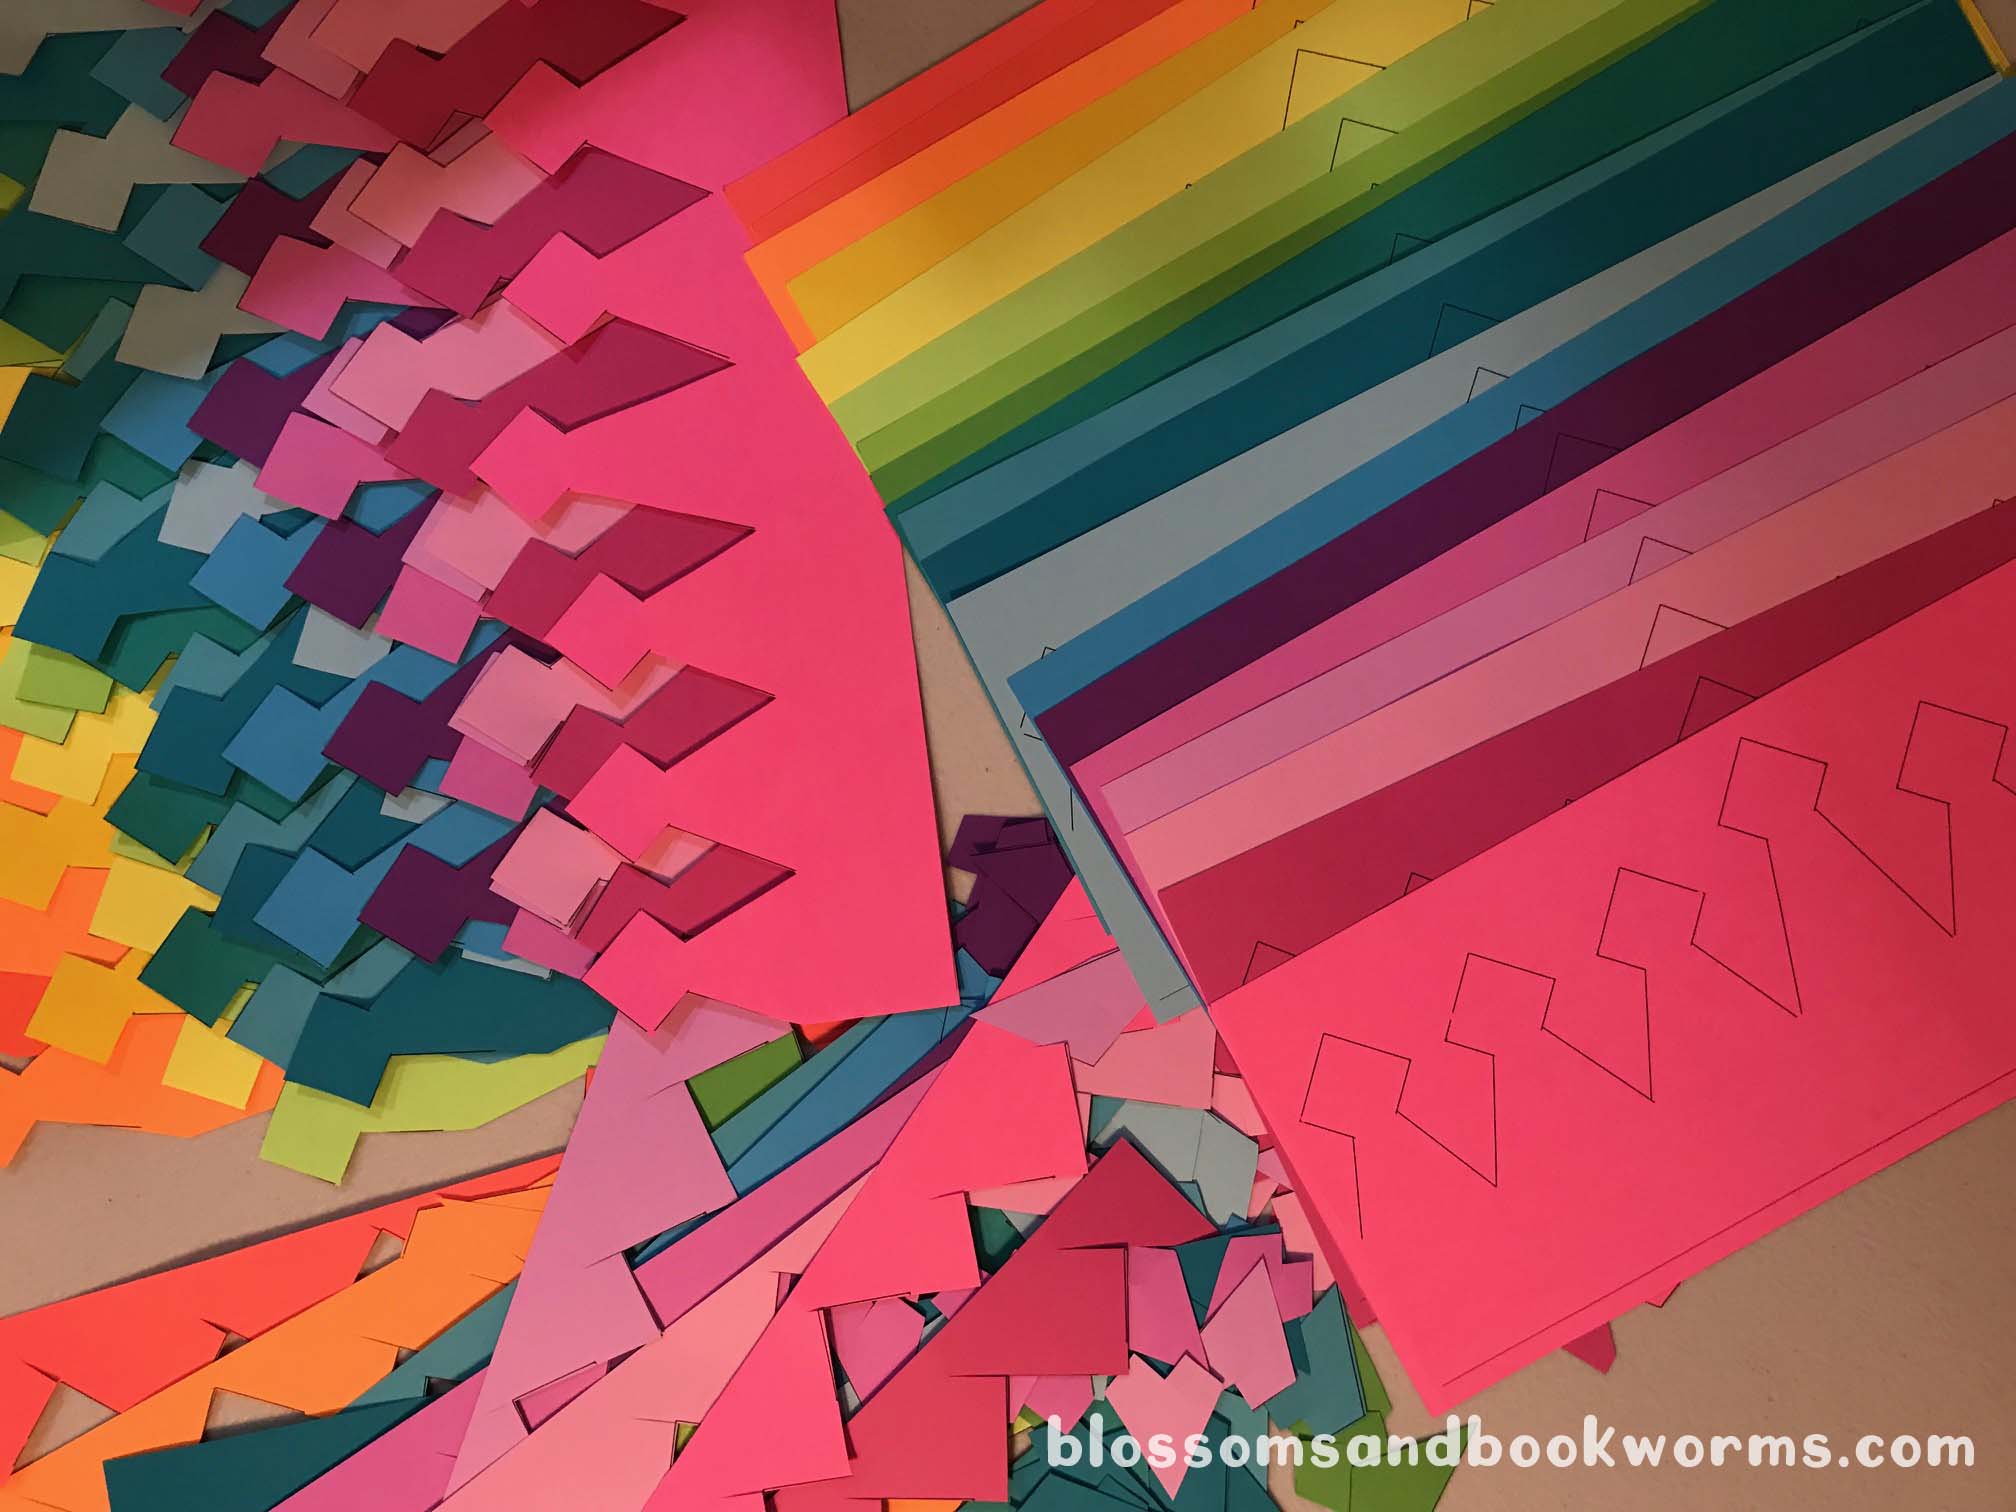
Decorating your own Christmas tree doesn’t take special materials or even superior creativity. Pull out what you have:
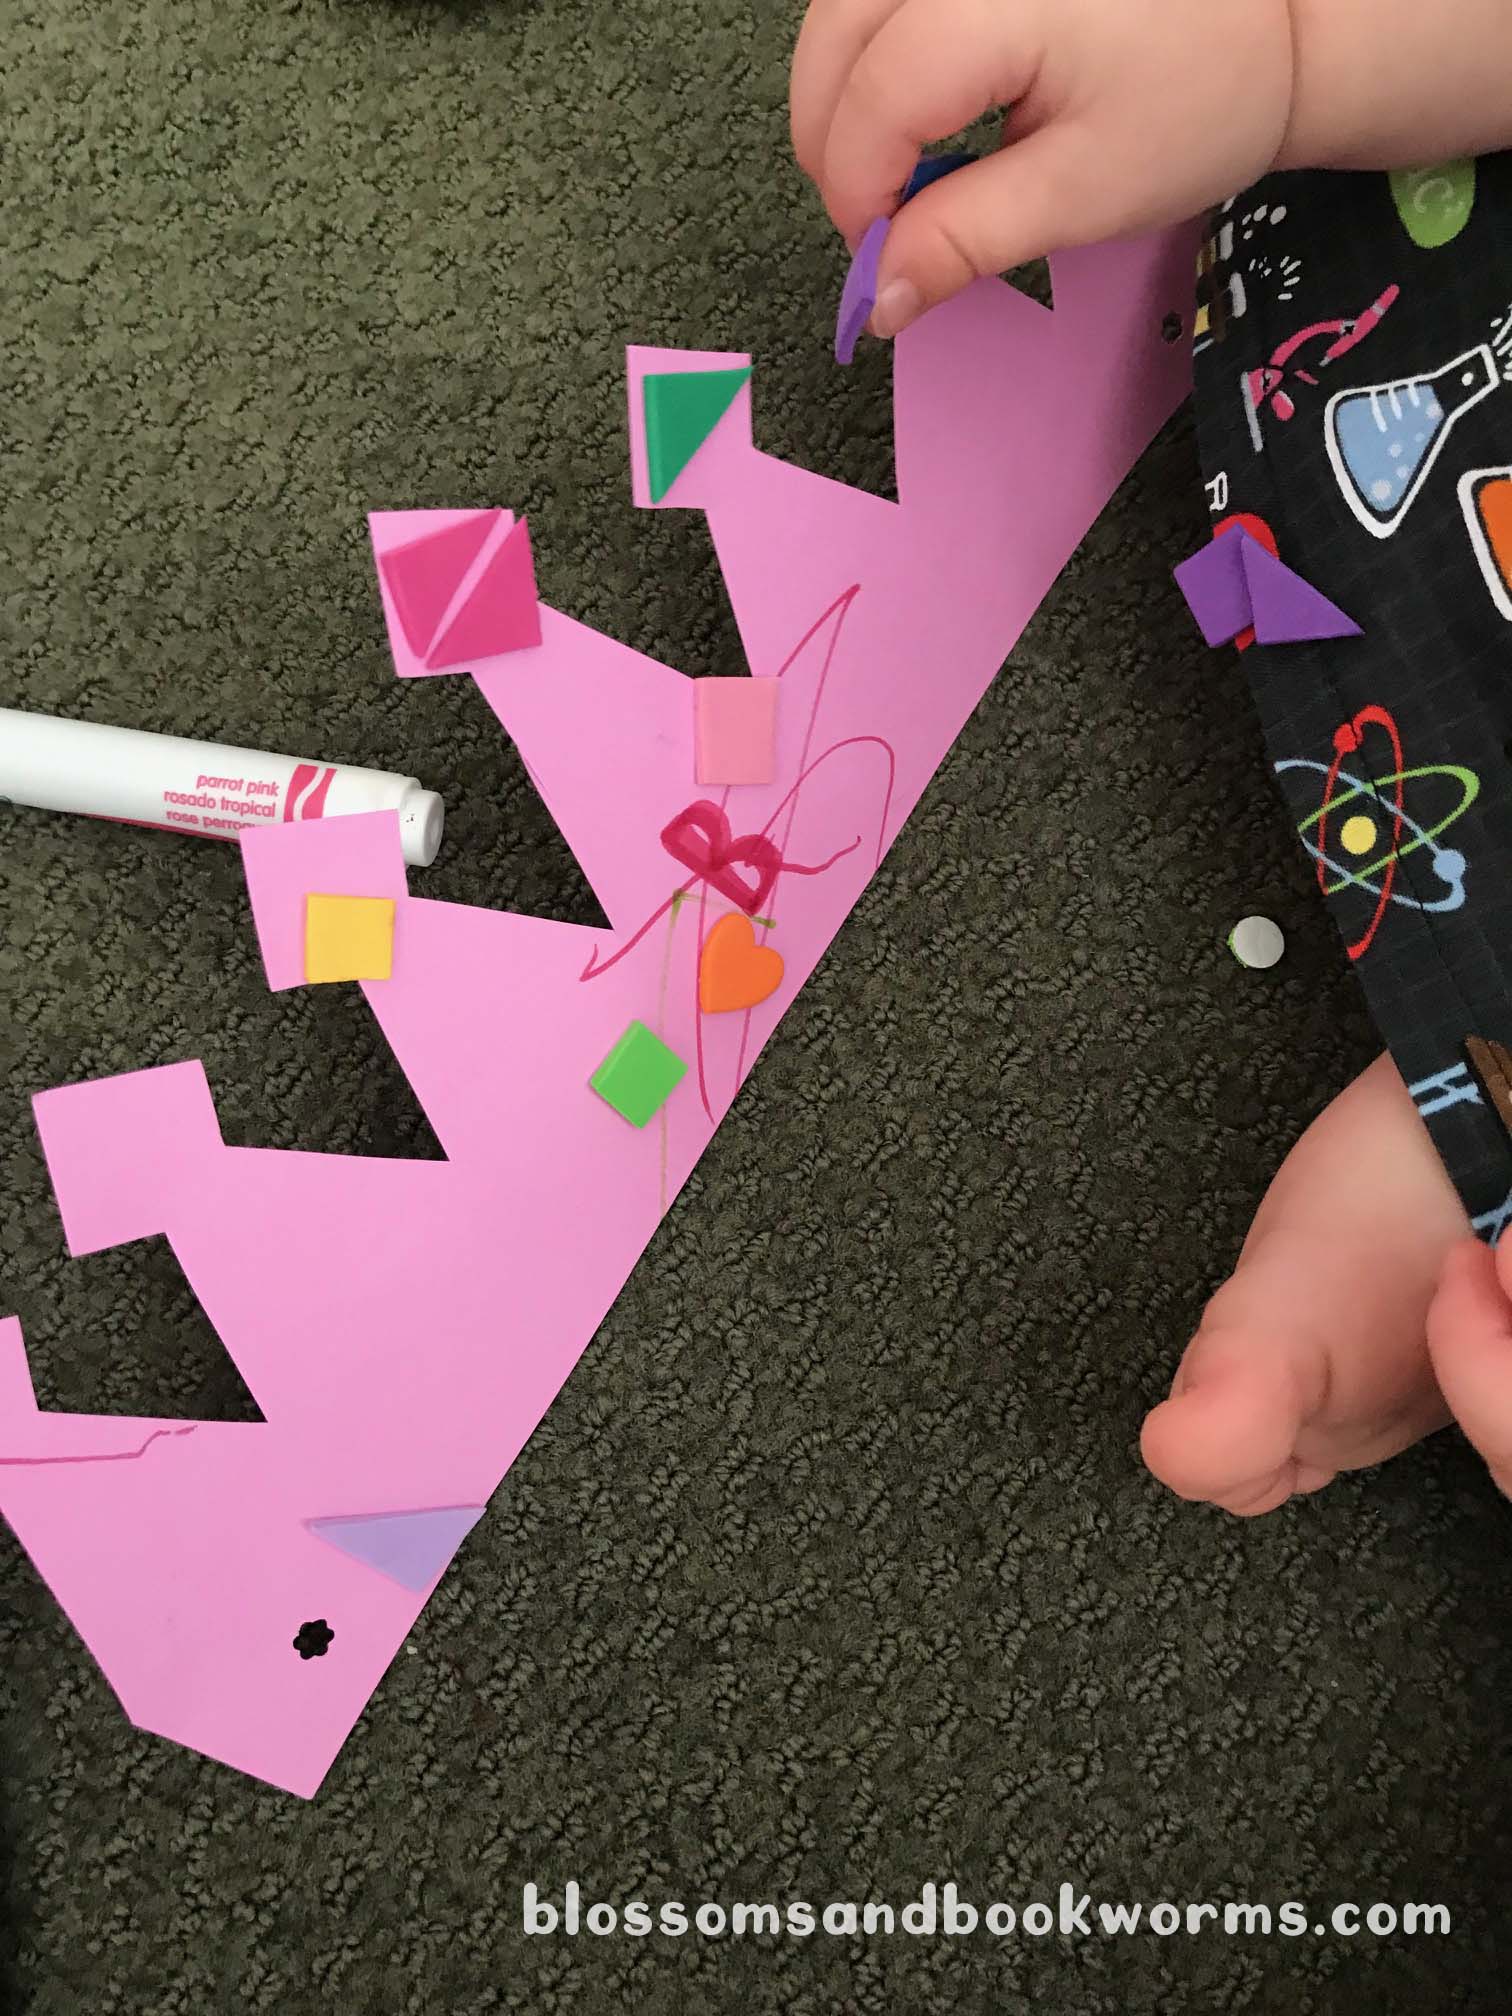
- markers
- crayons
- paint
- stickers
- string
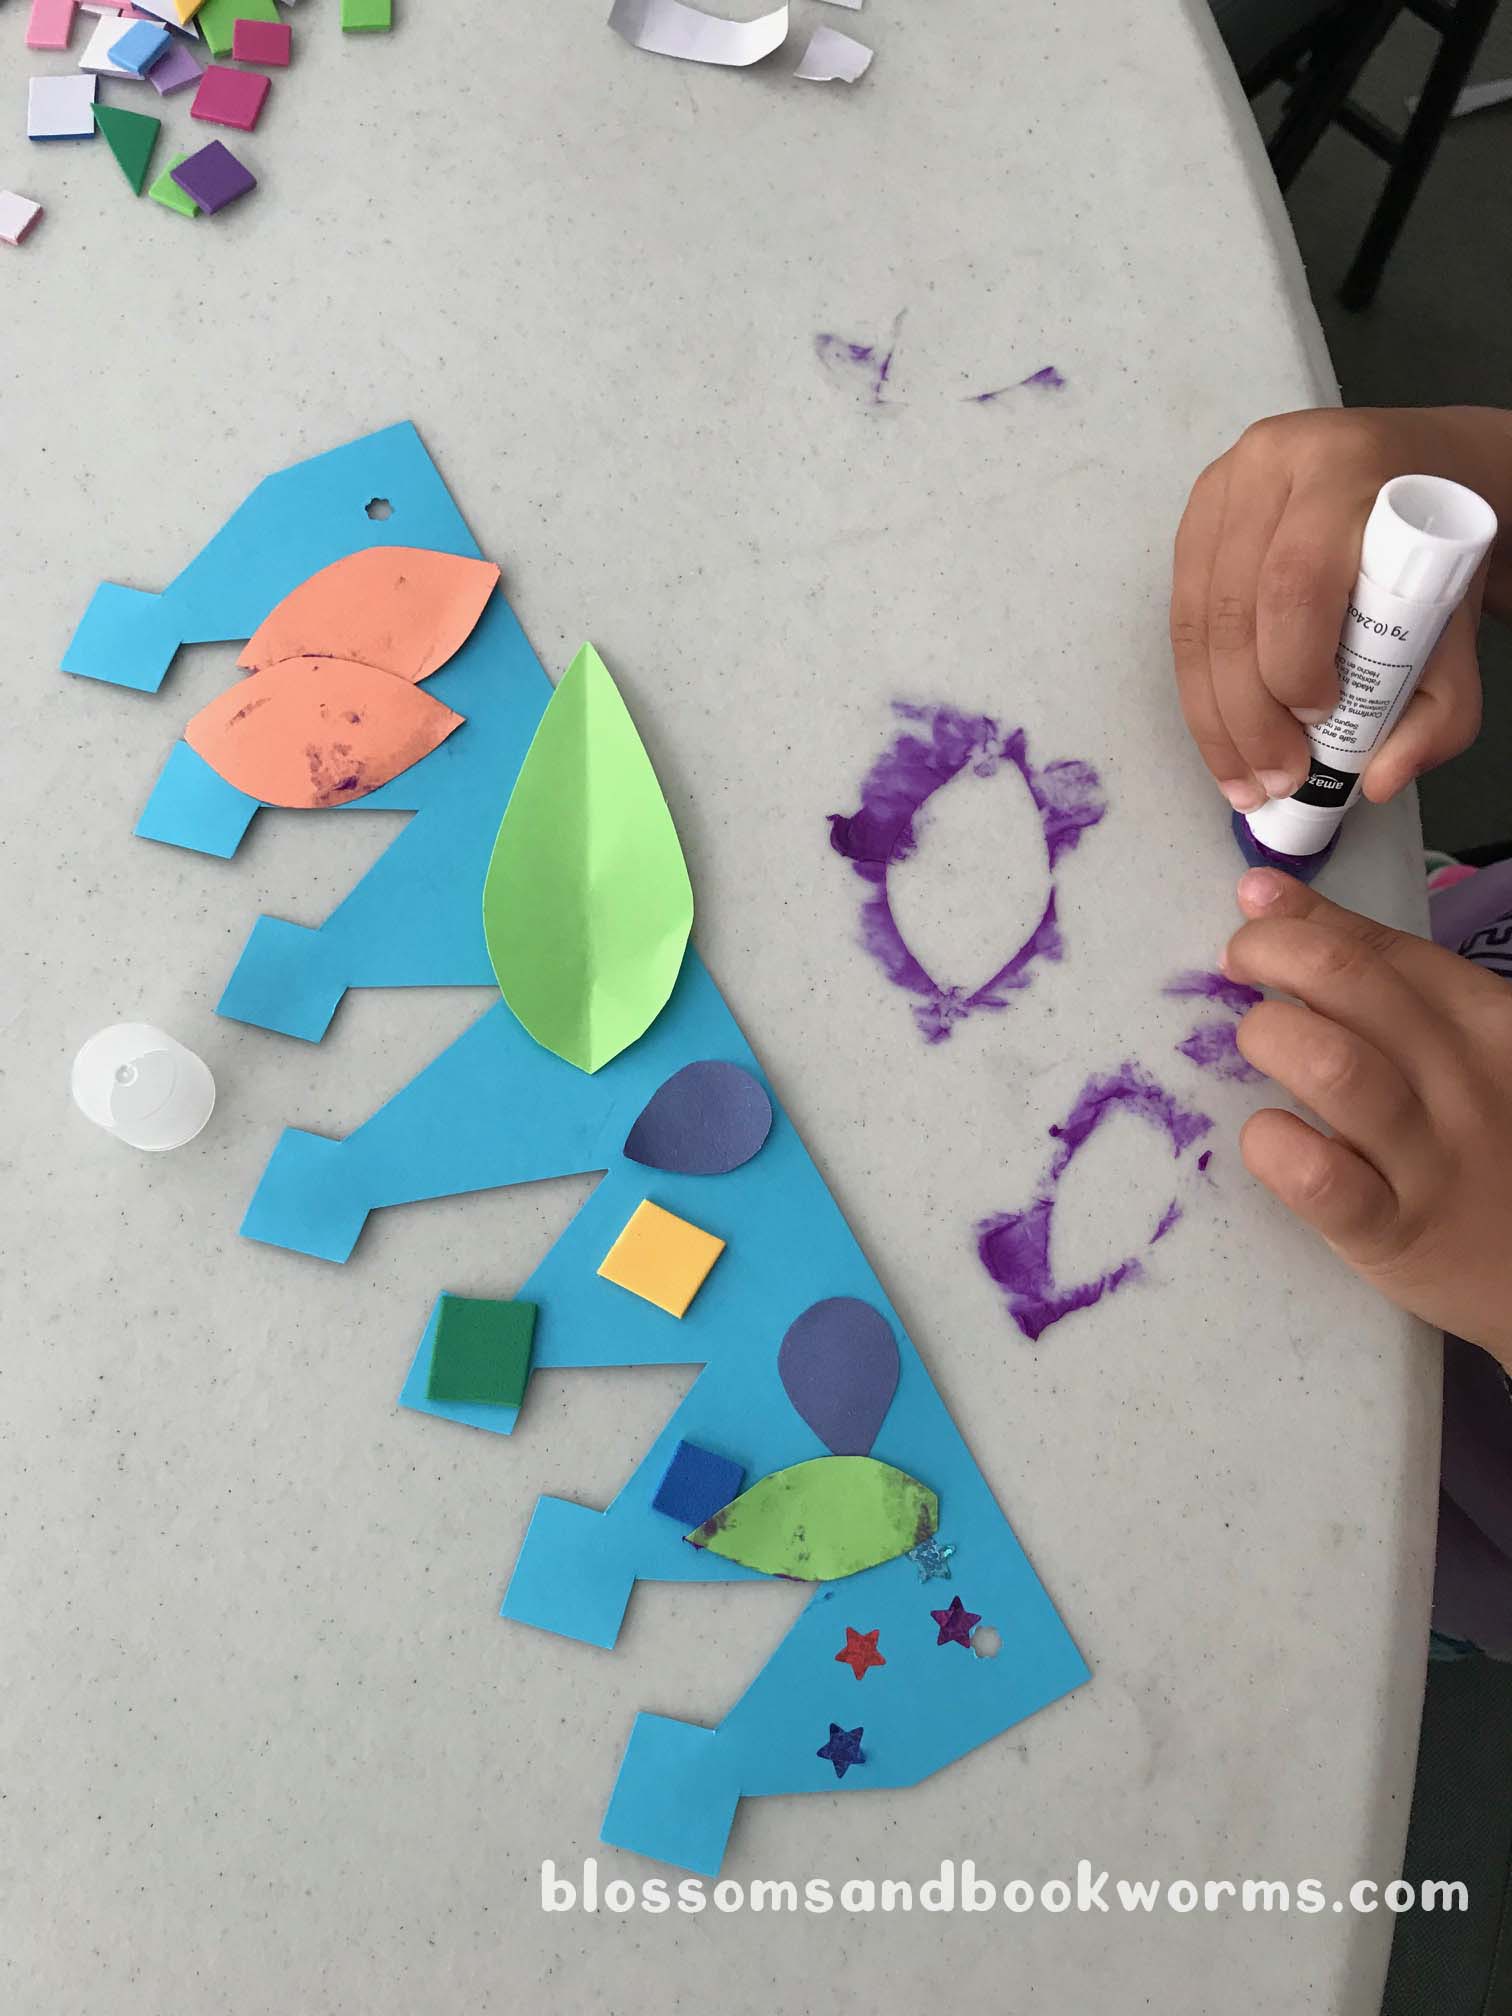
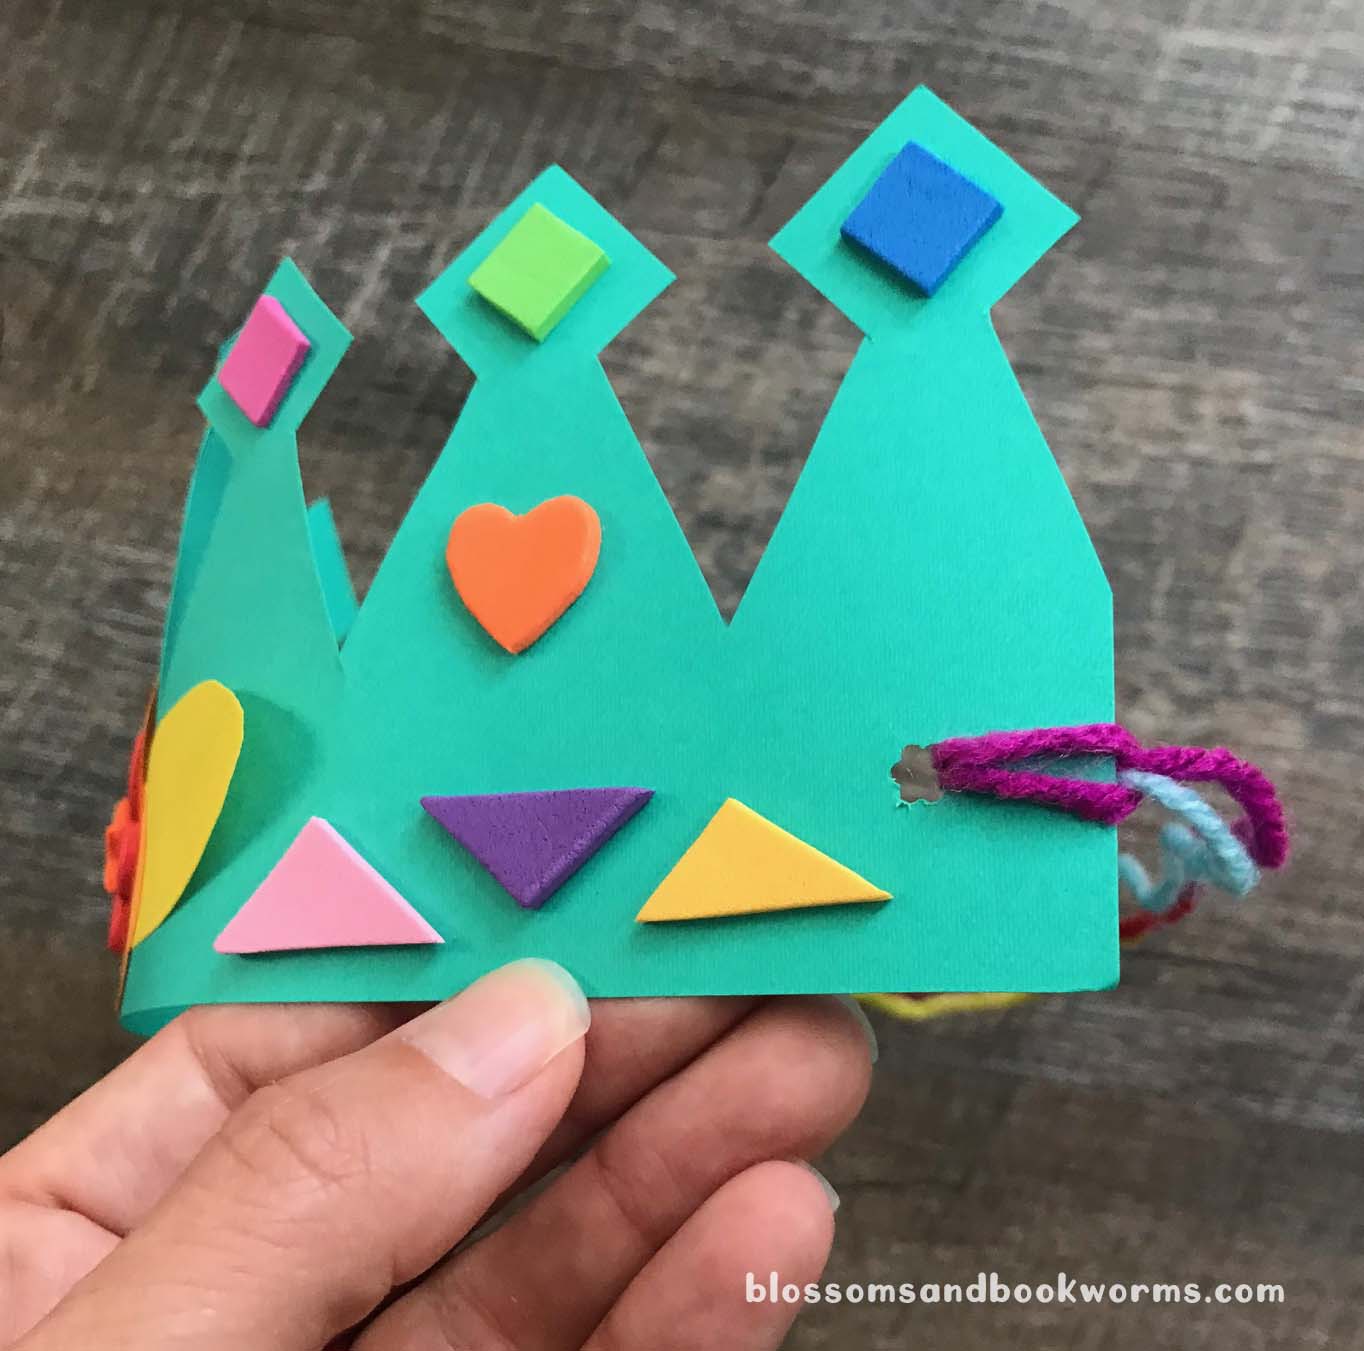
- paper shapes
- buttons
- ribbon
- glitter (if you are super brave 🤣)
Anything goes!

The best way to inspire my kiddos creativity is to first read and then have them complete the activity. I love these classic Christmas stories and both feature decorated trees to inspire your readers.
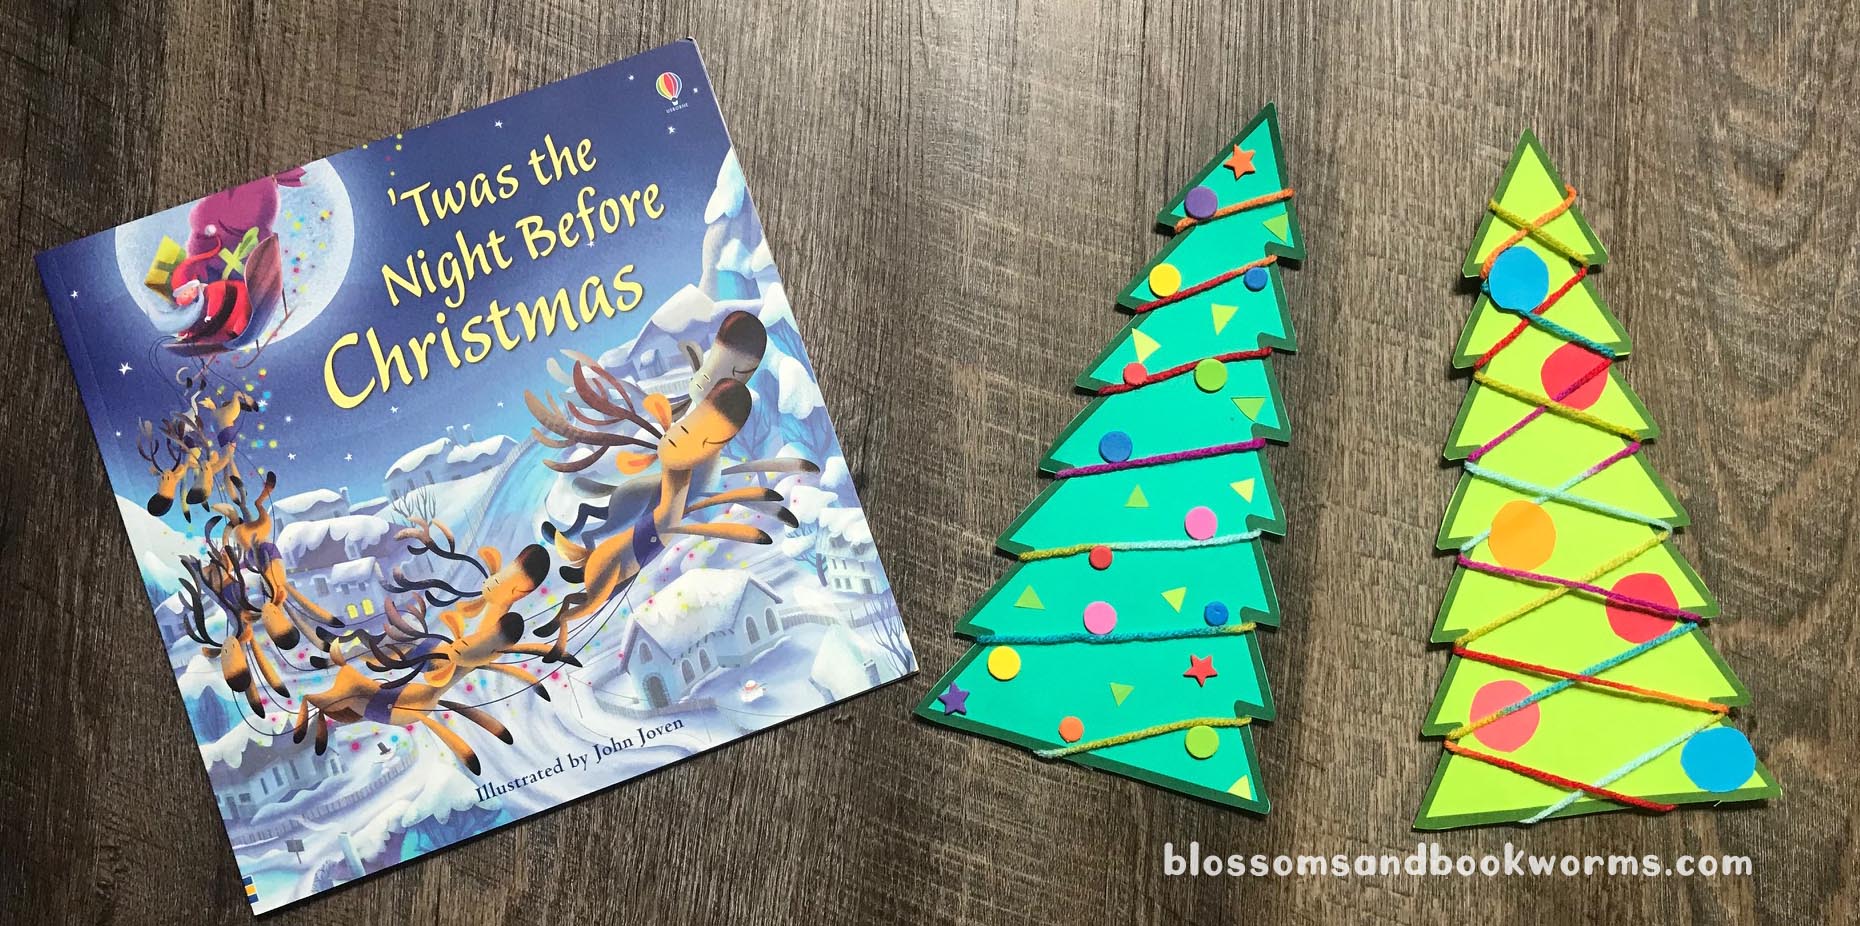
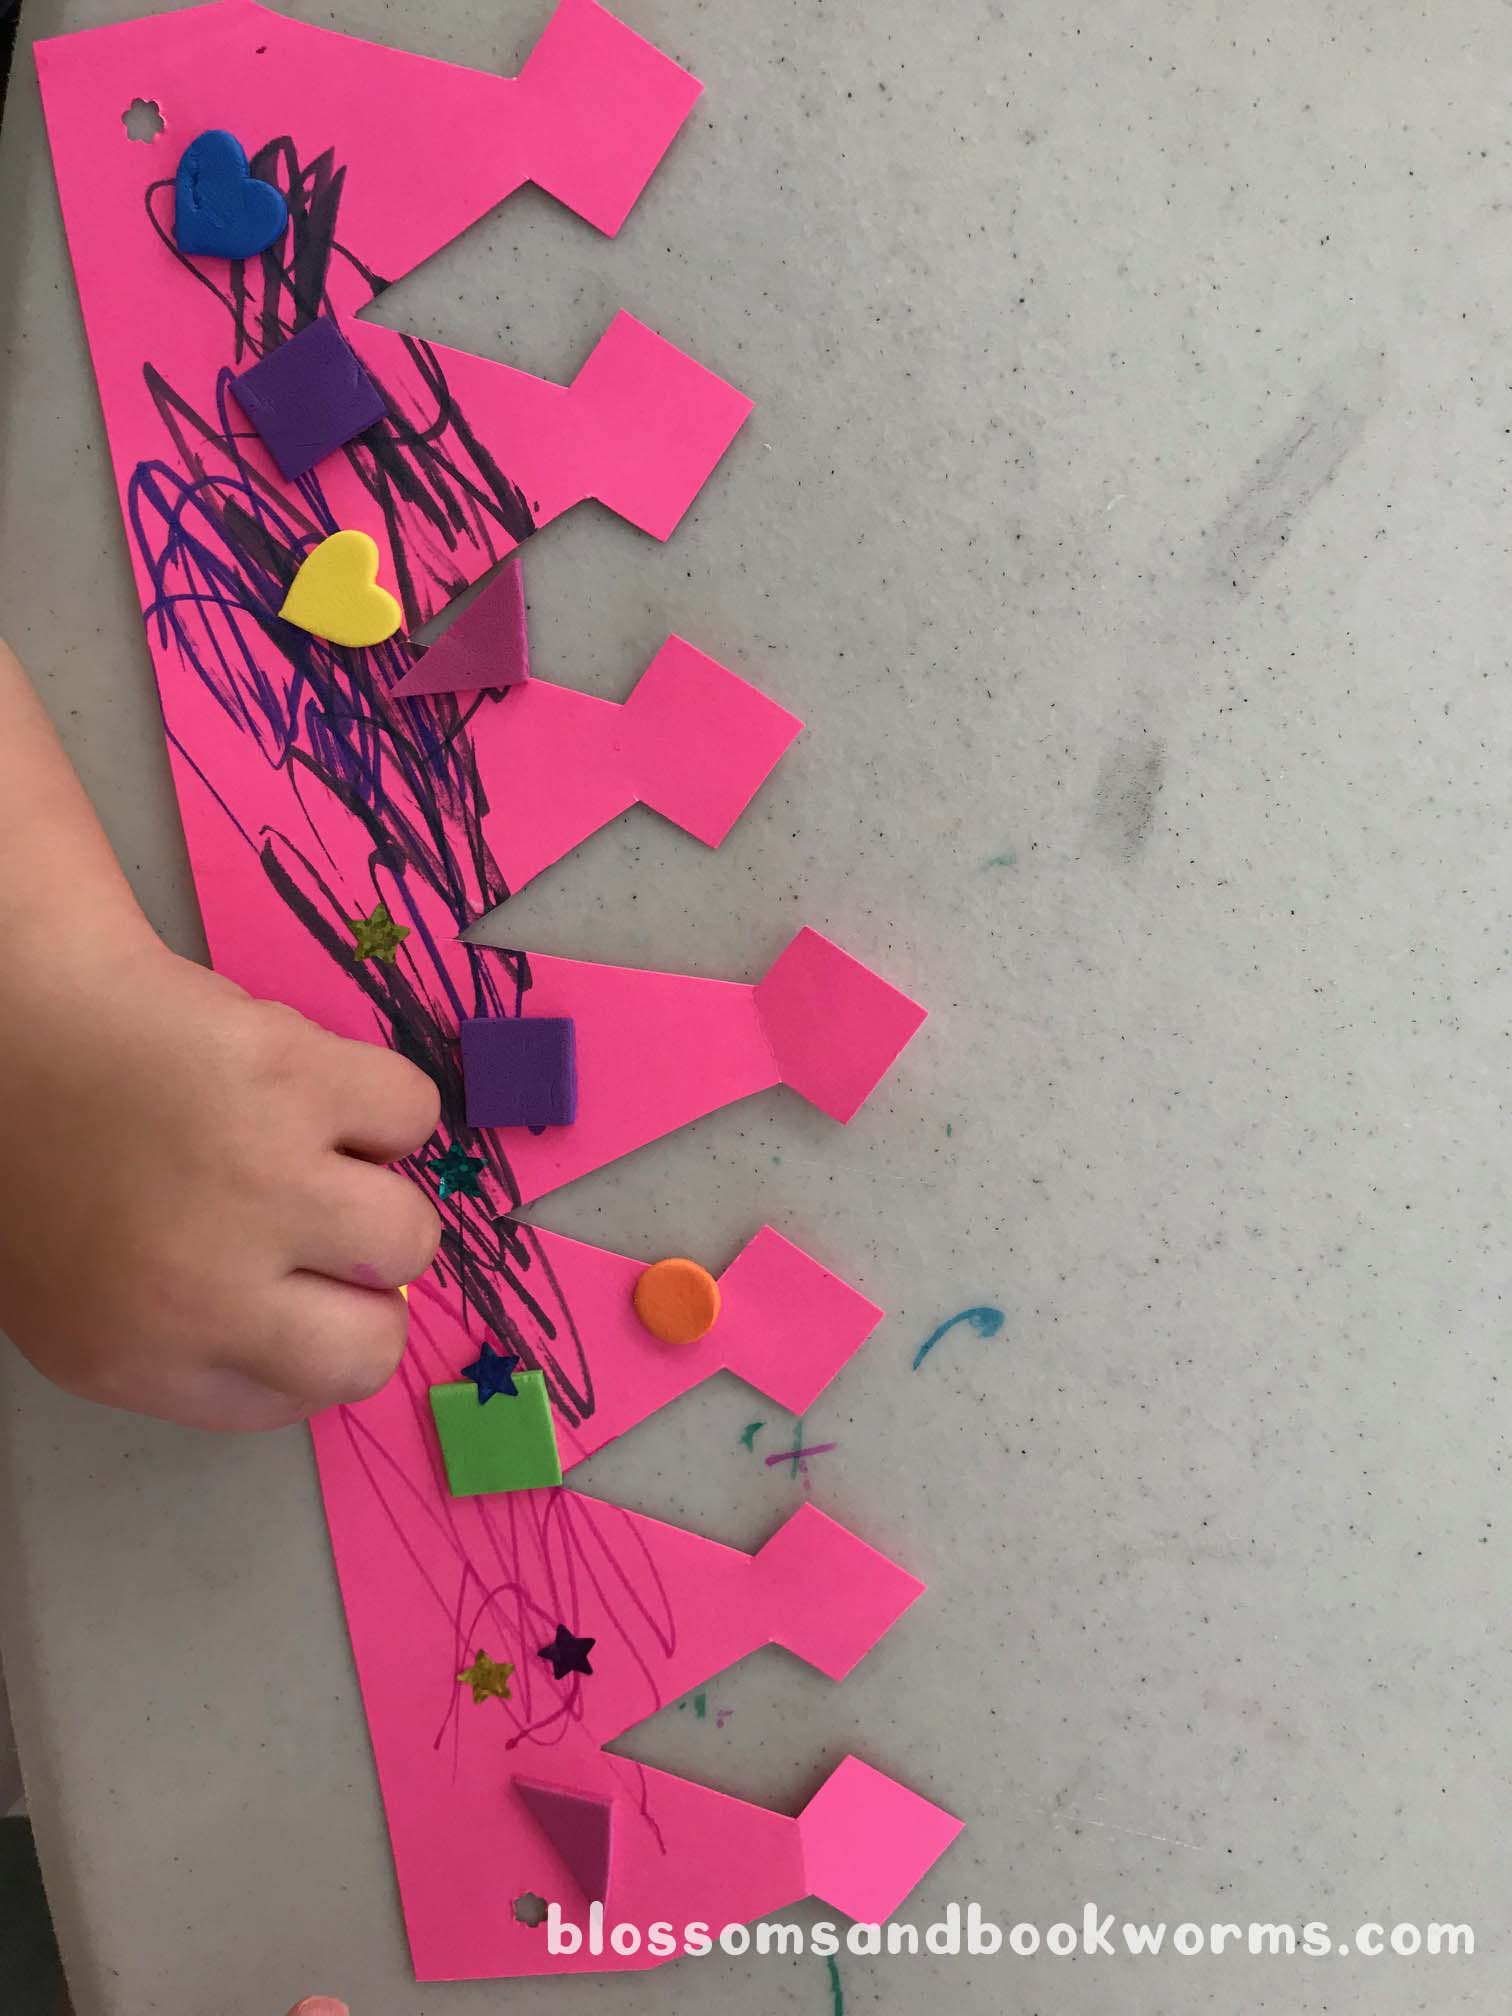
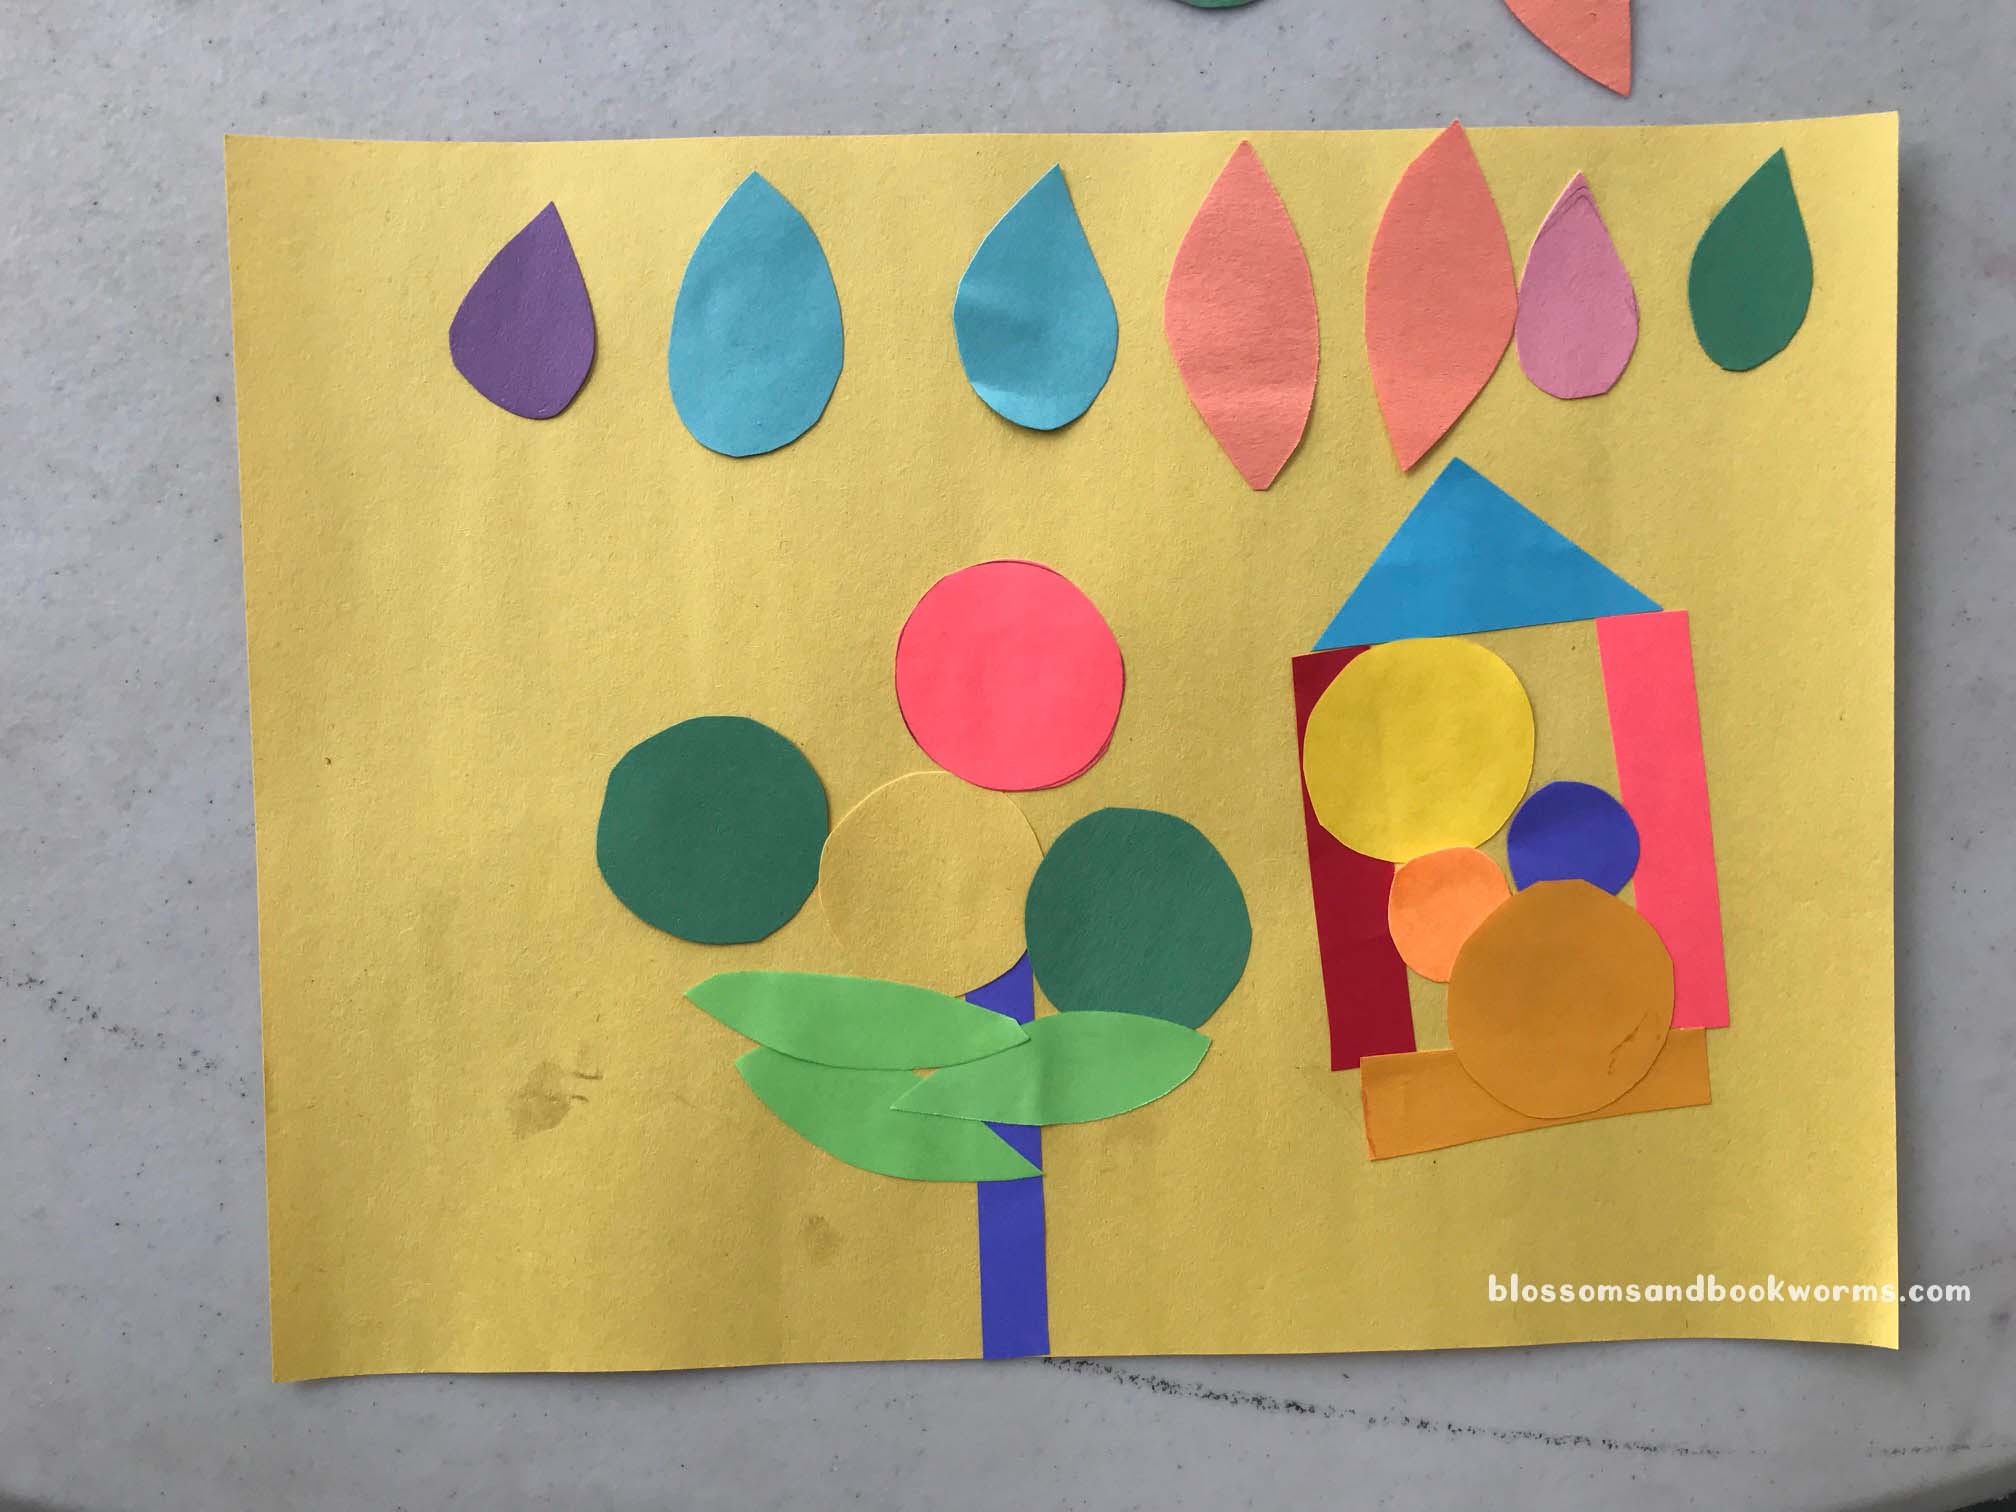
This activity is super versatile. You can print the FREE printable (on white or colored paper!) and decorate right on the paper or you can cut out the tree, decorate, and glue it onto a bigger collage. The options are endless!


We read Christmas stories at our community story time this week and then the kiddos completed this activity. I always love seeing what they will come up with. Each tree is as unique as the artist who created it!
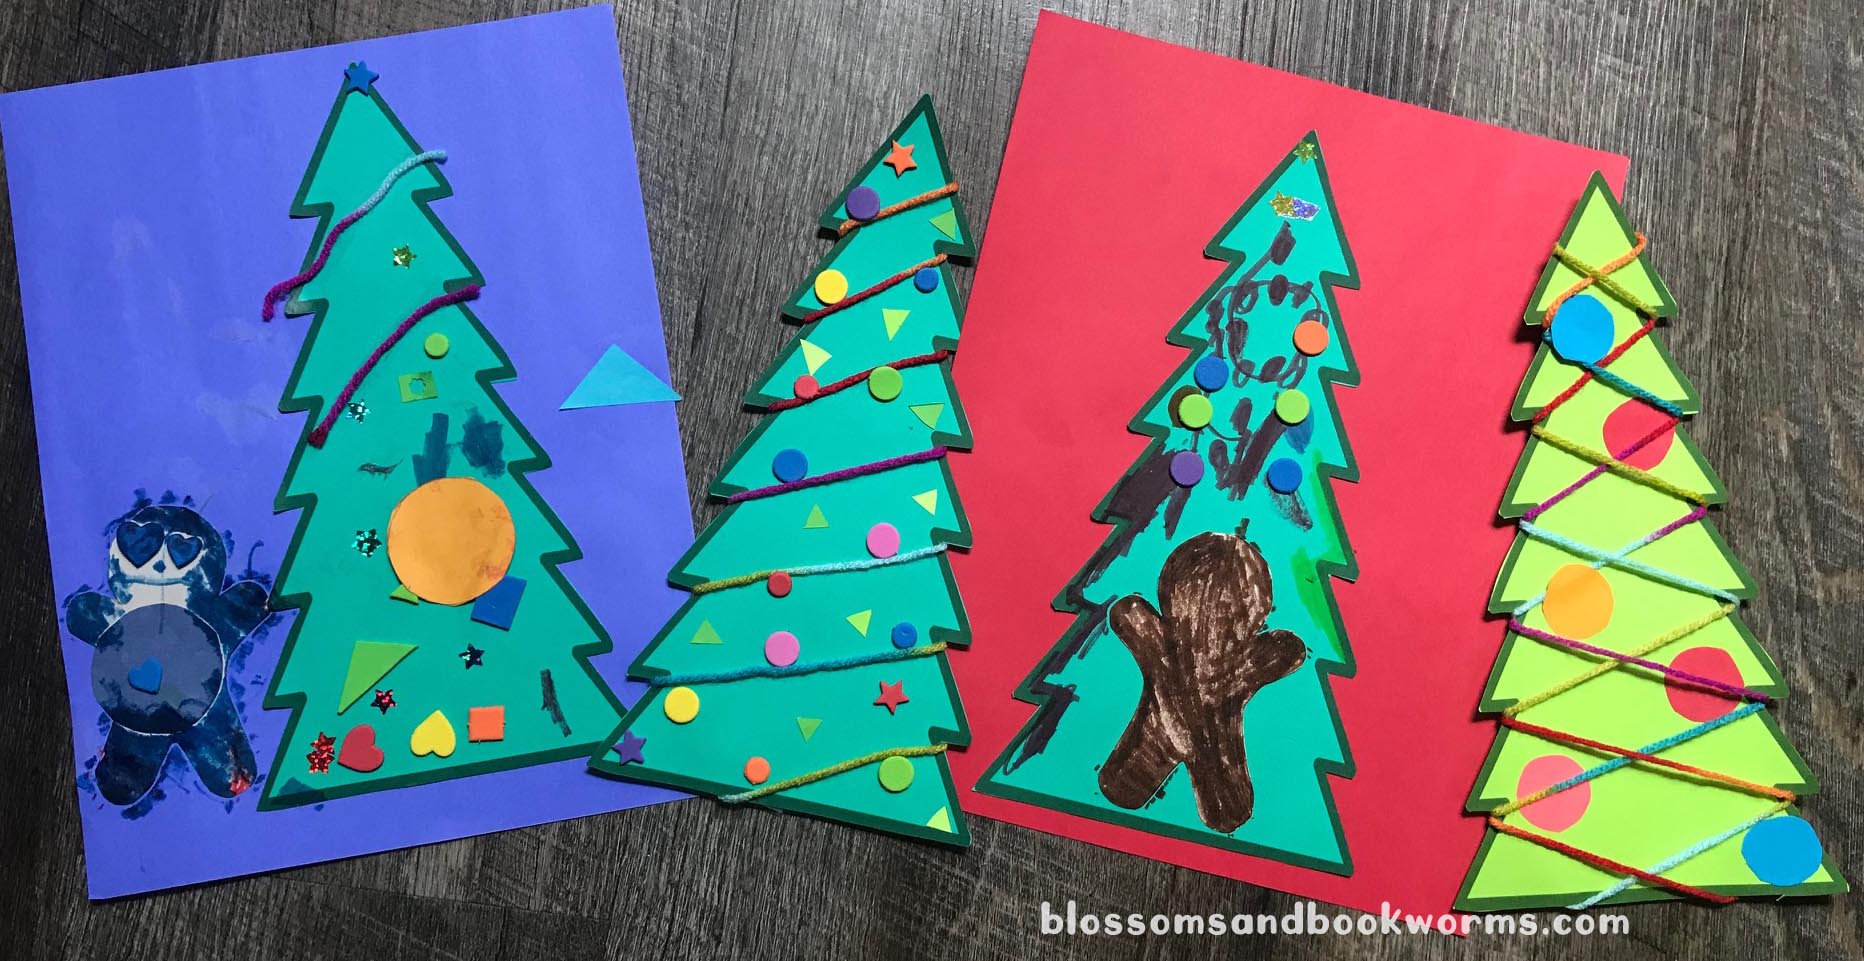
I love that these activities make wonderful festive decorations!
Don’t forget to grab the FREE printable, HERE!
Happy Decorating!